
Struggling to simplify appointment scheduling in your app? Learn how to integrate Cal.com, automate bookings, manage availability, prevent conflicts, send reminders, and handle payments seamlessly while maintaining full control.
Modern products live or die by how easily users can schedule appointments. Whether you run a SaaS platform, consulting service, coaching portal, or internal team dashboard, your app needs a reliable calendar and booking system.
Instead of building scheduling logic from scratch, you can integrate Cal.com directly into your application and automate your entire booking workflow.
Let's walk you through how to integrate Cal.com into your app, configure event types, manage availability, prevent double bookings, automate reminders, and handle payments, all while keeping full control over your user experience.
What is Cal.com?
Cal.com is an open scheduling platform that lets users create customizable booking pages and connect them to their calendar.
It supports:
- Multiple event types: Create different kinds of appointments (like 15-min call, 1-hour meeting, group session) with separate duration and rules.
- Google Meet and other video conferencing tools: Automatically generate video meeting links when someone books.
- Team-based scheduling: Distribute meetings across team members based on availability.
- Payments: Collect payments before confirming an appointment.
- API access: Control bookings and scheduling programmatically inside your app.
- Webhooks: Get real-time notifications when a booking is created, canceled, or rescheduled.
- Free and paid subscription plans: Start with basic features for free and upgrade for advanced team and business needs.
You can host it yourself or use their cloud version. This flexibility allows developers to build a complete booking solution within their own apps.
Prerequisites Before You Start
Before you start writing code or sending API requests, set up a few basic components. These prerequisites ensure your booking flow works smoothly and your calendar data stays secure.
- A Cal.com account
- API key from your account settings
- A connected calendar (Google Calendar or similar)
- A backend environment (Node.js example used here)
- Environment variables configured
- A secure server to host your API logic
Your app will communicate with Cal.com using REST endpoints to create events, manage appointments, and retrieve calendar data.
Once these basics are in place, you’re ready to start building your booking workflow without running into avoidable setup issues.
Why Combine Cal.com with Rocket.new?
Cal.com handles scheduling logic: availability, event types, calendar sync, payments, reminder emails, booking confirmations, and meeting links.
Rocket.new handles app generation: UI, backend logic, database, workflows, and deployment.
Together, they form a complete scheduling solution for:
- Coaching apps
- SaaS onboarding tools
- Consulting platforms
- Internal team scheduling systems
- Paid appointment services
Now, let’s move into the exact steps.
Step 1: Create Your Cal.com Account
Before anything else, you need access to Cal.com. This is where your scheduling logic, availability, and event types live.
If you already have an account, you can move ahead quickly.
What to Do
- Visit Cal.com
- Create a free or paid account
- Log into your dashboard
- Complete basic profile setup
Initial Setup Inside Cal.com
- Connect your calendar (Google Calendar recommended)
- Set your working hours
- Configure availability rules
- Add buffer time between appointments
Your calendar is now connected and ready to handle bookings.
Step 2: Create Event Types
Event types define what users can book. Think of them as different meeting options.
You can create multiple event types based on your services.
Examples of Event Types
- 30-minute consultation
- 60-minute strategy meeting
- Free discovery call
- Paid coaching session
- Team sync
Configure Each Event Type
- Set duration
- Enable Google Meet if needed
- Add custom form fields
- Set availability rules
- Add payments if required
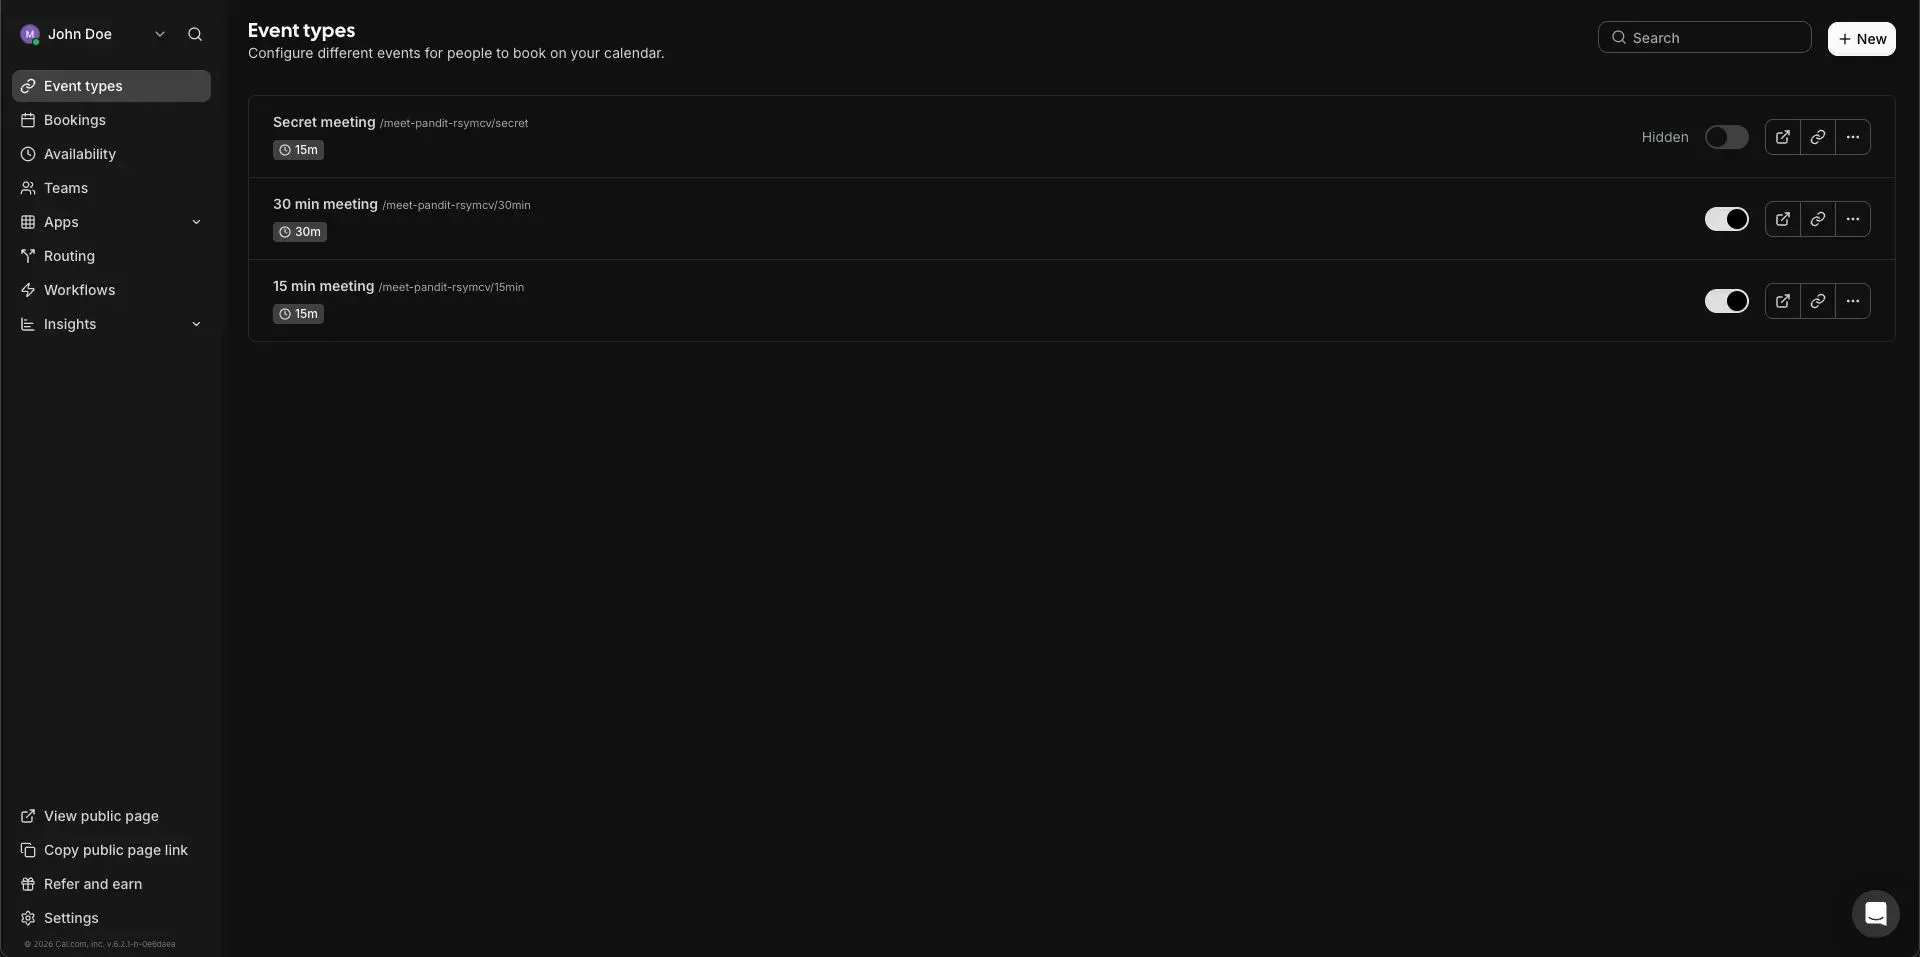
Your booking structure is now defined. Users will choose from these event types.
Step 3: Prepare Your Rocket Project by chat
Now switch to Rocket.new. This is where your app lives. Cal.com works only with Next.js projects in Rocket, so confirm your setup.
What You Need
- A Rocket account
- A Next.js project
- Access to Integrations panel
Quick Check
- Confirm framework is Next.js
- Confirm you can access project settings
- Confirm chat panel is active
Once your project is ready, connection takes just a few minutes.
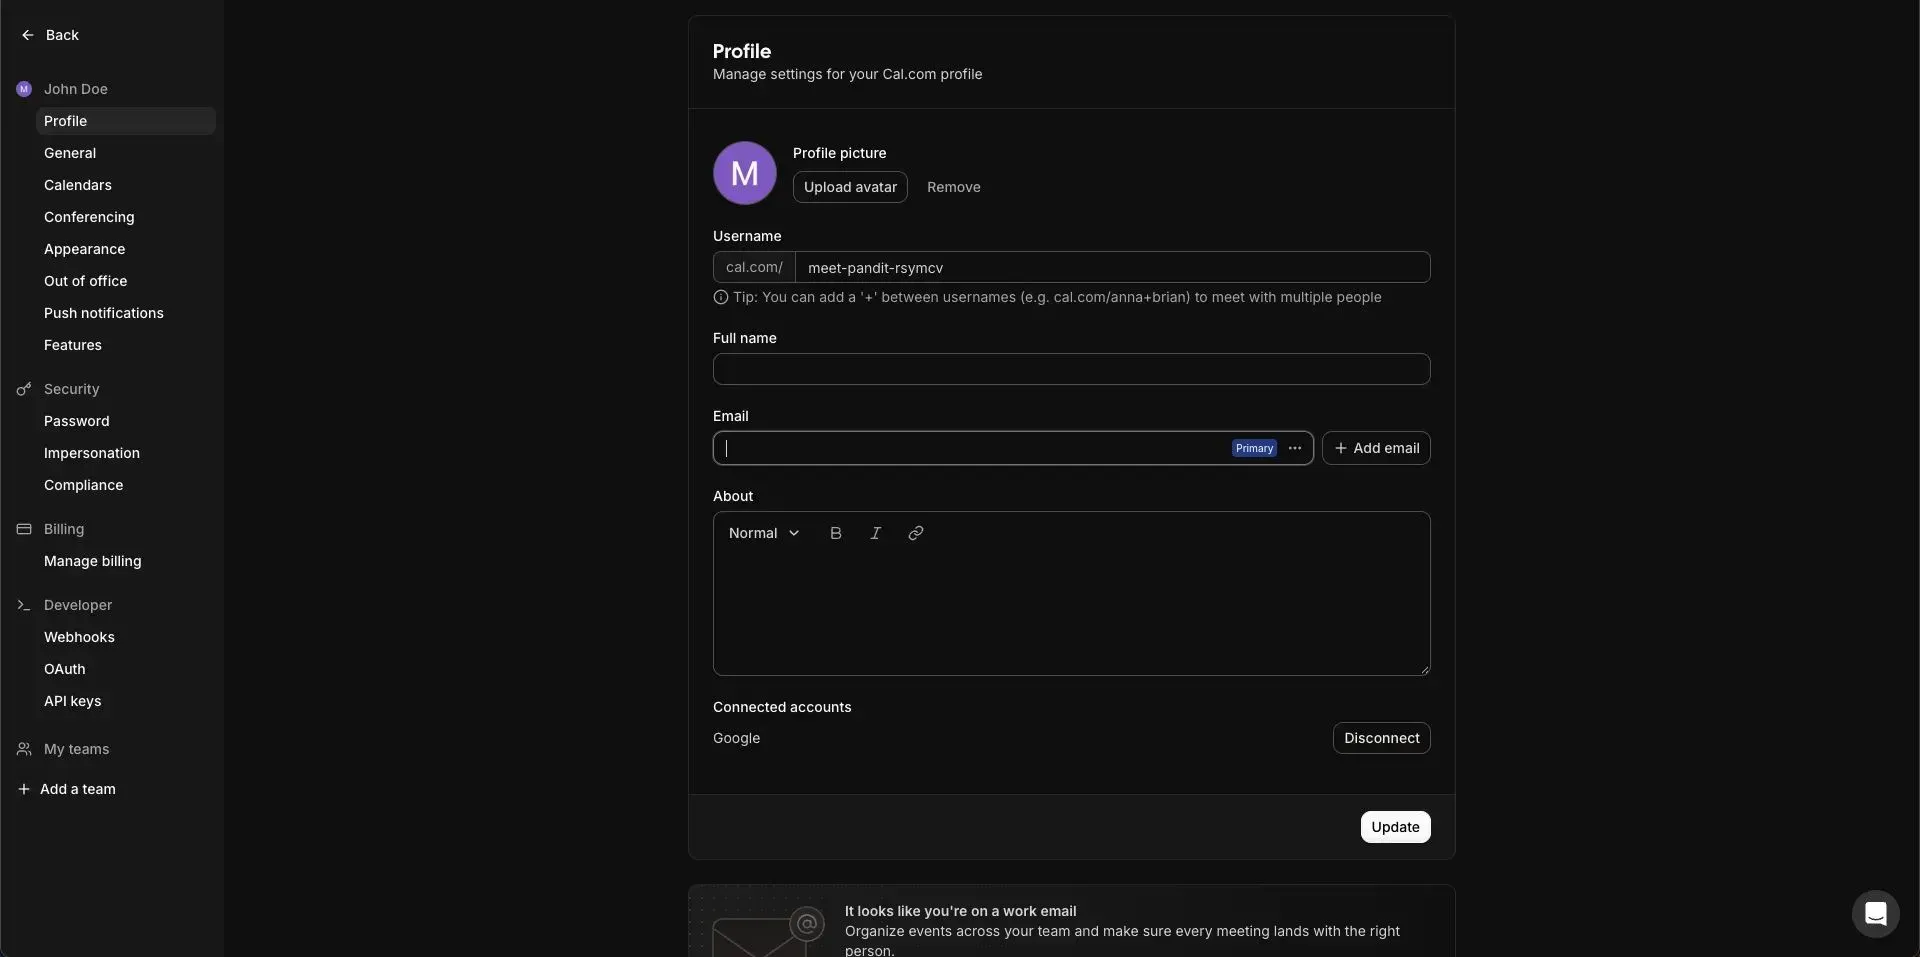
Step 4: Get Your Cal.com API Key
This key allows Rocket to communicate securely with Cal.com. It connects your booking system to your app.
How to Get It
- Log into Cal.com
- Go to Settings
- Open Developer
- Click API Keys
- Generate a new key
- Copy it
Important
- Do not paste the key directly into chat
- Keep it private
Keep the API key copied. You’ll paste it securely in the next step.
Step 5: Connect Cal.com to Rocket
If you’re already building inside Rocket chat, this is the fastest way. Just describe what you want and Rocket will trigger the connection flow.
Steps
- Open your Rocket project
- Open the chat panel
- Type something like:
- “Connect my Cal.com account”
- “Add a booking page for 30-minute consultations”
- Paste your API key in the popup
- Click Continue
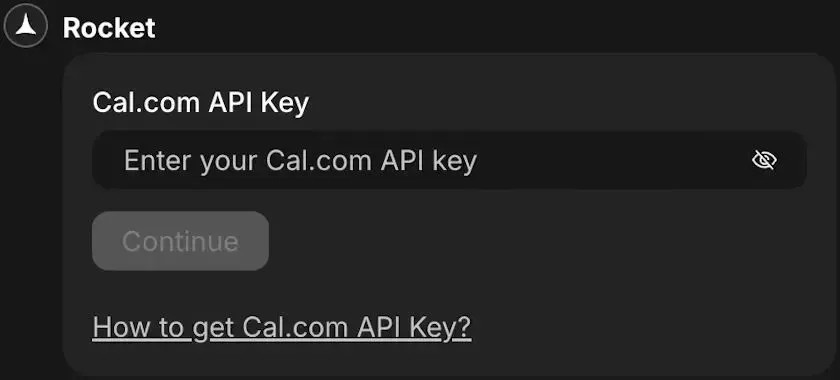
This method can automatically scaffold booking flows after connection.
Step 6: Connect Cal.com to Rocket from Settings
Prefer manual setup? No problem. This method connects the integration first. Then you describe the booking system in chat.
Steps
- Open any project.
- Go to Integrations.
- Scroll through the integrations list.
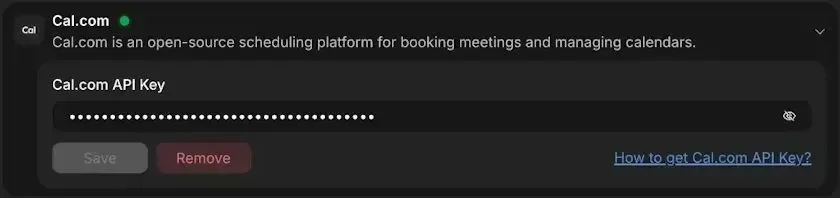
- Click the Cal.com card. Paste your copied API key into the Rocket panel.
Look for the green dot next to Cal.com.
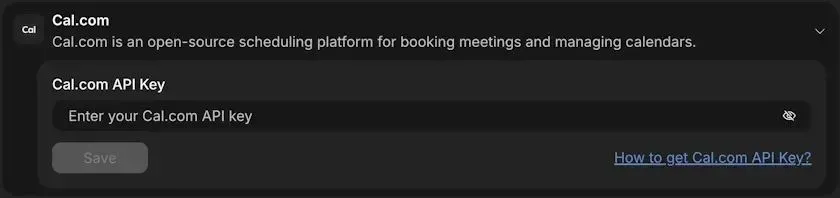
After connecting, go to chat and describe the scheduling system you want built.
Step 7: Secure Your API Key
Security matters. Rocket encrypts your API key and securely stores it. Still, follow good practices.
Security Guidelines
- Use only the integration input field
- Never paste keys into public chat
- Never expose keys in code
If a Key Is Exposed
- Go to Cal.com
- Open Settings → API Keys
- Revoke the key
- Generate a new one
A secure setup keeps your calendar and booking data protected.
Step 8: Update or Remove API Key
Sometimes you may need to rotate or remove your API key. Rocket makes this simple.
To Update
- Go to Project → Integrations → Cal.com
- Replace the existing key
- Click Save
To Remove
- Open the same integration
- Click Remove
- Confirm disconnection
You can disconnect at any time and reconnect whenever needed.
Common Pitfalls When Integrating
Even with good tools, mistakes happen. Most scheduling issues are not technical failures. They come from small configuration oversights.
A few simple checks can prevent major booking headaches later.
Frequent Integration Mistakes
- Forgetting to sync the calendar properly
- Not configuring availability correctly
- Skipping webhook validation
- Exposing API keys in the frontend
- Ignoring time zone settings
Time zones matter more than people think. If not configured correctly, appointments may appear at incorrect times.
Also, always test with multiple users. One test account is rarely enough.
A few minutes spent reviewing sync, availability, and security settings can prevent scheduling errors that later frustrate clients and teams.
Scaling Your Scheduling System
As your business grows, your scheduling needs grow with it. What works for one person may not work for a full team. Planning for scale early makes future expansion smoother.
When Growth Happens, You May Need
- Multiple booking pages
- Department-level teams
- Advanced resource management
- Reporting dashboards
- Subscription-based event access
Cal.com supports scalable scheduling through team and organization features.
You can manage thousands of appointments monthly while maintaining structured availability and calendar control.
Building with scalability in mind helps your scheduling system grow alongside your services, without rebuilding everything from scratch.
Technical Checklist Before Going Live
Before launching your booking system publicly, pause for a final technical review. A quick checklist now prevents awkward “why didn’t that work?” moments later. Think of this as your pre-launch sanity check.
- API key stored securely
- Calendar synced
- Availability tested
- Booking page embedded correctly
- Payments tested (if applicable)
- Reminder emails verified
- Webhooks logging correctly
- Reschedule flow tested
If all tests pass smoothly, your scheduling system is ready. Launch confidently and let the calendar handle the rest.
What You Take Away From This Setup
Manual scheduling slows everything down. Emails go back and forth. Someone forgets to check availability. Time zones create confusion. Payments get delayed. Small frictions add up fast, especially as appointments increase.
By connecting scheduling directly inside your app, the system handles the heavy lifting. Calendar sync runs in real time. Event types stay structured. Availability updates automatically. Payment process before confirmation. Google Meet links generate instantly. Reminders go out without manual effort.
The takeaway is simple. With the cal.com API, you create a scalable scheduling system inside your product. Your team spends less time coordinating and more time delivering services. That is how modern booking should work.
Table of contents
- -What is Cal.com?
- -Prerequisites Before You Start
- -Why Combine Cal.com with Rocket.new?
- -Step 1: Create Your Cal.com Account
- -What to Do
- -Initial Setup Inside Cal.com
- -Step 2: Create Event Types
- -Examples of Event Types
- -Configure Each Event Type
- -Step 3: Prepare Your Rocket Project by chat
- -What You Need
- -Quick Check
- -Step 4: Get Your Cal.com API Key
- -How to Get It
- -Important
- -Step 5: Connect Cal.com to Rocket
- -Steps
- -Step 6: Connect Cal.com to Rocket from Settings
- -Steps
- -Step 7: Secure Your API Key
- -Security Guidelines
- -If a Key Is Exposed
- -Step 8: Update or Remove API Key
- -To Update
- -To Remove
- -Common Pitfalls When Integrating
- -Frequent Integration Mistakes
- -Scaling Your Scheduling System
- -When Growth Happens, You May Need
- -Technical Checklist Before Going Live
- -What You Take Away From This Setup