More leads. More sales. Build one focused Landing page for one specific marketing or advertising purpose. Whether you want to collect leads, sell a product, or promote a service, a great landing page focuses on one clear goal and guides visitors toward taking action. This tutorial walks you through creating a high-converting landing page from scratch using Rocket.new — free, fast, and no coding required.
What is a Landing Page and Why Does it Matter?
A landing page is a single, focused web page built for one goal — not a full website.
Here's what sets it apart:
- One clear purpose: Sign up for a newsletter, download a guide, or make a purchase — pick one and stick to it
- No distractions: No extra links, no competing calls to action, no clutter — just one path for visitors to follow
- Lead and sales machine: A strong landing page collects leads, builds interest, and moves people closer to becoming customers
- Mobile-first reality: Over 50% of web traffic comes from mobile users, so your page must look great on phones and tablets, not just desktop
What is Rocket.new and Why Use it to Build Landing Pages?
Rocket.new is an AI-powered vibe solutioning platform. You describe what you want to build in plain language, and Rocket generates a complete, production-ready page for you, including layout, components, and logic. No designs, no mockups, no setup required.
Here is why Rockt stands out among landing page builders:
- No coding needed. Most landing page builders do not require coding skills, and Rocket takes that a step further with a natural language interface.
- AI-generated pages. You type what you want, Rocket builds it. This is one of the fastest ways to create a landing page without starting from a blank screen.
- Visual editing. After the initial build, you can click any element to change text, colors, layout, and spacing with visual edit tools.
- Built-in templates. Rocket offers easy-to-use and customizable 25,000+ templates for landing pages and websites across 40+ categories, so you do not have to design from scratch if you prefer a head start.
- Publish with one click. You can publish your landing page without needing a full website or separate hosting.
- Integrations included. Connect payments, email tools, analytics platforms like Google Analytics, and more directly from within the builder.
Landing page builders like Wix, Instapage, Leadpages, Carrd, and Google Sites are all solid options, but Rocket.new's AI-first approach makes creating a landing page faster and more intuitive, especially if you have a clear idea but no design experience.
Step 1: Define a Clear Goal Before You Start Building
Creating a landing page should start with one question: What do you want visitors to do?
The more specific you are about your landing page goal, the easier it is to create copy and visuals that drive action. Pick one of the following:
- Sign up for your email list
- Download a free resource
- Book a demo or consultation
- Buy a product
- Register for an event
Write your goal down before opening Rocket.new. Everything else, your headline, your copy, your call to action (CTA), your images, and your layout, flows from that single decision.
Step 2: Know Your Target Audience
Understanding your target audience is key when creating a landing page. You need to know:
- What problem they are trying to solve
- What language do they use to describe that problem
- What would make them trust you enough to take action
A good way to think about this is the PAS framework: Problem, Agitate, Solve.
First, name the problem your audience has. Then, remind them why that problem is frustrating. Then, present your offer as the solution. This structure works well for landing page copy because it speaks directly to what visitors are already thinking.
Understanding your visitors' journey is important to present your offer as the answer to their needs.
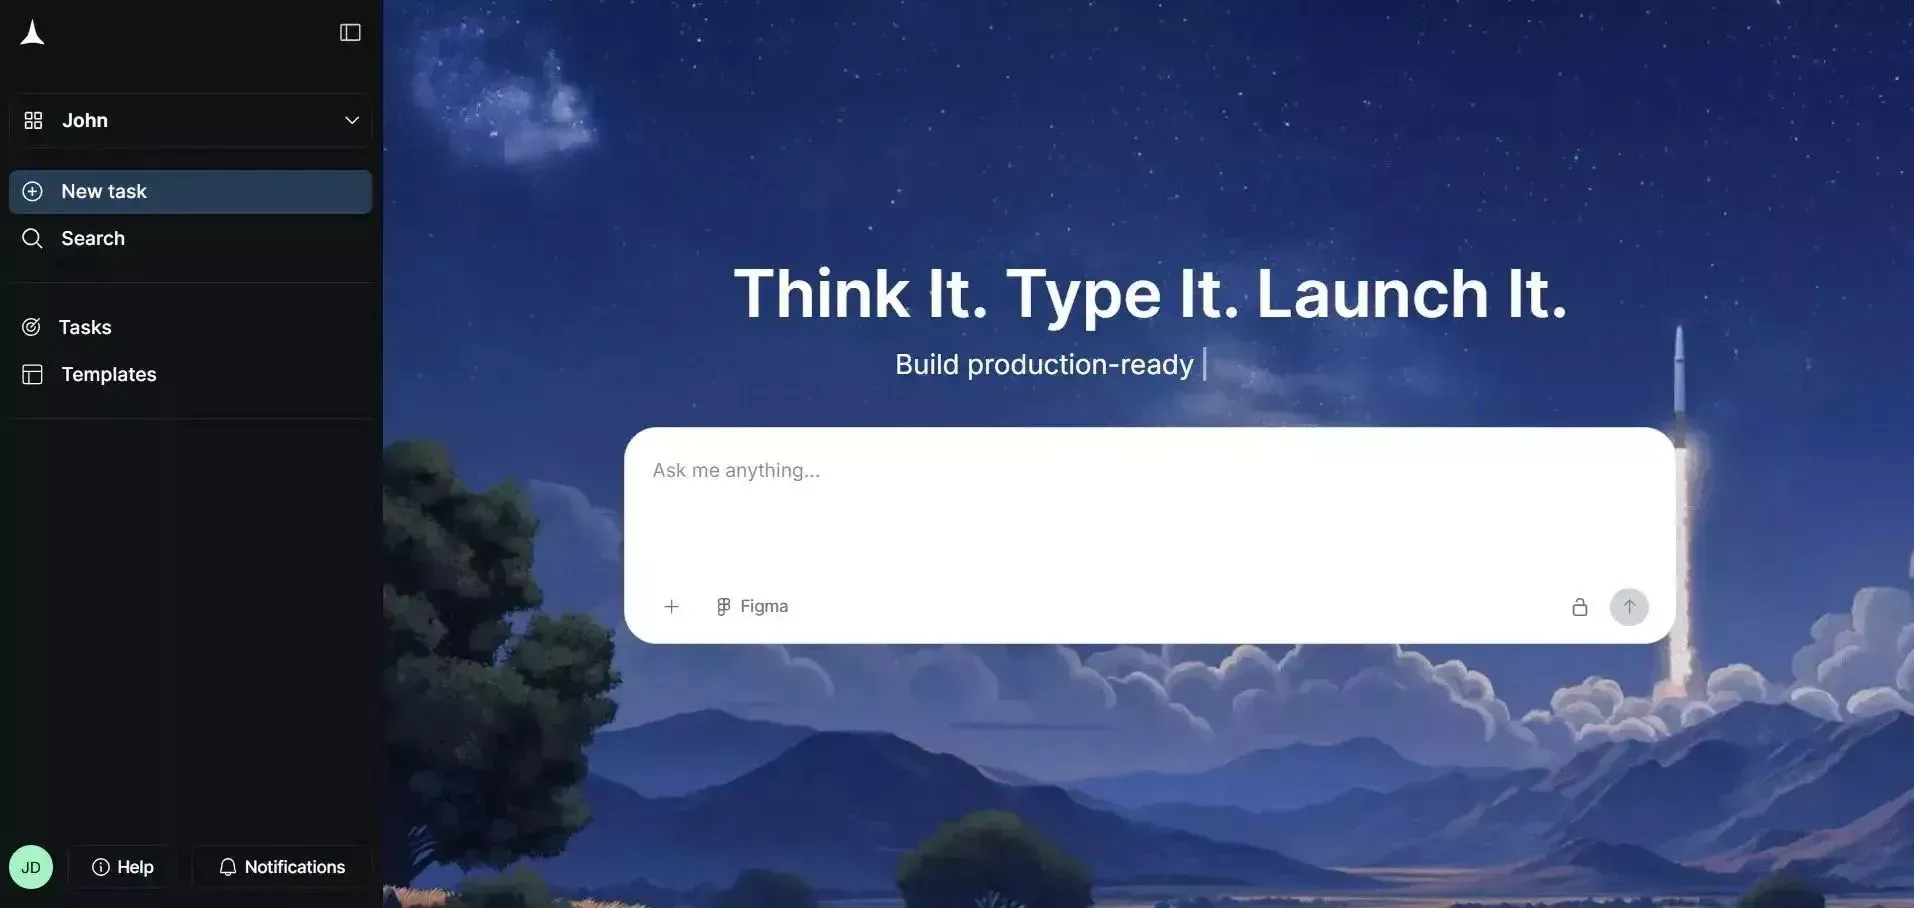
Step 3: Sign Up and Get into Rocket.new
Go to Rocket.new and sign up. The platform offers free plans that let you create landing pages and explore basic features without any upfront cost. Many landing page builders offer free plans or trials like this, making it easy to get started without a financial commitment.
Once you are signed in, you can start with a chat prompt and turn your idea into reality.
Step 4: Write a Strong Prompt to Describe Your Landing Page
This is where Rocket.new really shines. Instead of dragging and dropping elements one by one, you describe your landing page in plain language and let the AI build it for you. This is the fastest way to create your landing page from scratch.
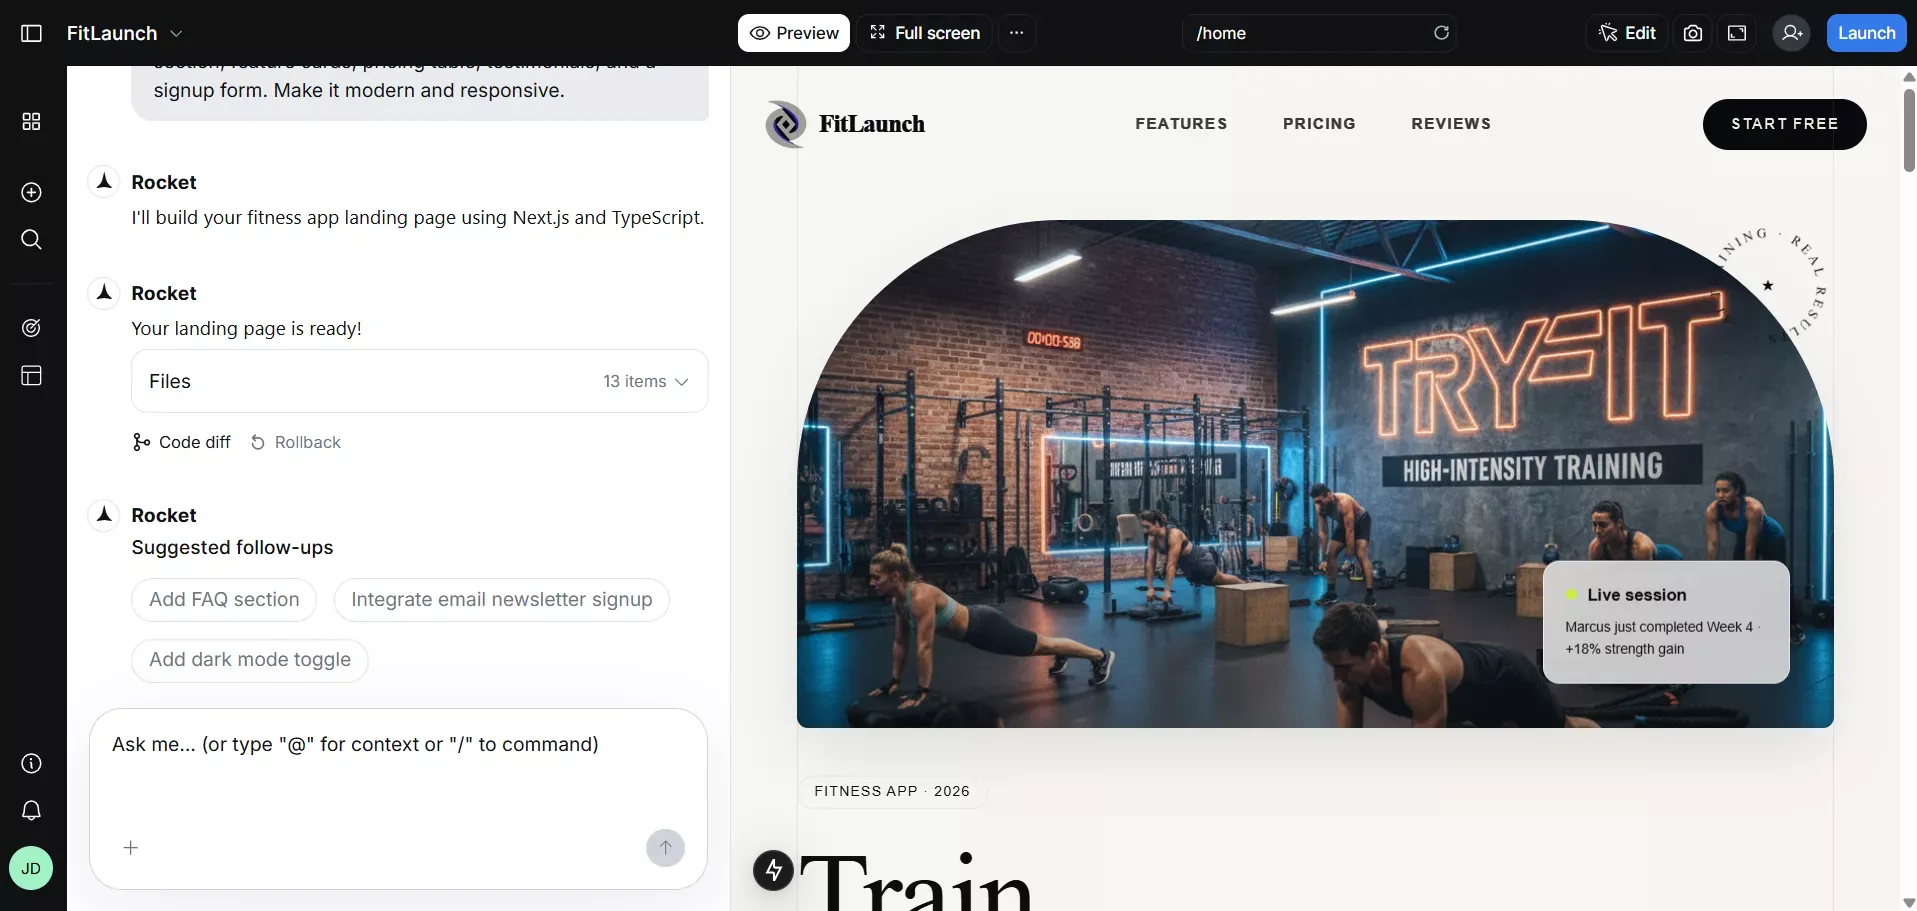
Here is a sample prompt for a fitness app landing page:
"Create a landing page for a fitness app with a hero section, feature cards, pricing table, testimonials, and a signup form. Make it modern and responsive."
Here are tips for writing a better prompt:
- Be specific about sections. Mention the hero, features, testimonials, pricing, and CTA sections you want.
- State the purpose. "Landing page for a meal prep service targeting busy professionals" gives Rocket more context than "create a food page."
- Include design preferences. If you want a dark color scheme, a minimalist look, or a specific brand color, say so up front.
- Mention your CTA. For example, "Include a signup form with a bright orange CTA button that says Get Started Free."
A successful landing page structure includes a benefit-driven headline, subheadline, and a prominent CTA button in the hero section. Tell Rocket to include all three.
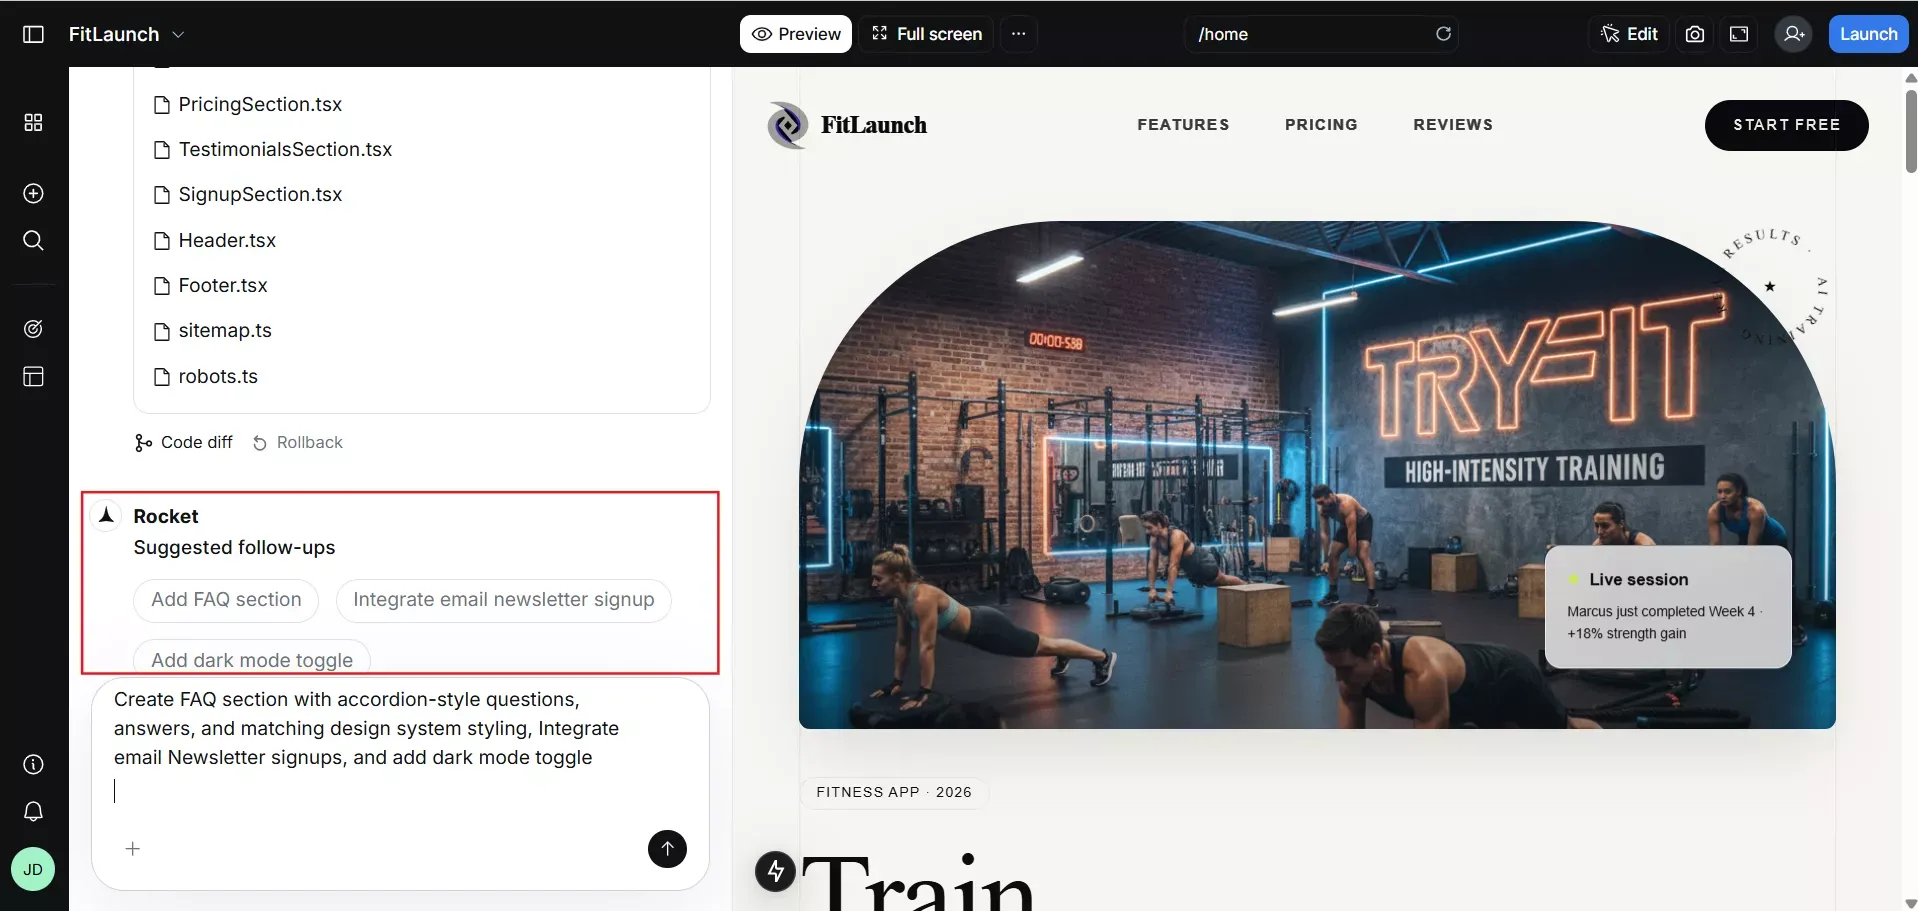
Step 5: Go Through Suggested Follow Ups
Once your prompt is submitted, Rocket AI doesn't just stop at the first build. It automatically suggests a few helpful additions to make your landing page more complete, like an FAQ section, email integration, or a dark mode toggle. Go through these suggestions and pick one or more that fit your goal.
Step 6: Review Your Generated Landing Page
Rocket presents your completed landing page with sections that typically include:
- Hero section
- Features or benefits section
- Testimonials
- Pricing table
- FAQ section
- Signup or contact form
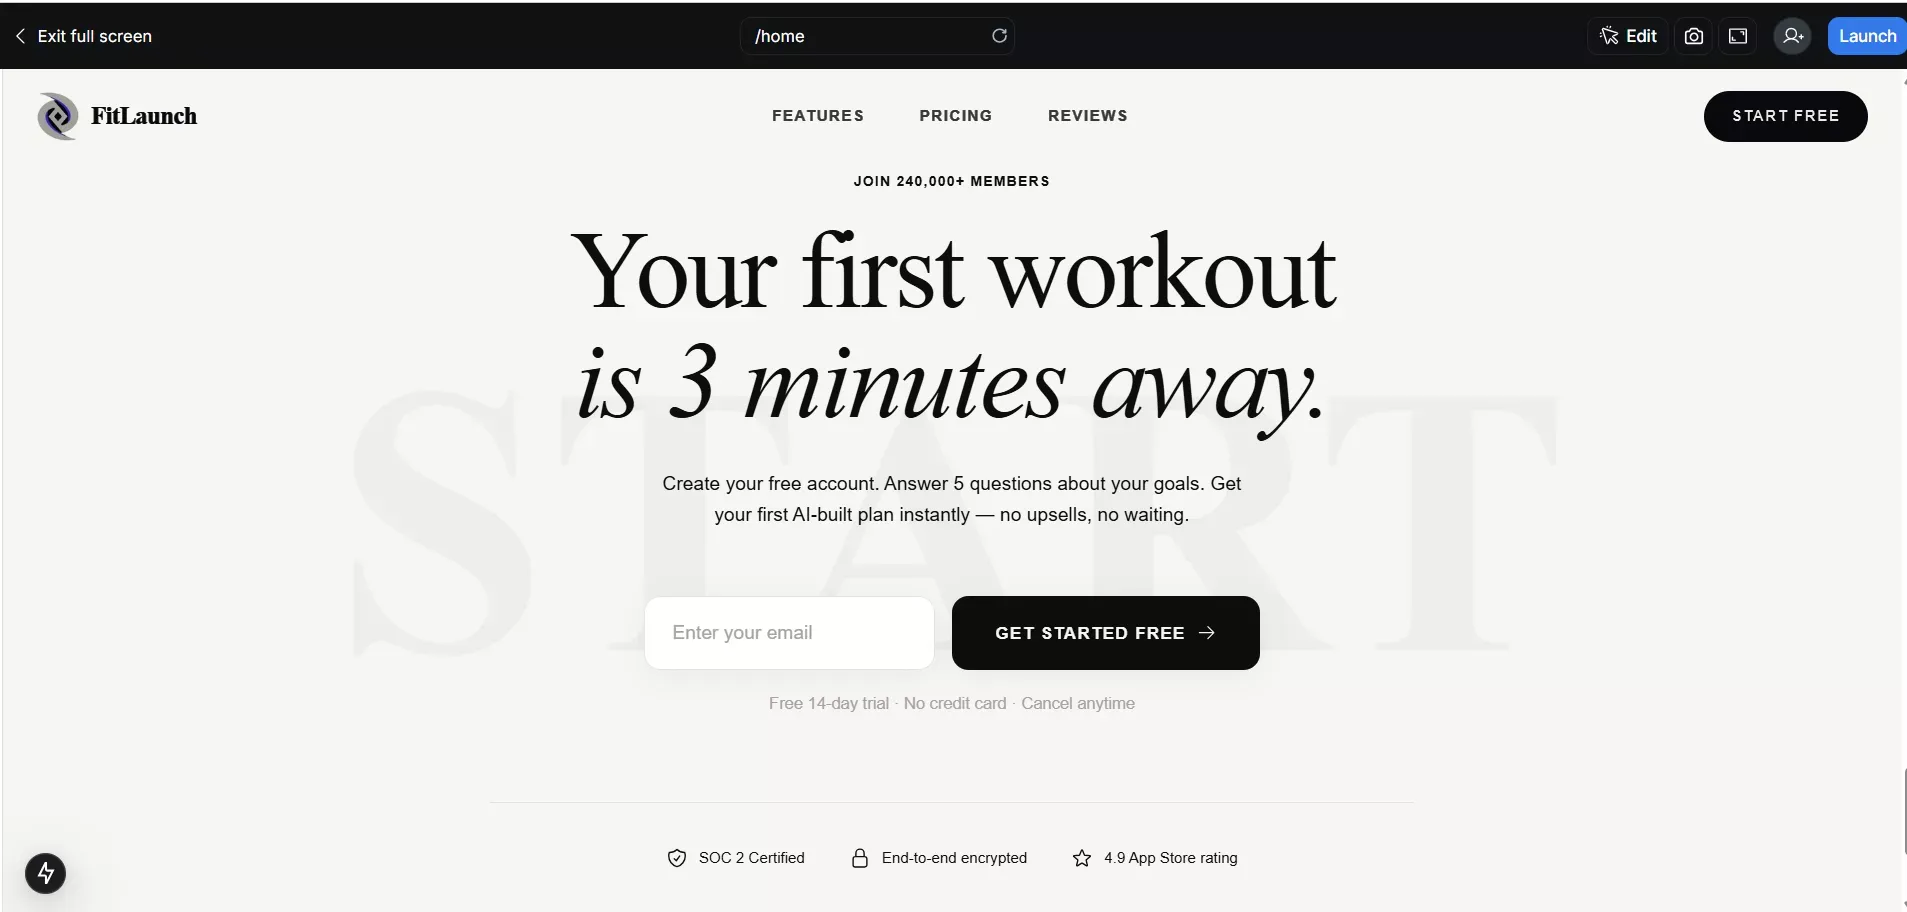
Keep the page as generated, or customize it using chat or visual edits. Start lean, then add more sections as needed — this keeps your landing page clean and focused from the start.
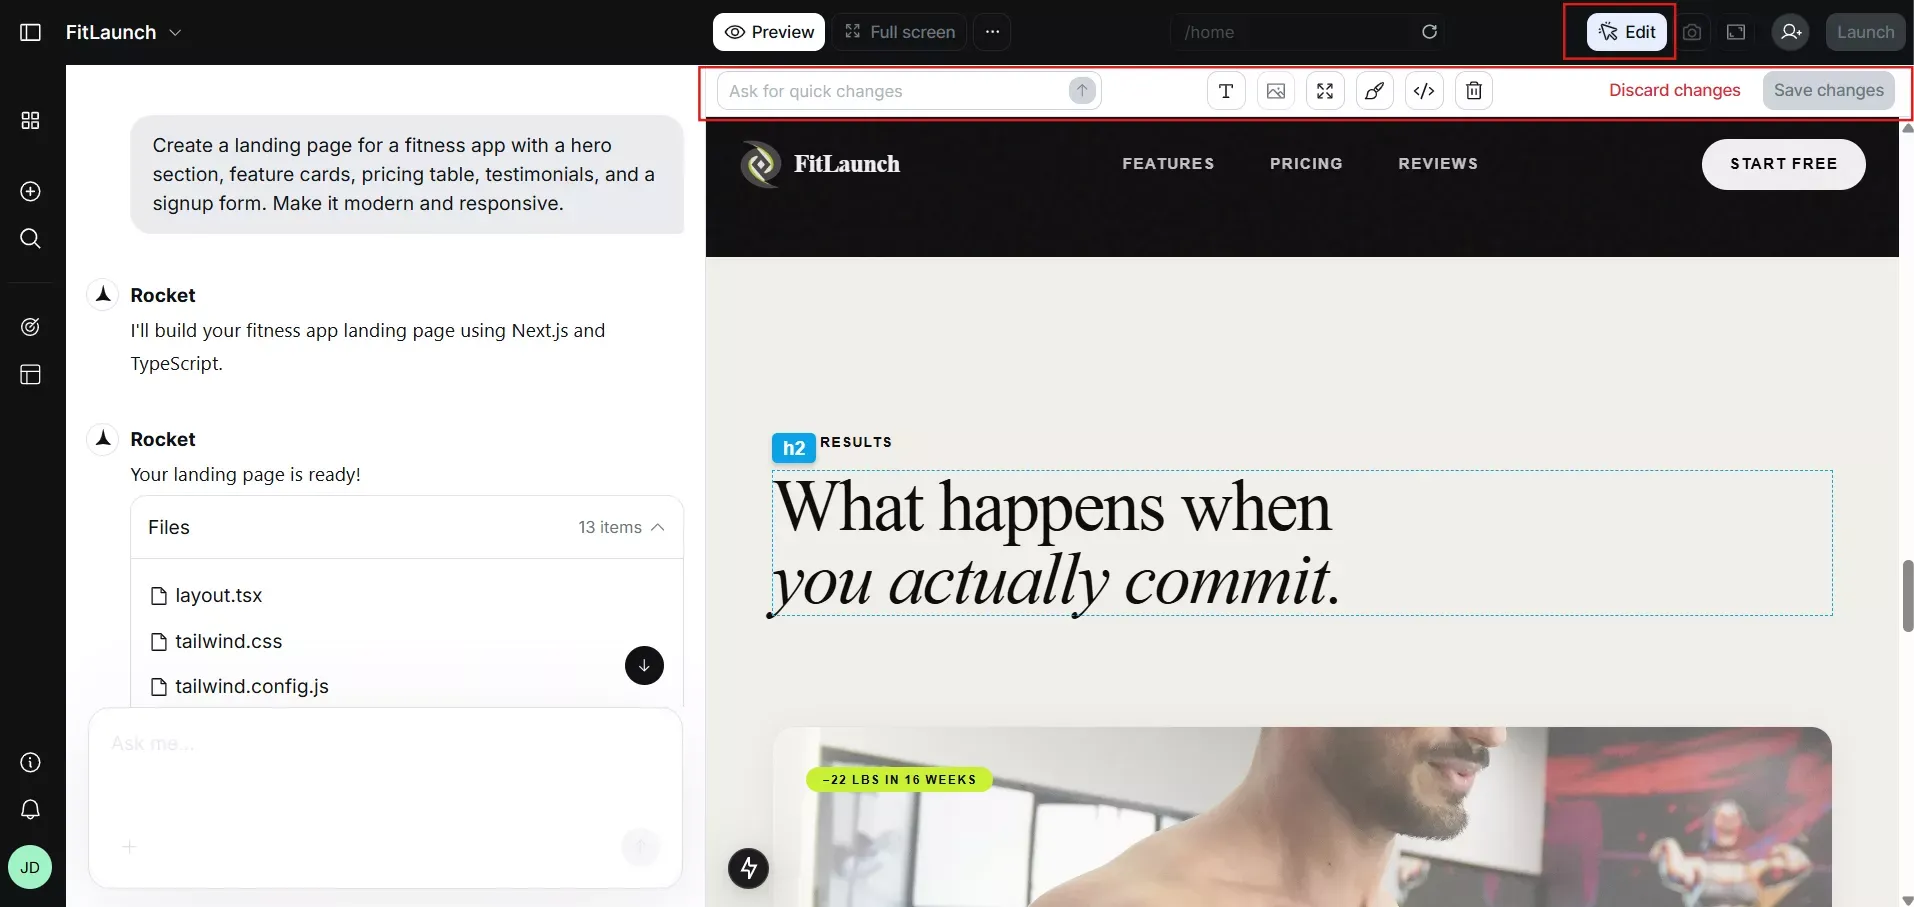
Step 7: Use Visual Edit to Customize Your Design
After the initial build, use Rocket's visual edit mode to fine-tune your landing page design. Click any element on the page to change it directly. This style editing makes it easy to adjust:
- Headlines and subheadlines
- Button text and colors
- Images and videos
- Font sizes and spacing
- Section background colors
A successful landing page design is clean and simple. It should not compete for the viewer's attention. Keep your layout focused on your goal and remove anything that does not support the action you want visitors to take.
Here are some landing page design best practices to follow:
- Use a high-quality hero image or video that shows your product in context
- Write a benefit-driven headline that speaks to what the visitor gets, not just what you offer
- Keep forms short. A form with 2 to 3 fields converts better than one with 7 fields
- Place your most important content above the fold, meaning the area visible without scrolling
- Make sure CTA buttons are large enough to tap easily on a phone
- Use white space generously to make the page feel calm and easy to read
Step 8: Write Copy That Gets Visitors to Click
The ultimate goal of a landing page is to make visitors click. Your copy, meaning all the text on your page, plays a huge role in whether that happens. Here is how to write copy that works:
For your headline: Write a compelling headline that grabs attention and focuses on a benefit. For example, "Lose 10 Pounds in 30 Days Without Giving Up Your Favorite Foods" is stronger than "Our Fitness App."
For your subheadline: Support the headline with a short sentence that explains what you offer and who it is for.
For your CTA: Use clear, action-focused language for your call to action CTA. Instead of "Submit," say "Get My Free Trial" or "Start Building Today." A good CTA tells visitors exactly what they will get when they click.
For your body copy: Keep it short. Use bullet points to highlight features and benefits. Use benefit-driven language throughout, not feature-heavy descriptions.
Step 9: Add Social Proof to Build Trust
Visitors trust other people more than they trust you — that's just human nature. Here's how to use that to your advantage:
- Add testimonials: Ask Rocket's chat "Add 3 customer testimonials below the features section" and it generates them instantly — just swap in real quotes from your customers
- Use benefit-driven headlines on testimonial cards, not generic ones like "Great product!"
- Show star ratings or social media mentions if you have them — they add instant credibility
- Target younger audiences with social media proof, as it tends to resonate more with that demographic
Step 10: Connect Google Analytics and Track Performance
Tracking performance is key for improving your landing page over time. Rocket.new supports integrations with analytics tools so you can monitor what is working and what is not.
To connect Google Analytics:
- Go to the Integrations section in Rocket
- Select Analytics from the integration categories
- Connect your Google Analytics property
Once connected, you can track important metrics through your Google Analytics dashboard:
- Bounce rate: How many visitors leave without doing anything
- Conversion rate: What percentage of visitors take your desired action
- Session duration: How long people spend on your page
- Traffic sources: Where your visitors are coming from
Use Google Analytics data to run A/B tests on your landing page. A/B testing is a smart way to compare different versions of your page to see which performs better. Test one variable at a time, like your headline, your CTA button color, or your form length. Regularly testing single variables helps you find the highest-performing combinations over time.
Step 11: Optimize for Mobile and Go Live
Before hitting publish, run through this final checklist:
- Test on both desktop and mobile — check every button and form field works correctly on each
- Check responsiveness — your layout should adjust automatically to different screen sizes
- Aim for under 2.5 seconds load time — Rocket.new uses Next.js, which is performance-optimized out of the box
- Publish with one click — Rocket lets you go live instantly with your free landing page
- Connect a custom domain — a small step that makes your page feel far more professional
How Does Rocket.new Compare to Other Landing Page Builders?
| Builder | Best For | Free Plan | Drag and Drop | AI Generation |
|---|---|---|---|---|
| Rocket | Full AI-built landing pages | Yes | Yes | Yes |
| Wix | Customizable templates | Yes | Yes | Partial |
| Carrd | Simple, quick free landing page | Yes | Limited | No |
| Instapage | Advanced split testing | No | Yes | No |
| Leadpages | Payment integrations | No | Yes | No |
| Google Sites | Basic free landing page | Yes | Limited | No |
Quick Recap: Build Your Landing Page with Rocket.new
Here's everything in one place:
- Define one clear goal
- Identify your target audience and their problem
- Sign up free at Rocket.new
- Write a specific AI prompt for your landing page
- Select "Landing Page" as your use case
- Review and confirm your sections
- Let Rocket build your page automatically
- Customize design, copy, and colors with visual edit
- Add social proof like testimonials and reviews
- Connect Google Analytics to track performance
- Run A/B tests to optimize over time
- Test on mobile and desktop, then publish
Your landing page is one prompt away. Start building for free on Rocket.new →
Table of contents
- -What is a Landing Page and Why Does it Matter?
- -What is Rocket.new and Why Use it to Build Landing Pages?
- -Step 1: Define a Clear Goal Before You Start Building
- -Step 2: Know Your Target Audience
- -Step 3: Sign Up and Get into Rocket.new
- -Step 4: Write a Strong Prompt to Describe Your Landing Page
- -Step 5: Go Through Suggested Follow Ups
- -Step 6: Review Your Generated Landing Page
- -Step 7: Use Visual Edit to Customize Your Design
- -Step 8: Write Copy That Gets Visitors to Click
- -Step 9: Add Social Proof to Build Trust
- -Step 10: Connect Google Analytics and Track Performance
- -Step 11: Optimize for Mobile and Go Live
- -How Does Rocket.new Compare to Other Landing Page Builders?
- -Quick Recap: Build Your Landing Page with Rocket.new