
Want a powerful smart home dashboard? Learn to design and customize a Home Assistant interface with intuitive cards, layouts, integrations, and automation controls for seamless monitoring and control across devices.
Want to build a clean and powerful control center for a smart home?
Install Home Assistant, connect smart home devices, and design a clear dashboard that makes daily control easy.
According to Statista, the global smart home market is expected to reach $231.6 billion by 2028. That growth shows one thing. People want better control of their device ecosystem.
A well-designed dashboard keeps everything in one place. Lights, locks, sensors, and music stay organized. No more jumping between every app on phones and tablets. Just one screen. One smooth experience.
Why a Smart Home Needs a Proper Dashboard?
This is where a smart home becomes truly practical. Once devices are connected, the system must respond instantly.
Core dashboard functions:
- Display real-time device status
- Control lights, locks, and heating from one screen
- Show the status of doors and windows clearly
- Pull data from sensors automatically
- Trigger scenes with a single tap
- Show alerts when motion is detected
- Store device history and usage data
Users should see updates within seconds. No delay. No refreshing. No guessing if the command worked.
A well-built dashboard reduces daily friction and makes smart home control simple for the whole family.
Steps to Build Your Smart Home Dashboard
A smart home works best when there is a clear plan behind it. Follow these steps in order, and the dashboard will feel more organized than random.
Each stage builds structure, control, and clarity into the system. Keep it simple, stay methodical, and the results will speak for themselves.
Step 1: Install and Complete the Setup
Start with Home Assistant installed on compatible hardware. Many people use a Raspberry Pi or mini PC. Good hardware matters for smooth performance.
After installation, complete the basic setup. Connect to WiFi. Set location. Configure user accounts. This part takes patience, but it is manageable.
Home Assistant automatically detects many smart home devices. It will pull device data from your network. For older devices, manual integration might be required. Check the documentation for specific details.
Keep the setup clean from the beginning. Give each device a clear name. Living Room Lights sounds better than Device_3421.
Step 2: Connect Smart Home Devices
Now comes the fun part. Add smart home devices and connect them to a home assistant.
Common devices include:
- Philips Hue lights
- Smart locks
- Temperature sensors
- Air quality sensors
- Smart plugs
- Doors and windows sensors
- Heating systems
Each device added brings more control to the smart home.
Home Assistant supports hundreds of integration options. For example, Philips Hue integration lets users control lights directly from the dashboard. Locks can display status. Doors can show whether they are open or closed. Windows can show alerts.
Some services require API keys. Others need simple login access. Follow the documentation carefully to avoid common integration errors.
Step 3: Plan the Dashboard Layout
Before building, pause for a second. What should appear on the screen?
Ask simple questions:
- What does the family use daily?
- Which device needs fast access?
- What status needs to be displayed clearly?
Start with an overview tab. This becomes the main dashboard page. It should show lights, locks, weather, temperature, and home security status.
Use a grid layout. Grid layouts keep things neat. They help organize widgets in a clean, structured way.
Keep it intuitive. Keep it accessible. Avoid stuffing too many widgets onto a single screen. Phones and tablets have limited space.
Step 4: Create Custom Dashboards
Home Assistant allows users to create custom dashboards. This is where personalization starts.
Each room can have its own dashboard tab:
- Living Room
- Kitchen
- Bedroom
- Office
Each room dashboard shows relevant device controls. The living room shows lights and music. The bedroom shows heating and temperature. Kitchen shows sensors and air quality.
This separation helps manage devices faster. It also makes the interface feel homey and organized.
Step 5: Add Widgets and Custom Cards
Widgets are the building blocks of a dashboard. Every widget represents a device or data source.
Examples of widgets:
- Light control widget
- Lock status widget
- Weather widget
- Temperature widget
- Music player widget
Widgets show device status clearly. They allow quick tap actions. Tap once to control lights. Tap to lock doors. Tap to check sensors.
Custom cards allow deeper customization. The developer community builds custom cards for unique features. These can display advanced data, detailed device metrics, or enhanced visuals.
This is where the amazing community shines. Developers constantly share feedback, updates, and improvements.
A structured approach turns scattered devices into one smooth system. Follow the steps properly, and the dashboard will feel clean, intuitive, and easy to manage every day.
Example Layout
Before building the dashboard, it helps to map things out on paper. A simple layout plan keeps device control organized and prevents clutter on the screen.
Here is a simple layout plan:
| Room | Devices Shown | Widget Type | Key Features Display |
|---|---|---|---|
| Living Room | Lights, Locks, Music | Toggle + Media | Status, Control |
| Bedroom | Heating, Temperature Sensors | Thermostat Card | Temperature Data |
| Kitchen | Air Quality, Doors, Windows | Sensor Widget | Air Quality Status |
| Entry | Locks, Home Security Cameras | Camera + Lock | Live Feed, Lock Set |
Planning the layout first saves time later. A clear structure makes the dashboard cleaner, easier to manage, and more intuitive to use daily.
Step 6: Use Themes and Icons
Themes change the overall look. Light theme for the day. Dark theme for night. It keeps the dashboard visually pleasing.
Icons matter too. Clear icons improve recognition. A lock icon for locks. A bulb icon for lights. A music note for music. Small details make the interface feel homey.
Personalization makes the smart home more inviting. Not flashy. Just fine and comfortable.
Step 7: Automations and Scenes
Scenes group devices together. For example:
Movie Scene:
- Lights dim
- Doors lock
- Music stops
Morning Scene:
- Heating set to 22°C
- Kitchen lights on
- Weather widget display visible
Automations trigger when motion detected or when doors open. Sensors collect data continuously. That data helps track patterns and fix weak points in home security.
Step 8: Make It Accessible on Phones and Tablets
The dashboard should look good on phones and tablets.
Use vertical layout for phones. Use a landscape layout for mounted tablets. Wall-mounted tablets act as a control panel for the whole family.
Keep widgets large enough to tap easily. Avoid tiny buttons. That gets frustrating quickly.
Home Assistant app supports remote access. It keeps the smart home accessible even when you're away.
Rocket Mode: Building Smart Interfaces with Rocket.new
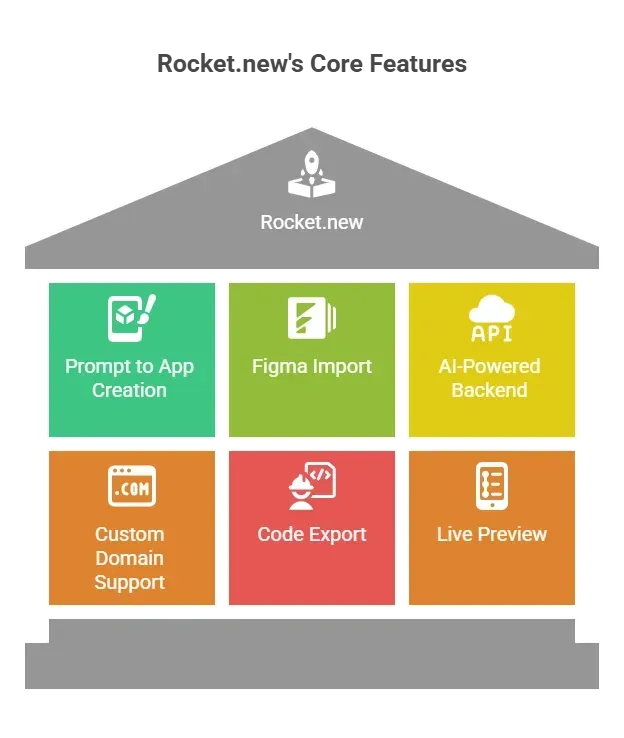
Sometimes the challenge is not connecting devices. It is designing a clean, user-friendly dashboard that actually looks good. That is where Rocket.new steps in.
Rocket.new focuses on building clean apps and interfaces quickly. It helps developers create custom dashboards without heavy coding or complicated setup.
How to Easily Build a Home Assistant Dashboard?
Building a dashboard doesn’t have to feel technical. With Rocket.new, it starts with a simple prompt.
Type something like: “Create a smart home dashboard with lights, locks, temperature, and camera status for tablets.”
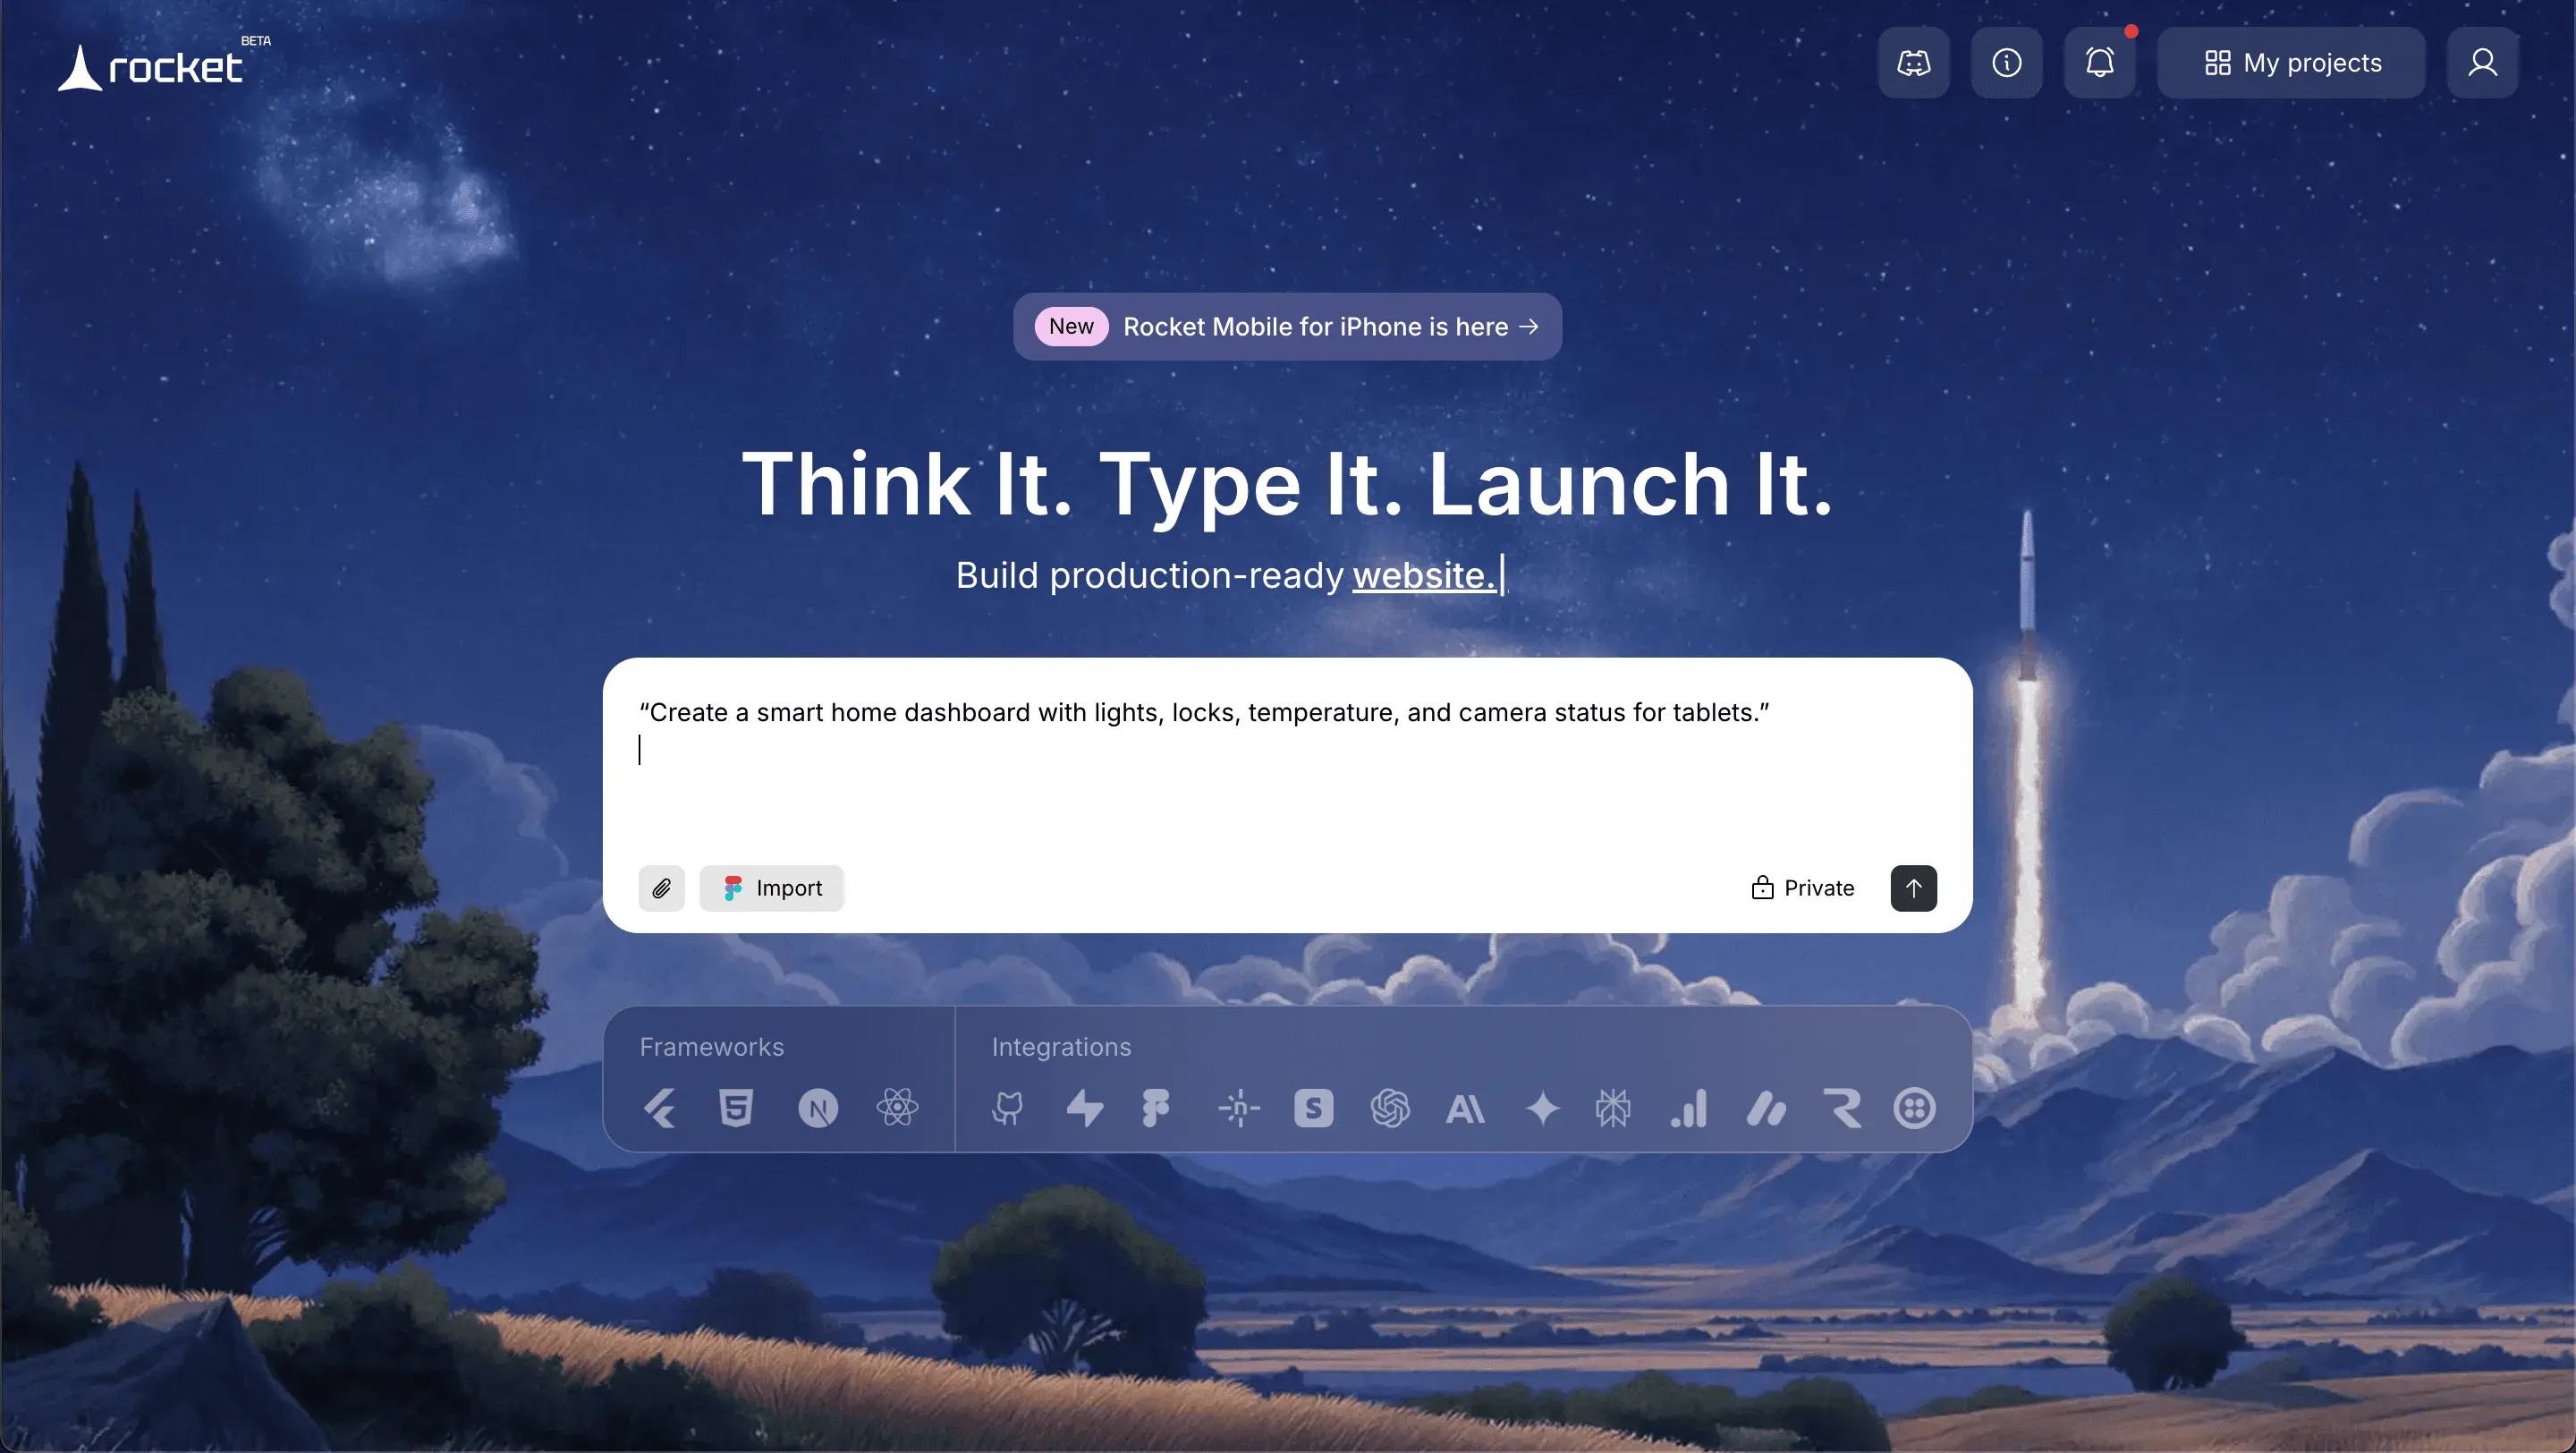
Instantly, a layout appears.
From there you can:
- Move and resize widgets
- Adjust the layout
- Add room-specific screens
- Connect your Home Assistant API
No long setup. No heavy coding. Just describe what you want, and refine it visually.
You can customize:
- Widgets: lights, locks, sensors, music, or cameras
- Themes: dark/light mode, colors, fonts
- Icons: intuitive symbols for each device
- Navigation: quick access to rooms or automation scenes
Once done, preview your dashboard on web, tablet, or mobile. Make sure all controls work and the layout feels clean.
With Rocket.new, your smart home dashboard becomes interactive, responsive, and ready to use, all without writing a single line of code.
👉Build Your Home Assistant Dashboard with Rocket
Fixing Common Issues
No system runs all the time perfectly. Even a well-built dashboard can act up from time to time. The good news is that most issues are simple to fix if handled calmly and step by step.
Here are common problems and quick solutions:
- Widget Not Showing Correct Status: Check the integration settings for that device. Refresh the entity. Confirm that the device is still connected to the network.
- Device Data Not Updating: Restart the home assistant service. If needed, reboot the hardware running the system.
- Slow Performance: Review hardware capacity. Too many active integrations or heavy custom cards can affect performance. Remove unused components.
- Broken Layout on Tablets: Adjust grid settings and test the layout in both portrait and landscape mode. Some widgets need resizing to display properly.
- Missing Icons in the App: Clear the app cache. Reload the dashboard. Confirm that the icon library is loaded correctly.
Work through issues one at a time. Do not rush changes. Small, careful fixes usually solve most dashboard problems without creating new ones.
Creating a Homey Experience
A smart home should feel comfortable and natural, not technical. The dashboard should support daily life, not complicate it.
Key Elements for a Homey Feel:
- Keep the Screen Simple: Avoid clutter. Display only the most used device controls.
- Show Information at a Glance: Lights, locks, temperature, and weather should be easy to see at a glance.
- Use Soft Themes: Choose calm colors that make the dashboard feel warm and homey.
- Listen to Family Feedback: Adjust the layout based on how the family actually uses the system.
- Organize by Room: Group devices logically so control feels intuitive and natural.
A clean and thoughtful dashboard makes the smart home feel calm, personal, and truly homey every day.
Home Assistant Dashboard: From Confusion to Control
Multiple apps. Scattered device control. Confusing layout. Slow access to status updates. Smart home systems can feel disorganized without structure. Build a clean home assistant dashboard that centralizes all devices, controls, and data sources. Create room-based tabs. Use clear widgets. Add themes. Keep it intuitive and accessible.
A smart home works best when control feels simple. Structure the layout carefully. Add only helpful widgets. Improve gradually with feedback.
With the right design, a dashboard becomes more than a screen. It becomes the heart of daily smart home control.
Table of contents
- -Why a Smart Home Needs a Proper Dashboard?
- -Steps to Build Your Smart Home Dashboard
- -Step 1: Install and Complete the Setup
- -Step 2: Connect Smart Home Devices
- -Step 3: Plan the Dashboard Layout
- -Step 4: Create Custom Dashboards
- -Step 5: Add Widgets and Custom Cards
- -Example Layout
- -Step 6: Use Themes and Icons
- -Step 7: Automations and Scenes
- -Step 8: Make It Accessible on Phones and Tablets
- -Rocket Mode: Building Smart Interfaces with Rocket.new
- -How to Easily Build a Home Assistant Dashboard?
- -Fixing Common Issues
- -Creating a Homey Experience
- -Home Assistant Dashboard: From Confusion to Control