
Looking to build an inventory system without complexity? Use no-code tools to manage stock, track sales, and organize data. Growing demand shows businesses benefit from simple, scalable solutions for efficient operations.
How to create a web-based inventory system easily?
You can build a clean, functional system using a modern no-code or low-code platform like Rocket.new that helps you manage stock, track data, and handle sales in real time.
In fact, an Inventory Management Software Market Report shows that the global inventory management software market was valued at around USD 3.58 billion in 2024 and is projected to reach over USD 7.14 billion by 2033 as businesses move online.
So, if you run a business or plan to start one, building your own inventory system is a smart move.
Let’s break it down step by step.
Why Your Business Needs an Inventory System?
Let’s be real. Managing inventory manually with spreadsheets works only up to a point. After that, things get messy. You lose track of stock levels, forget purchases, and struggle with customer orders.
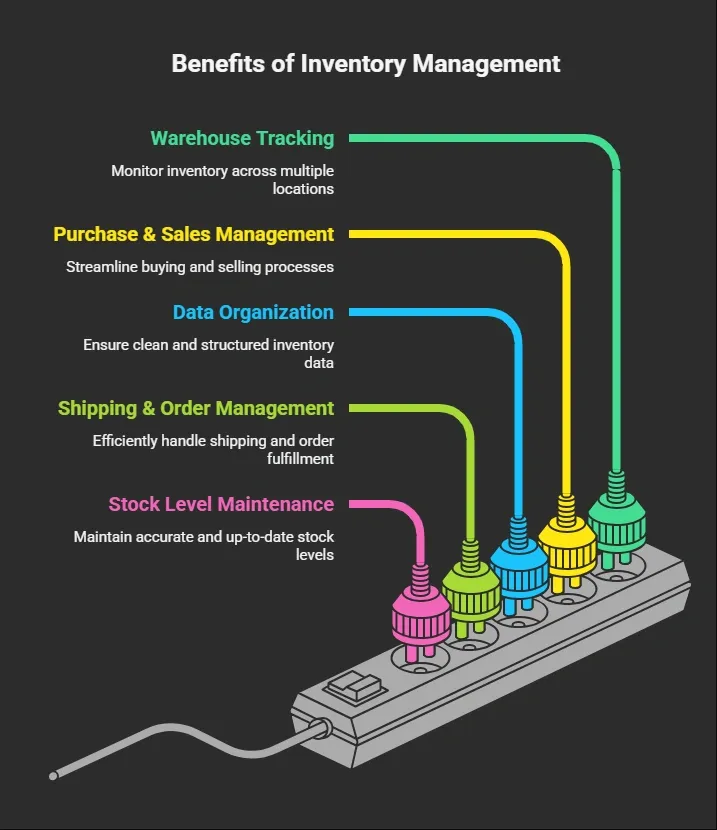
It also helps your team work faster and reduces stress in daily operations.
Here’s How to Build It With Rocket.new
So, instead of struggling with heavy code or jumping between tools, you can actually create your own inventory system using Rocket.new in a much smoother way. It keeps things simple, visual, and fast. You focus on what your business needs, and the platform handles the build.
Rocket.new is a vibe solutioning AI-powered platform that helps you create apps without writing complex code. It’s built for speed, so you can go from idea to a working inventory system in minutes
Now let’s break it down step by step.
Step 1: Define Your Business Needs
Before you open any app or start building, take a moment to get clear on what you actually need.
-
What type of inventory items will you manage?
-
How many warehouses or locations do you have?
-
Do you sell across multiple sales channels?
-
Do you need real-time inventory tracking and reports?
This step sets the direction for your entire system.
Quick note: The clearer your needs, the better your final app will perform.
Step 2: Sign Up to Rocket.new
Next, head over to Rocket.new and create your account.
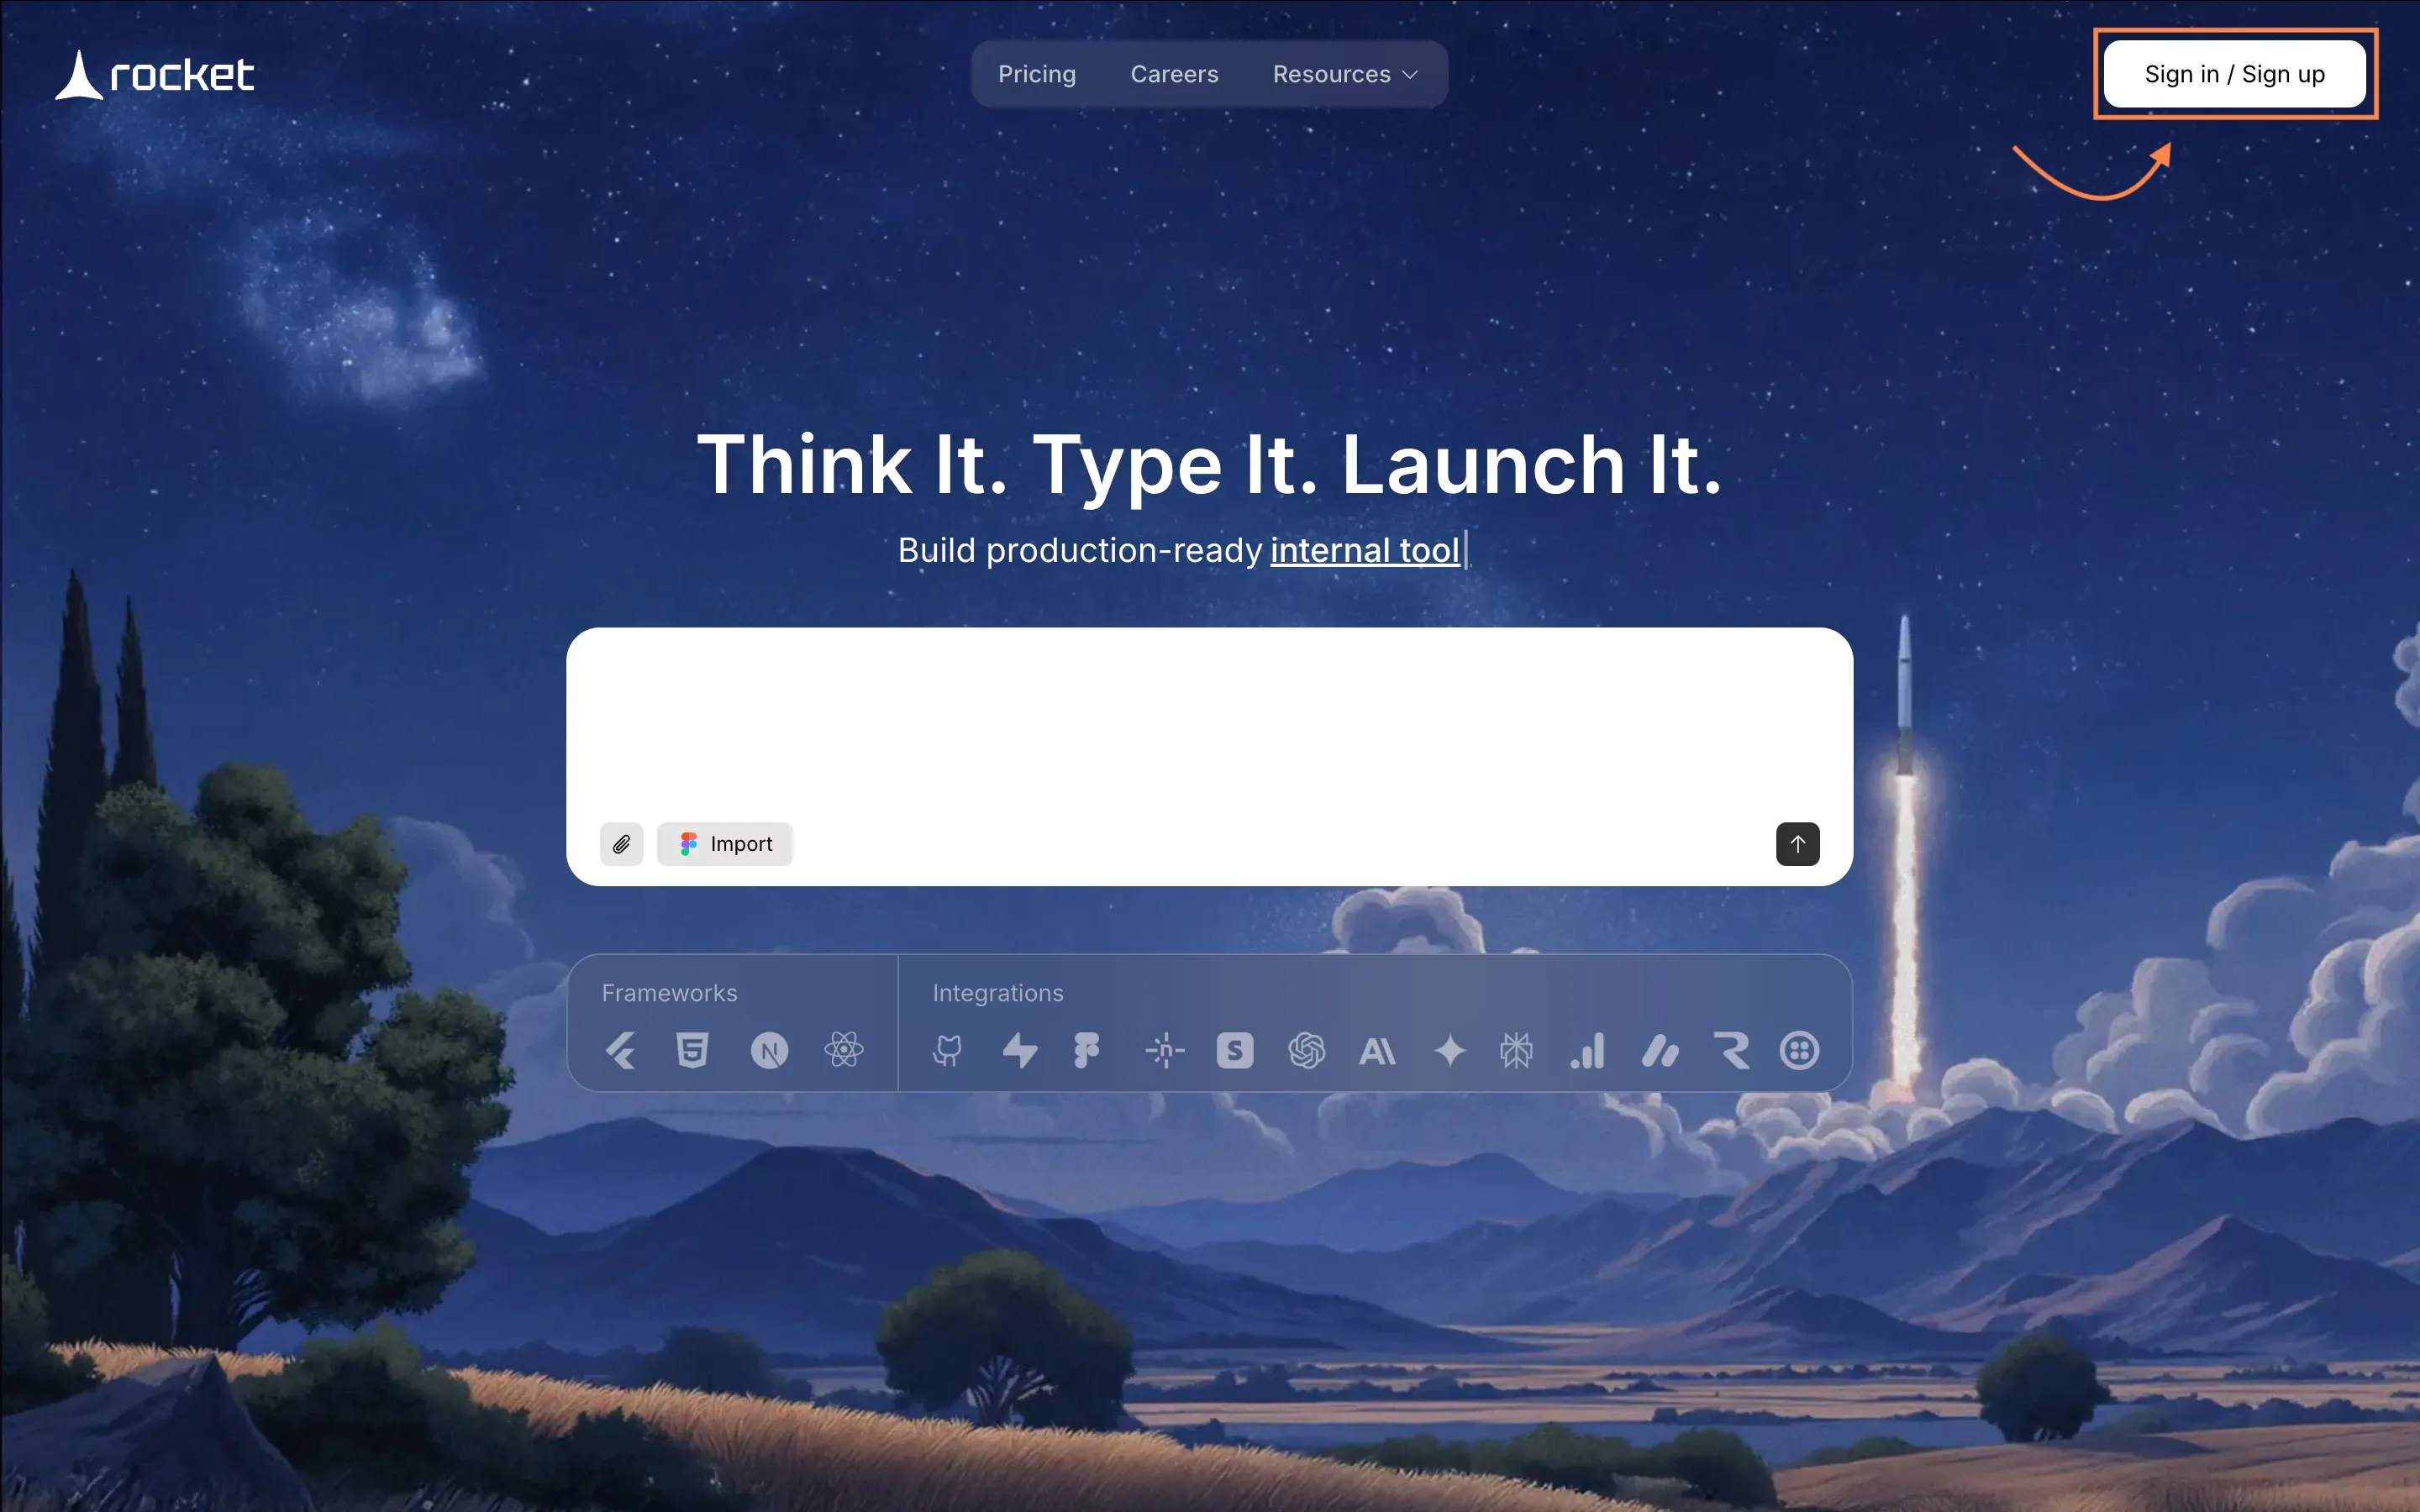
Once you're in, you’ll land on a clean dashboard where you can start building right away. Don’t overthink this step. Just get inside and start.
Step 3: Give It a Prompt or Choose a Template
Now comes the fun part. You tell Rocket.new what you want.
You can either:
-
Enter a custom prompt
-
Or pick an existing template
Example prompt:
“Create a web-based inventory system with product tracking, stock levels, warehouse locations, order management, and real time inventory tracking dashboard.”
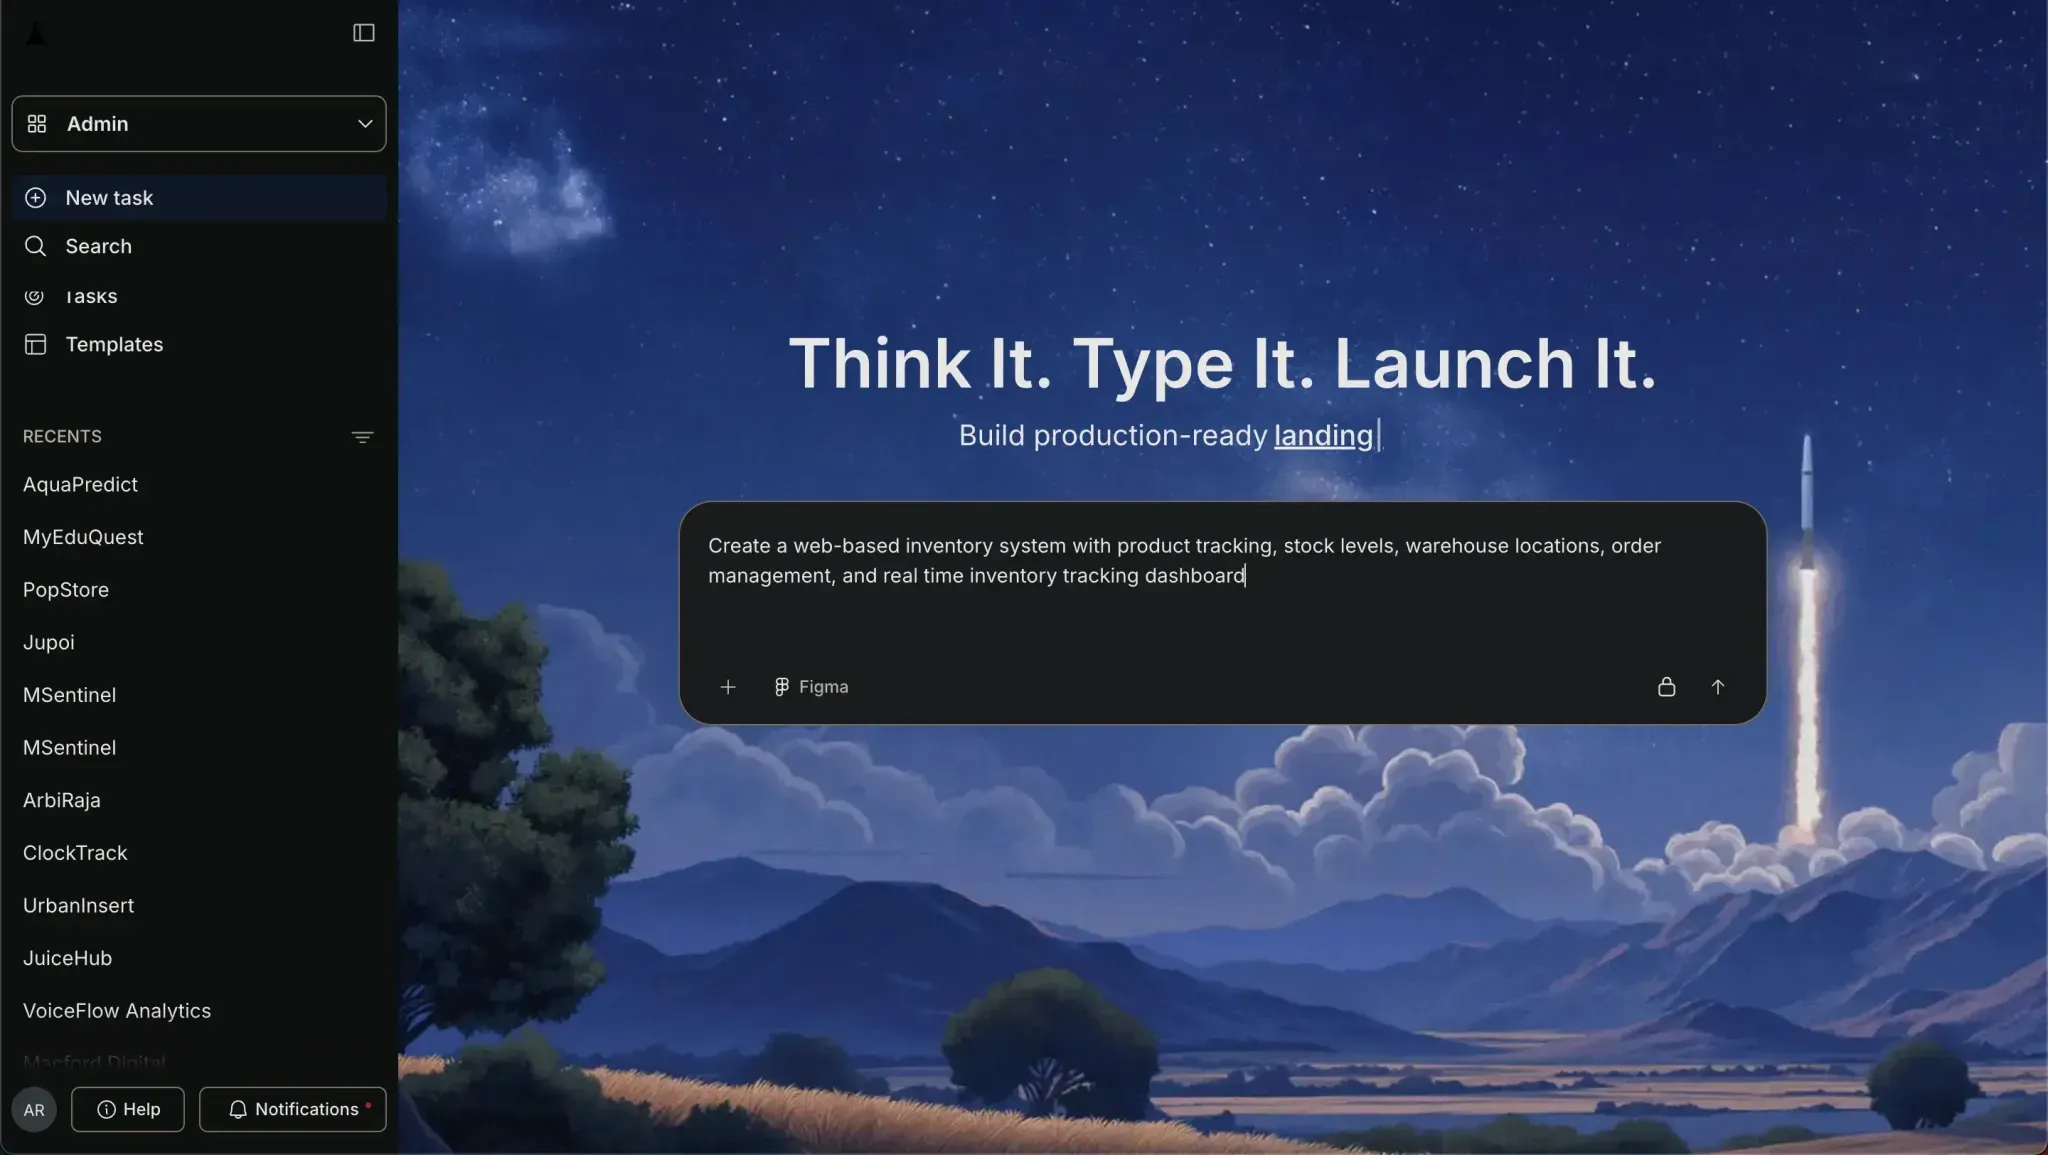
This helps the platform understand your requirements. Be specific with your prompt. The more detail you give, the better the first result.
Step 4: Select the Screen and Watch It Build
After submitting your prompt, Rocket.new starts building your app.
-
It generates screens automatically
-
It sets up workflows
-
It structures your inventory data
You can literally watch your system come to life. This is where you save a lot of time compared to traditional development.
Step 5: Review the First Version
Once the app is ready, take a look at the first version.
-
Check inventory tracking
-
Review stock levels and data structure
-
Look at how purchases and sales are handled
This is your base system. Don’t aim for perfection here. This is just your starting point.
Step 6: Modify Using Features and Commands
Now you refine your app.
-
Add custom fields for your inventory items
-
Set up user roles for your team
-
Adjust workflows for inventory operations
-
Add features like barcode scanning or low stock alerts
You can use simple commands to update the app quickly, such as:
-
"update content"
-
"change app name"
Quick note: This step helps you match the system to your specific needs.
Step 7: Test and Launch Your Inventory System
Finally, test everything and go live.
-
Check data entry flow
-
Test real time inventory tracking
-
Review reports and analytics
-
Confirm access for all users
Once everything looks good, deploy your app. Start simple, then improve as your business grows.
Building an inventory system doesn’t have to feel complicated. With Rocket.new, you can create, manage, and launch a fully working system without getting stuck in code or long development cycles. Keep it simple, focus on your workflow, and let the platform handle the heavy lifting.
Community Insight
Here’s a real perspective from X (Twitter) about inventory and spreadsheets:
“How to create an inventory tracker in Excel.” Twitter
This reflects how many people still rely on spreadsheets to manage inventory. It works in the beginning, but as your business grows, switching to a proper inventory system helps you track stock more accurately, reduce manual work, and handle operations more smoothly.
Common Challenges and How to Handle Them
Building an inventory system sounds simple at first, but once you start using it daily, a few challenges can show up. The good part is that most of them are easy to handle if you plan things right.
Data Errors
Fix this by validating data entry and using automation.
Stock Mismatch
Use real-time inventory tracking to keep stock levels accurate.
Scaling Issues
Choose software that supports growth and multiple users.
These challenges are pretty normal when you start managing inventory at scale. The key is to keep your system flexible, automate where possible, and keep improving it as your business grows.
Costs and What to Expect
When you plan to build an inventory system, one of the first things that comes to mind is cost. The good part is, you have flexible options depending on your budget and business size.
-
Free tools like Google Sheets
-
Paid inventory software subscriptions
-
Custom app development costs
Using Rocket.new reduces costs since you don’t need heavy development work.
Start with what fits your current business needs. As your operations grow, you can scale your inventory system without overspending. The goal is to manage inventory in a way that stays practical and cost-friendly.
Building an Inventory System That Actually Works
Many businesses struggle with manual tracking, messy spreadsheets, and poor inventory visibility. This often leads to lost sales, unhappy customers, and confusion in daily operations. The good part is, there’s a clear way forward. A well-built inventory management system using tools like Rocket.new helps you manage stock, track inventory, automate workflows, and connect with sales channels. It gives you better control over inventory operations and keeps your data accurate and organized.
If you’re serious about growth, learning how to create a web-based inventory system is a smart step. Start simple and focus on your business needs. Build a system that fits your workflow, rather than forcing your workflow to fit the system. Keep it clean, keep it practical, and let your system handle the heavy lifting while you focus on scaling your business.
Table of contents
- -Why Your Business Needs an Inventory System?
- -Here’s How to Build It With Rocket.new
- -Step 1: Define Your Business Needs
- -Step 2: Sign Up to Rocket.new
- -Step 3: Give It a Prompt or Choose a Template
- -Step 4: Select the Screen and Watch It Build
- -Step 5: Review the First Version
- -Step 6: Modify Using Features and Commands
- -Step 7: Test and Launch Your Inventory System
- -Community Insight
- -Common Challenges and How to Handle Them
- -Data Errors
- -Stock Mismatch
- -Scaling Issues
- -Costs and What to Expect
- -Building an Inventory System That Actually Works