Turning a Figma design into a functional MVP no longer requires a developer sprint. Upload your file, describe your product, iterate through conversation, and deploy, all in one place.
Why do polished designs stall before they ever reach users?
A CB Insights analysis of 431 startup shutdowns found that 43% cited poor product-market fit as a primary failure cause. Many of those teams had finished designs months before they tested with real users. The gap between "design done" and "product live" is where most ideas quietly die.
For designers and founders sitting on polished Figma files, the bottleneck is rarely the design itself. It is the translation layer.
Finding a developer, scoping the handoff, and waiting through sprint cycles all slow things down. Meanwhile, design intent gets negotiated away one ticket at a time. 1.5 million people have tried Rocket across 180 countries to close exactly that gap.
Why Polished Designs Get Stuck Before Launch
The handoff between design and development is one of the most friction-heavy steps in product creation. Even with Dev Mode, design tokens, and detailed specs, something always gets lost.
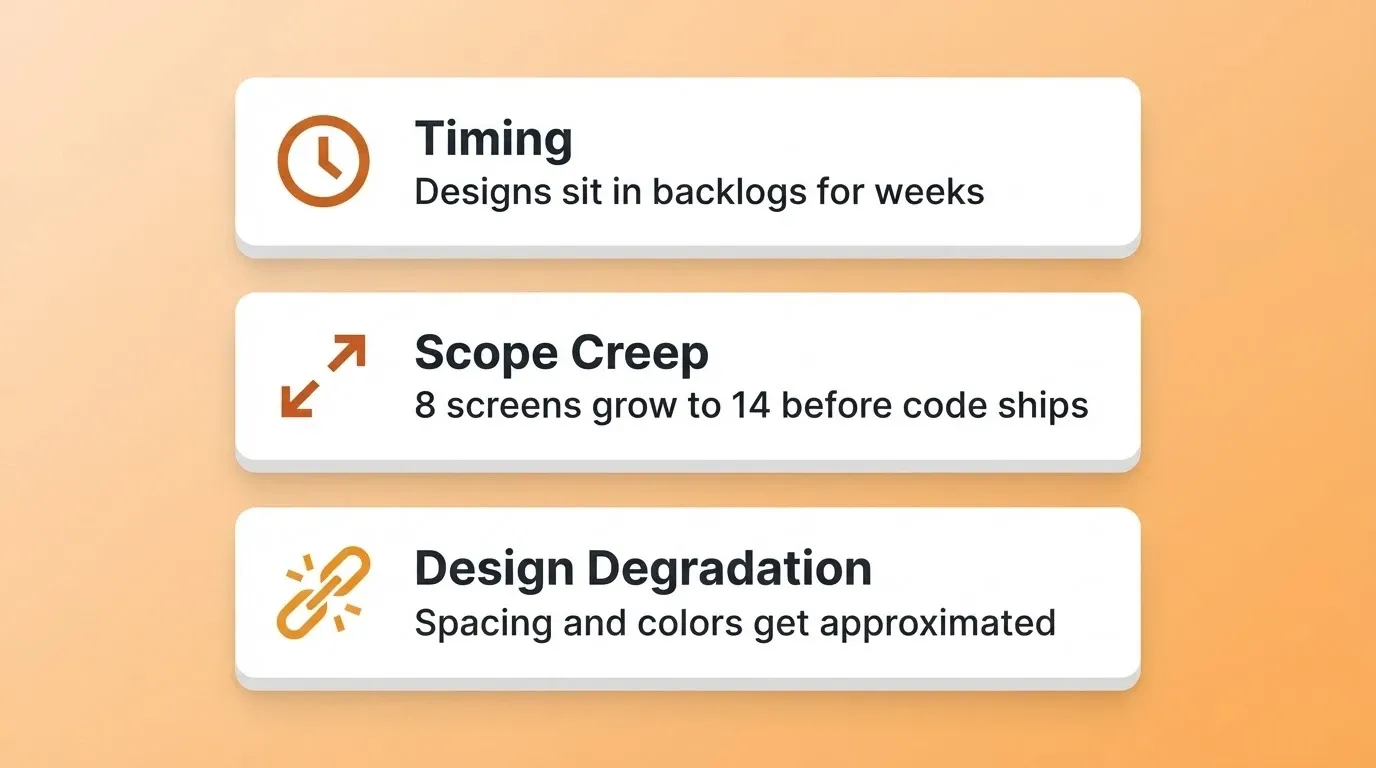
Timing is the first problem. Developers are busy. Even if your design is ready today, it might sit in a backlog for weeks. Research from the Startup Genome Project shows that startups need 2 to 3 times longer to validate their market than founders expect. Waiting on development only makes that delay worse.
Scope creep starts at handoff. What was a clean, eight-screen MVP in Figma quickly becomes a fourteen-screen project. That happens once a developer starts asking about edge cases, error states, and API structures. The scope grows before a single line of code ships.
Design intent degrades during translation. Typography scales get simplified. Spacing gets approximated. Color systems get flattened to "close enough." As a result, the final product rarely matches what the designer originally intended.
The real issue is structural. Designers think in visual systems, while developers think in logic and data. The handoff forces one worldview through the filter of another. The output is always a compromise.
If you want to skip the compromise entirely, the fastest way to build an MVP starts with a file, not a sprint.
How to Prepare a Figma File for Conversion
Not every Figma file is ready to become a product. Before any conversion tool can do its job, the design needs to be structured for production, not just for presentation.
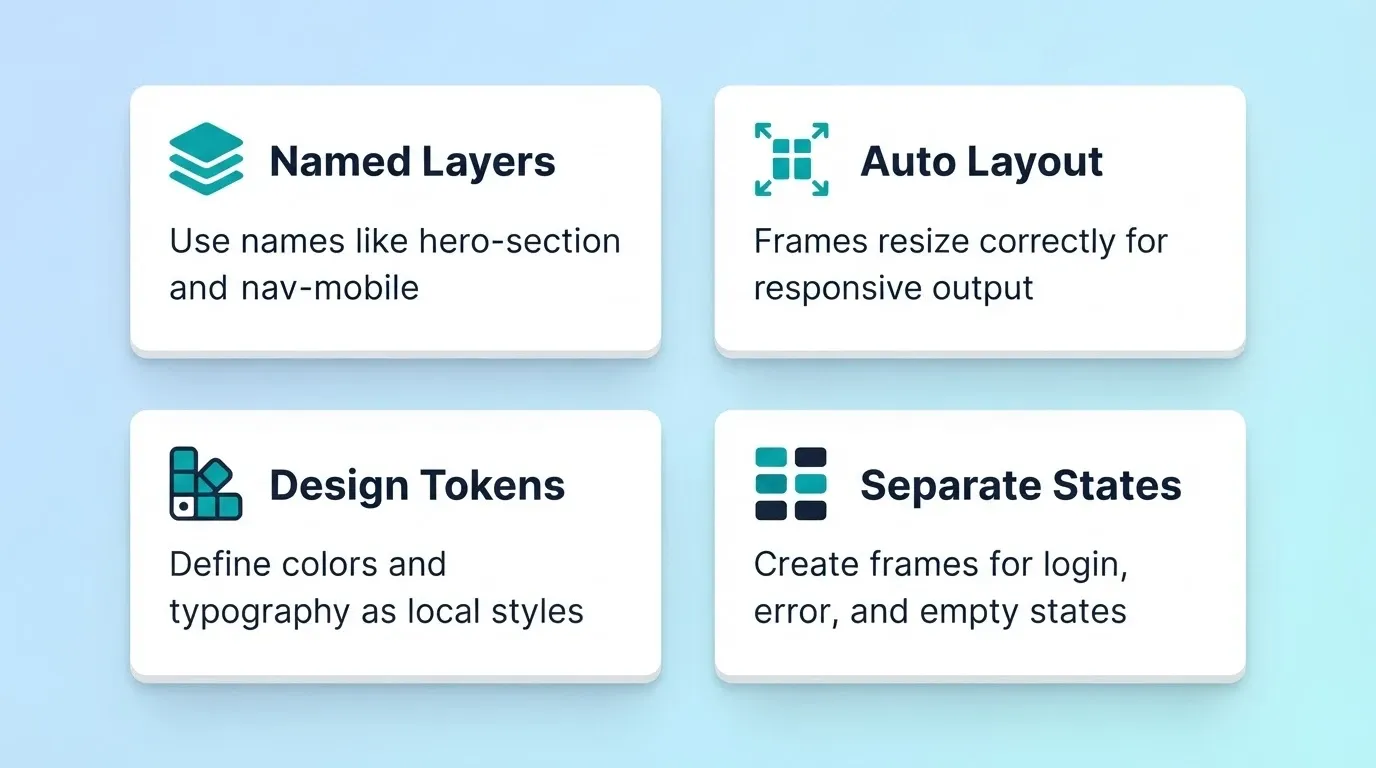
Name every layer and frame clearly. Auto-generated names like "Frame 427" or "Group 12" confuse conversion tools. Descriptive names like "hero-section," "pricing-card," and "nav-mobile" signal intent clearly and improve output quality.
Use auto layout consistently. Frames built with auto layout translate to responsive code far more reliably than absolute-positioned elements. If your design breaks when you resize a frame, it will also break in code.
Define a color and type system. Local styles or design tokens for colors, typography, and spacing give conversion tools a structured palette to work with. Scattered one-off values create inconsistency further down the line.
Separate states and variants. Login screens, error states, loading states, and empty states each need to exist as a distinct frame or variant. A conversion tool cannot infer what your logged-in dashboard looks like if only the logged-out version exists.
According to Failory's analysis of startup failure patterns, startups that pivot once or twice based on early user feedback have 3.6x better user growth than those that never pivot or pivot more than twice. A clean, well-structured Figma file speeds up that first launch so you can start collecting real feedback sooner.
What Gets Preserved and What Needs Manual Work
Most AI conversion tools handle layout, spacing, typography, and color faithfully when the file is well-structured. That said, certain elements always need attention after conversion.
Interactions and animations exist only as prototyping connections in Figma. Page transitions, hover states, and micro-animations need separate configuration in the target platform.
Real data binding cannot be inferred from placeholder text. If your design shows "John Doe" as a username, the tool sees static text, not a database field. Connecting screens to live data is always a post-conversion step.
Third-party services like payment flows, authentication, and email providers require explicit setup. This is true regardless of how clearly the design represents them visually. In short, treat conversion as a head start, not a finish line.
Rocket's Official Figma Design Guidelines
Rocket's documentation covers nine specific preparation areas. Here is what each one addresses:
| Preparation Area | What to Do |
|---|---|
| Design guidelines | Set correct frame sizes, screen types, and layer names |
| Group components and layers | Organize related elements into named groups |
| Overlay controls | Design modals and drawers as separate layers |
| Group vectors | Merge related vector shapes into one group |
| Components outside screen | Keep all layers inside their parent frame |
| Image masking | Apply fills and masks correctly |
| Invisible components | Delete hidden layers |
| Unwanted components | Remove duplicate screens and unused artboards |
| Excess text boundary | Resize oversized text boxes with auto width |
What the Conversion Process Actually Looks Like
The path from static design to working product follows a repeatable pattern. This is true whether you use traditional development or an AI builder. The key difference is who does each step and how long it takes.
With traditional development, the handoff-to-deploy cycle typically runs four to twelve weeks for a simple MVP. With an AI builder, that same cycle compresses to hours or days. Code generation, component mapping, and deployment infrastructure are all handled automatically.
The Atlassian product management team describes an MVP as "the most basic version of a product that includes only the core features necessary to satisfy early adopters and validate a product idea." With that in mind, your first conversion should focus on the core user flow, not every screen in your Figma file.
For a closer look at what the conversion step produces, explore how Figma designs become live apps with AI.
From Upload to Deployed Product: The Exact Rocket Workflow
This is where the equation changes for designers sitting on finished Figma files. Instead of writing a handoff spec and waiting for a developer sprint, you import the file directly and get a working product back.
Note: Figma import is available on the web browser at rocket.new only. It is not available in the Rocket mobile app.
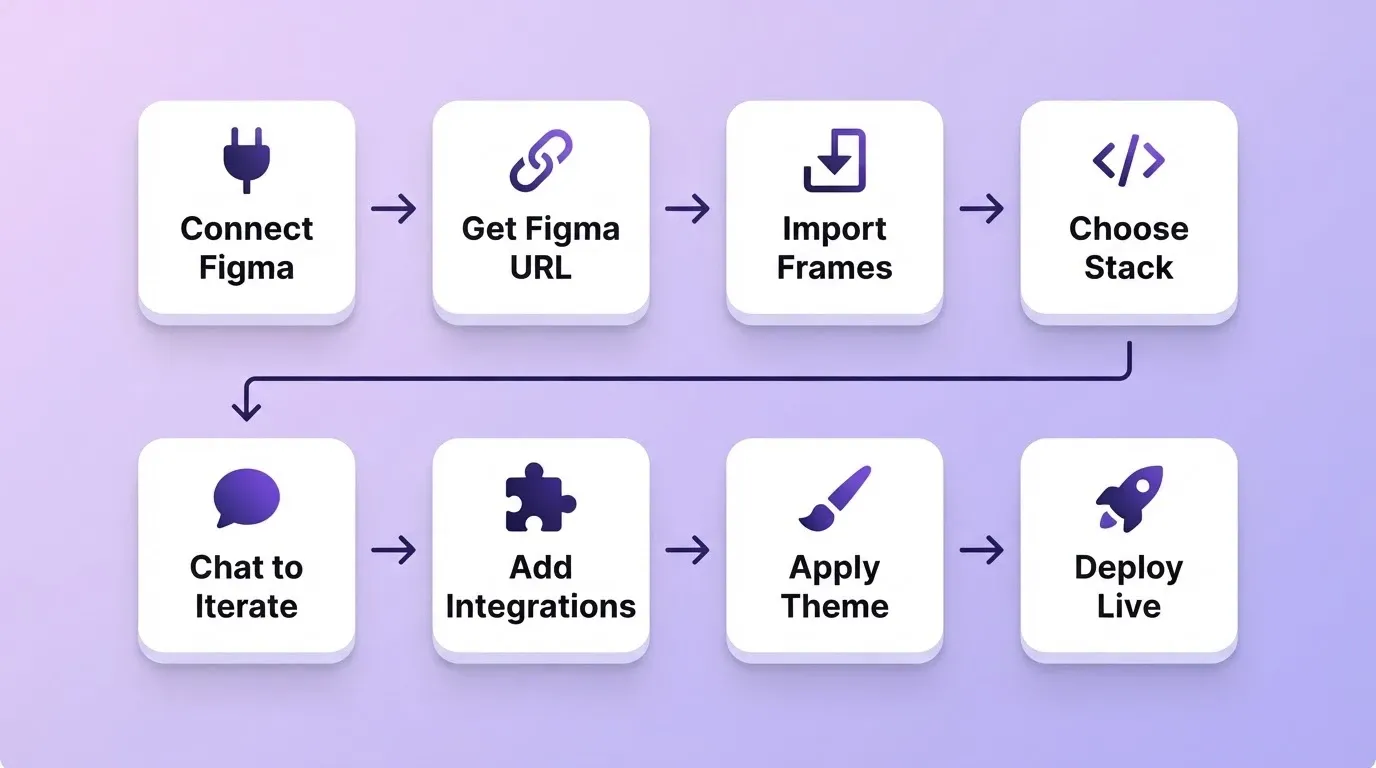
Step 1: Connect the Figma Workspace Connector
Before importing, connect Figma as a workspace-level connector. Go to Settings, then Connectors, then Figma, then Connect and complete the OAuth flow. The green dot confirms the connection is active. This is a one-time setup that applies to all projects in your workspace.
Step 2: Get Your Figma Link
Copy the URL of your Figma file, page, or specific frame. You need view or edit access to the file. Prototype links are not valid, so use the file or frame URL only.
Step 3: Import and Choose Your Output
Click the + button in the Build input and select Add from Figma. Paste your link, select your frames, and choose your tech stack:
-
Web app generates production-ready React and Next.js code with responsive layouts.
-
Mobile app generates Flutter code for iOS and Android with native navigation and design systems.
Step 4: Review the Generated Output
Rocket reads your file structurally. It preserves typography, spacing, visual hierarchy, and your color system. The output is not a template applied to your content. It is a working, deployable application built from the actual design decisions in your file. Most apps generate in one to three minutes.
Step 5: Iterate Through Three Modes
After the first generation, you have three ways to refine your app:
-
Chat with Rocket uses natural language instructions. Type "Make the sidebar collapsible," "Add a settings page," or "Fix the mobile layout." Rocket applies changes in context with no re-explaining needed. There is no change limit.
-
Visual Edit lets you click any element in the live preview to change text, style, spacing, or layout directly. This is WYSIWYG editing without touching code.
-
View and Edit Code lets you browse and modify the generated Next.js or Flutter source files directly. You can also download the source code for local development.
Step 6: Connect Data and Services
Describe what you want in chat and Rocket wires in the integration. Over 25 integrations authenticate once and flow into every build:
-
Authentication via Supabase supports email, Google OAuth, magic links, and social login.
-
Payments connect through Stripe or Razorpay.
-
Database options include Supabase Postgres, Airtable, or Strapi.
-
Analytics run through Google Analytics or Mixpanel.
-
Email delivery works with Resend, SendGrid, Mailchimp, and more.
Step 7: Apply Global Theme Changes
Use the Theme panel to change colors, fonts, and design tokens across the entire app at once. This keeps brand consistency after adding new screens through chat, without hunting through individual components.
Step 8: Deploy to a Live URL
Click Launch to publish to a staging URL instantly. You can connect a custom domain, since Rocket configures DNS automatically for supported providers. You can also buy a domain directly through Rocket or deploy to Netlify with one click. Automatic HTTPS applies to all custom domains. After launch, Rocket's built-in analytics track visitors, conversions, and Core Web Vitals with no additional setup required.
Where Design Decisions Become Product Decisions
Converting a Figma file gets you the visual layer. However, a working MVP requires decisions that go well beyond what any design file can contain. This is where many first-time builders get stuck.
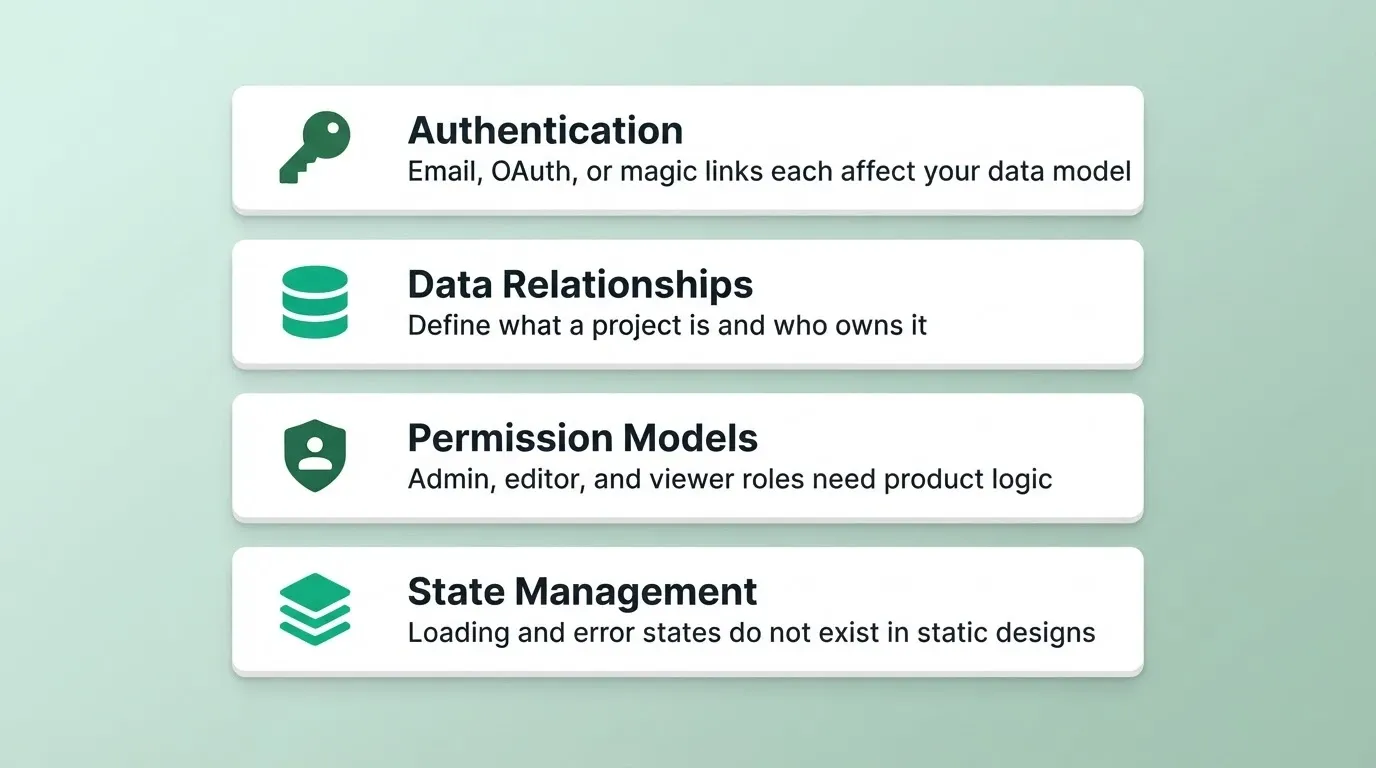
Authentication flows are a product decision, not a design decision. Your Figma file might show a login screen, but it does not define whether users sign in with email, Google OAuth, or magic links. Each choice affects your data model, onboarding flow, and security posture.
Data relationships shape how screens actually work. A dashboard showing "recent projects" means nothing until you define what a project is, who owns it, and what "recent" means in your database query.
Permission models determine who sees what. A single Figma frame showing an "admin panel" does not capture the difference between admin, editor, and viewer roles. These distinctions need to be built into the product logic, not just the visual layout.
State management covers what happens between screens. Loading states, empty states, error handling, and optimistic updates do not exist in a static design. Yet all of them determine whether your MVP feels finished or broken.
When you describe your app's purpose in Rocket, it generates appropriate data schemas, authentication configurations, and API endpoints alongside the UI. You can review plans and credits as your project scope grows.
The gap between "looks right" and "works right" is where most design-to-code projects stall. Being aware of these decision points before you start saves significant rework later.
AI Builder vs. Traditional Development: Which Path Fits Your MVP?
The choice depends on your situation, your timeline, and what you are actually building. Neither path is universally better. Here is how they compare for MVP-stage products.
| Factor | Traditional Development | AI-Powered Builder |
|---|---|---|
| Timeline to first deploy | 4 to 12 weeks | Hours to days |
| Design fidelity from Figma | Depends on developer skill | Structural preservation built in |
| Iteration speed | Days per change | Minutes per change |
| Code ownership | Full ownership | Full ownership, download source anytime |
| Backend and database setup | Separate sprint required | Auto-configured via chat |
| Mobile app output | Separate iOS and Android work | Flutter for iOS and Android from same file |
| Built-in analytics | Separate tool required | Included post-launch |
If you need a proof of concept to test with users, get investor feedback, or validate a market, an AI builder removes the most expensive bottleneck. That bottleneck is waiting for someone else to translate your vision into code.
If you are building something with deep custom logic, complex real-time systems, or regulatory requirements, traditional development gives you more granular control from the start.
For most designers and founders with a Figma file and a market hypothesis, the faster path wins. The goal of an MVP is validated learning, not architectural perfection.
Comparing AI Builders for Figma-to-MVP Workflows
Not all AI builders handle Figma files the same way. Here is a factual comparison of the main approaches:
| Capability | Prompt-Only Builders | Rocket |
|---|---|---|
| Reads existing Figma file structurally | No, generates from scratch | Yes, imports file and preserves design system |
| Carries context between iterations | No, each session starts fresh | Yes, no re-explaining what exists |
| Web output | React and Next.js | React and Next.js |
| Mobile output | Varies by tool | Flutter for iOS and Android |
| Post-launch analytics | Not included | Built-in with visitors, conversions, and Core Web Vitals |
The core structural difference is context. Prompt-only builders start from a blank slate every session. Rocket reads your existing file and carries every decision forward, so each iteration builds on what came before.
To see the full technical picture of what happens when you convert a Figma design to code, that walkthrough covers the generation step in detail.
Your Figma File Is Already the Starting Line
Your design already contains the product thinking. The layout, the hierarchy, the user flow, those decisions are made. Turning a Figma design into a functional MVP is no longer a handoff problem. It is an execution problem, and that is exactly what AI builders are built to solve.
As design-to-code tooling matures, the gap between a finished design and a deployed product will keep shrinking. The teams that ship fastest will be the ones who stopped waiting for developer availability. They started treating their Figma file as the starting point for generation, not documentation.
Upload your Figma file to Rocket, describe your product, and get a production-grade application back in hours. No sprint planning, no handoff documents, no waiting. Start building at Rocket.new and see your design running as a live product today.
Table of contents
- -Why Polished Designs Get Stuck Before Launch
- -How to Prepare a Figma File for Conversion
- -What Gets Preserved and What Needs Manual Work
- -Rocket's Official Figma Design Guidelines
- -What the Conversion Process Actually Looks Like
- -From Upload to Deployed Product: The Exact Rocket Workflow
- -Step 1: Connect the Figma Workspace Connector
- -Step 2: Get Your Figma Link
- -Step 3: Import and Choose Your Output
- -Step 4: Review the Generated Output
- -Step 5: Iterate Through Three Modes
- -Step 6: Connect Data and Services
- -Step 7: Apply Global Theme Changes
- -Step 8: Deploy to a Live URL
- -Where Design Decisions Become Product Decisions
- -AI Builder vs. Traditional Development: Which Path Fits Your MVP?
- -Comparing AI Builders for Figma-to-MVP Workflows
- -Your Figma File Is Already the Starting Line