
Converting a Figma design to a landing page used to take weeks of developer handoff. AI-powered tools now do it in under 30 minutes, preserving your spacing, tokens, and layout exactly as designed.
Why do polished Figma designs sit undeployed for weeks?
According to Figma's IPO filings, 95% of Fortune 500 companies use the platform for interface design. Yet turning those files into working landing pages still takes days of developer handoff. That mismatch burns time, budgets, and momentum.
The good news: AI-powered tools now read your design layers, interpret spacing and components, and generate production-ready code in minutes. This post walks you through the full process of converting your Figma design files into responsive, live pages, without writing CSS from scratch.
-
CSS interpretation varies between developers. Two engineers reading the same Figma design file will produce different code structures, naming conventions, and responsive breakpoints.
-
Component mapping is manual and repetitive. Designers build reusable components on their canvas. Developers often rebuild those same elements from scratch, because no automated bridge exists between design and code layers.
-
Typography and spacing values get lost in translation. Padding and margin values from design tools rarely match production output without tedious inspection of every layer.
-
Feedback loops drag on for weeks. A client spots differences from the original design, and the cycle restarts with another round of fixes and delays.
For teams that have experienced the frustration of preserving every spacing decision from a design file, AI conversion changes the entire process.
| Factor | Manual Developer Handoff | AI-Powered Conversion |
|---|---|---|
| Time to first deploy | 5 to 14 days | Under 30 minutes |
| Design fidelity | 70 to 85% accuracy | 95%+ pixel match |
| Responsive output | Requires separate coding | Auto-generated breakpoints |
| Cost per page | $500 to $2,000 | Fraction of manual cost |
| Iteration speed | Hours per change | Minutes per change |
| SEO and accessibility | Manual setup required | Built-in as default |
Who Should Use Figma-to-Code Conversion?
Before diving into the how, it helps to know whether this workflow fits your situation.
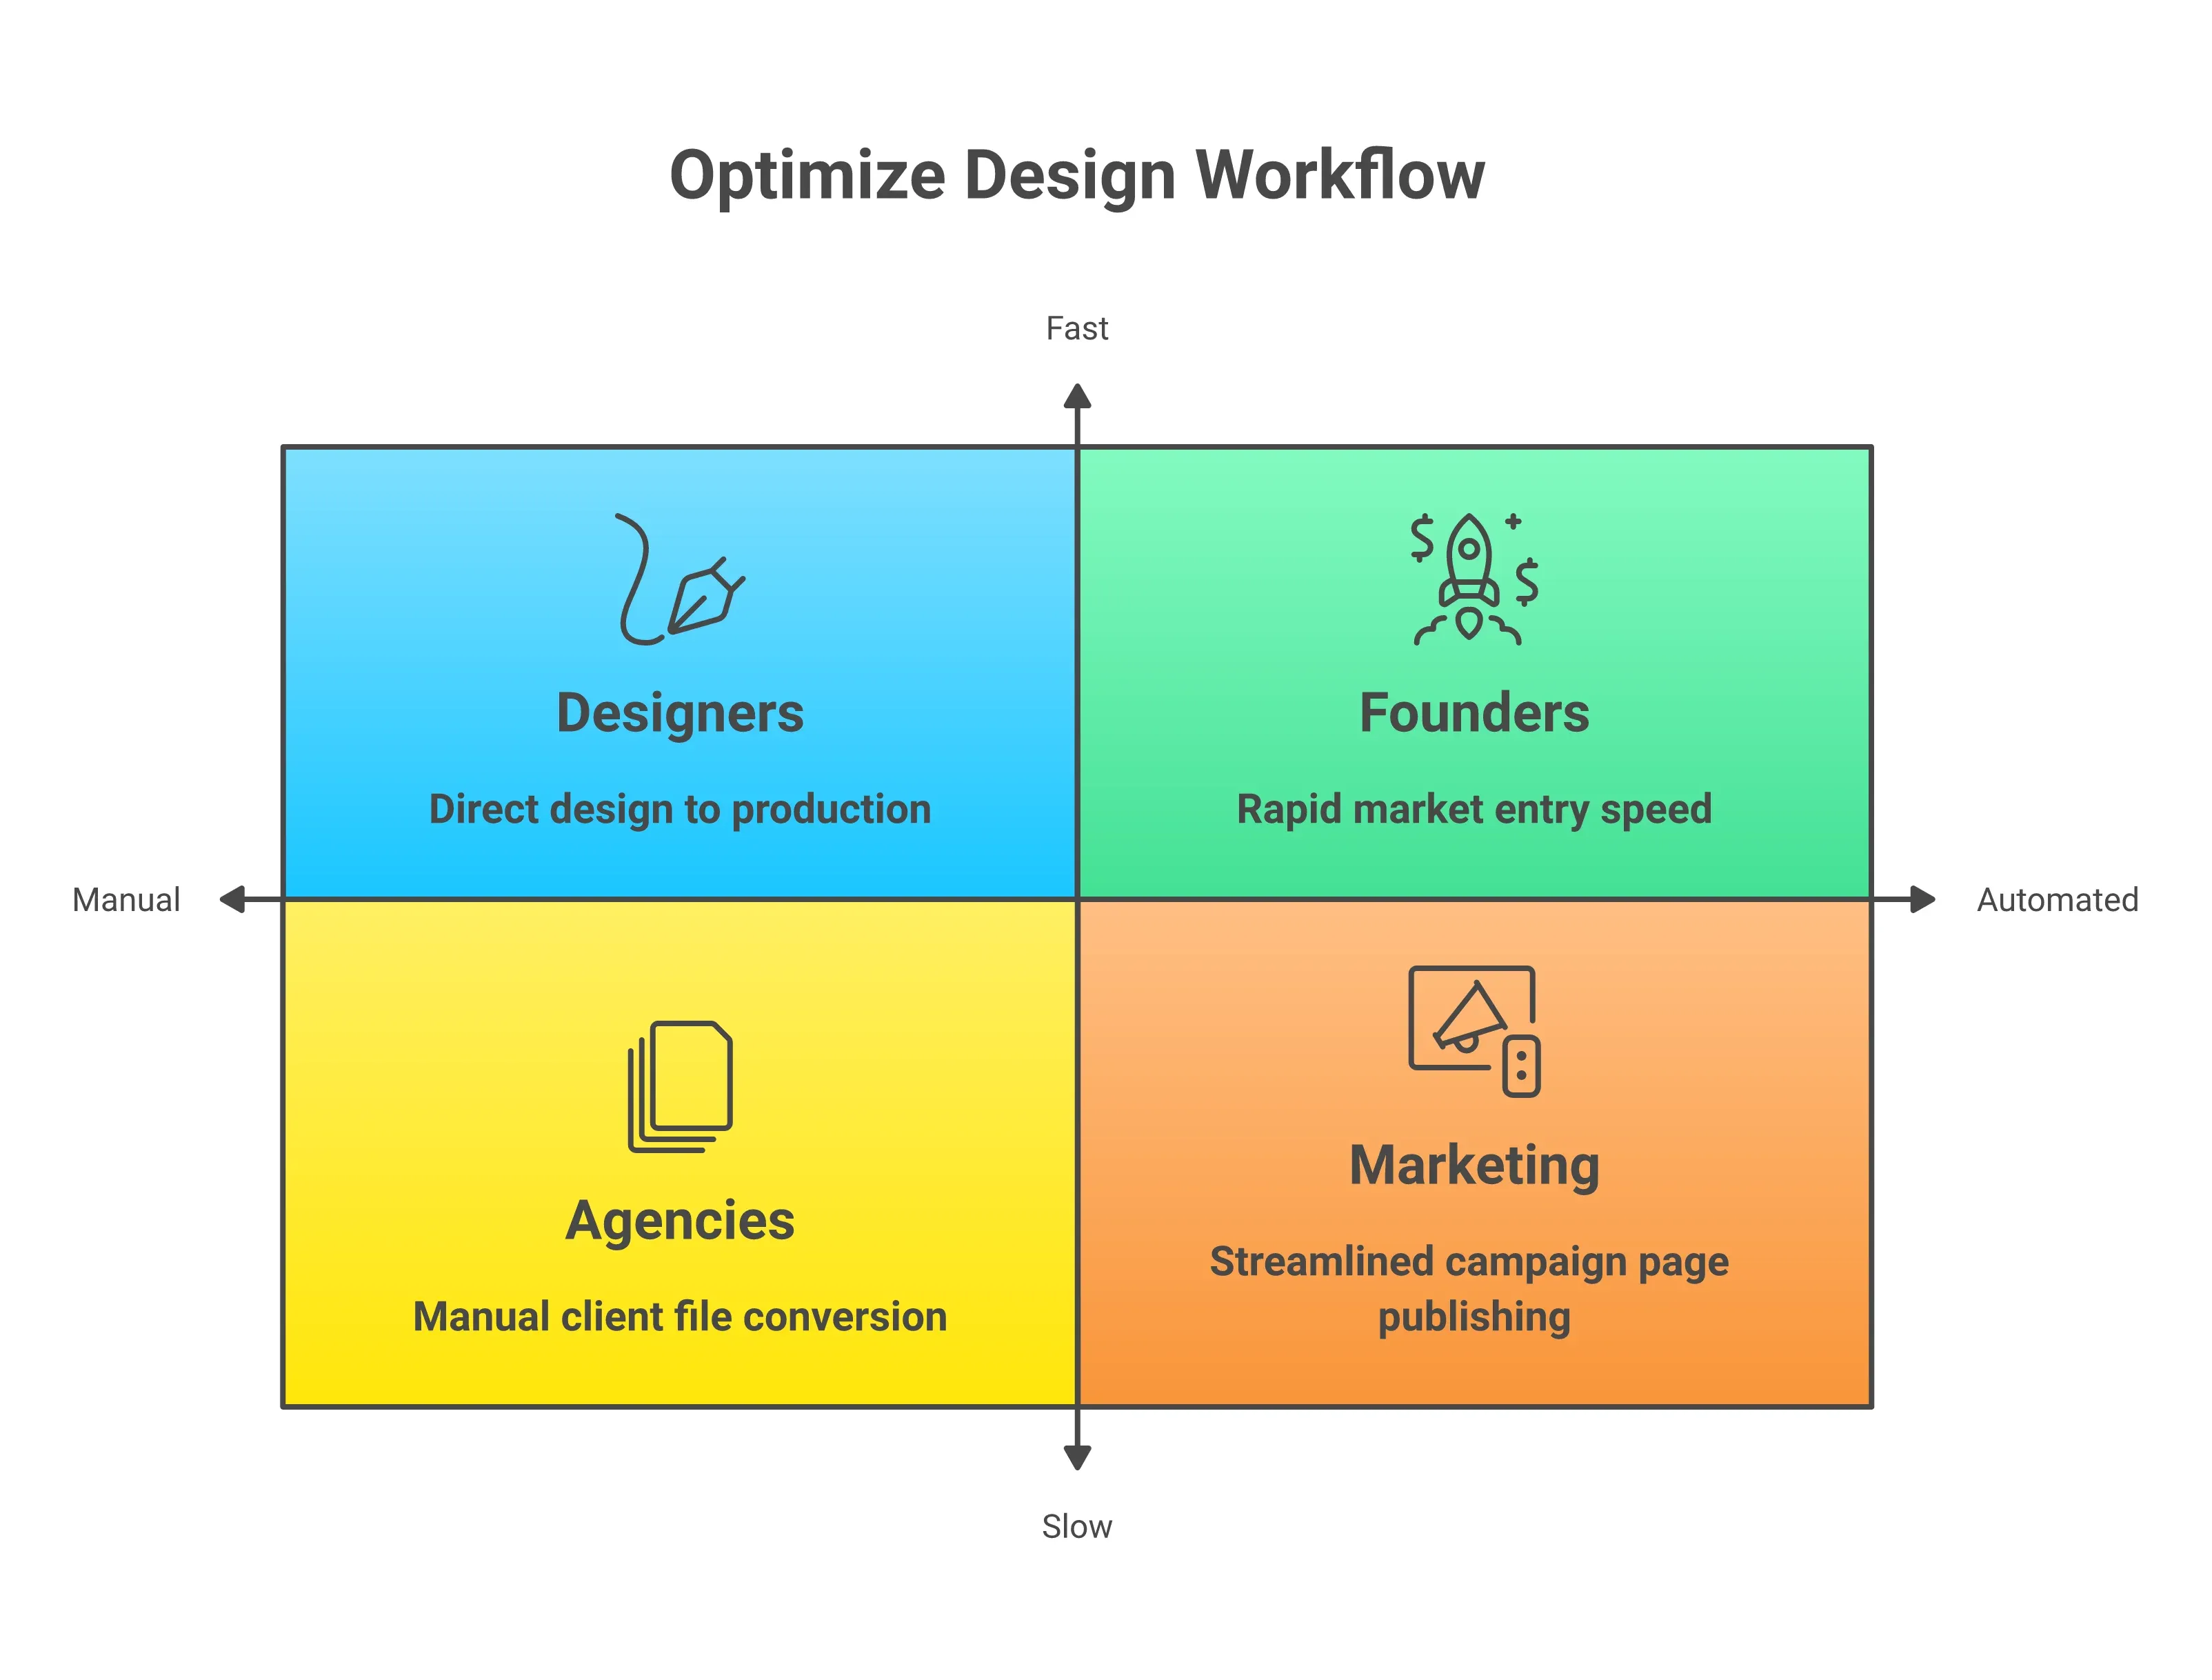
Designers who want to ship independently. You finish a layout in Figma and currently hand it to a developer. AI conversion lets you publish it yourself. No handoff, no waiting, no translation errors. The design you built is the site that ships.
Founders and product teams moving fast. Early-stage teams often cannot afford a dedicated frontend developer for every landing page iteration. AI conversion compresses the design-to-live cycle from days to under 30 minutes.
Marketing teams running campaigns. Campaign pages need to move at the speed of the campaign. Waiting a week for developer time is not viable when a launch is live. AI conversion lets marketers publish pages directly from approved designs.
Agencies delivering client work. Agencies that receive Figma files from clients can convert them to live pages without rebuilding every element manually. The time saved per project compounds quickly across a portfolio.
One scenario where it is not the right fit: if you have no design file and are starting from a blank prompt, building from an idea or a text description is faster.
What Makes AI-Powered Conversion Different?
Traditional plugins export static assets or generate basic code snippets. AI-powered tools do something fundamentally different. They read your design file the way a senior developer would, understanding relationships between elements.
-
Layer-by-layer parsing replaces screenshots. The AI opens your Figma file, identifies every frame, group, and component, then maps each to a semantic HTML structure with proper nesting.
-
Smart import handles design tokens automatically. Colors, fonts, spacing values, and border radii get extracted from your canvas and turned into CSS variables or Tailwind classes, without manual intervention.
-
Responsive logic is generated, not guessed. The tool analyzes your layout structure, identifies grid patterns, and creates proper flexbox or grid code that adapts to mobile, tablet, and desktop viewports.
-
One-click site generation means faster iteration. After the initial import, changes to your Figma design can be re-synced. Click, regenerate, and your live site updates in step with the latest file.
-
The builder understands context beyond pixels. AI reads navigation patterns, form elements, and content hierarchy to create accessible, well-structured code that search engines and screen readers can parse correctly.
According to Figma's 2025 AI Report, 59% of developers already use AI for core development tasks. Additionally, 82% report satisfaction with AI-generated code quality. That adoption rate shows the tooling has matured past the experimental stage.
For teams building high-conversion pages, choosing the right AI landing page builder can cut weeks off the timeline.
How to Prepare Your Figma File for the Best Results
The quality of your generated code depends heavily on how your Figma file is structured. Poorly organized files produce inconsistent output. Well-organized files produce code that matches your design with minimal cleanup.
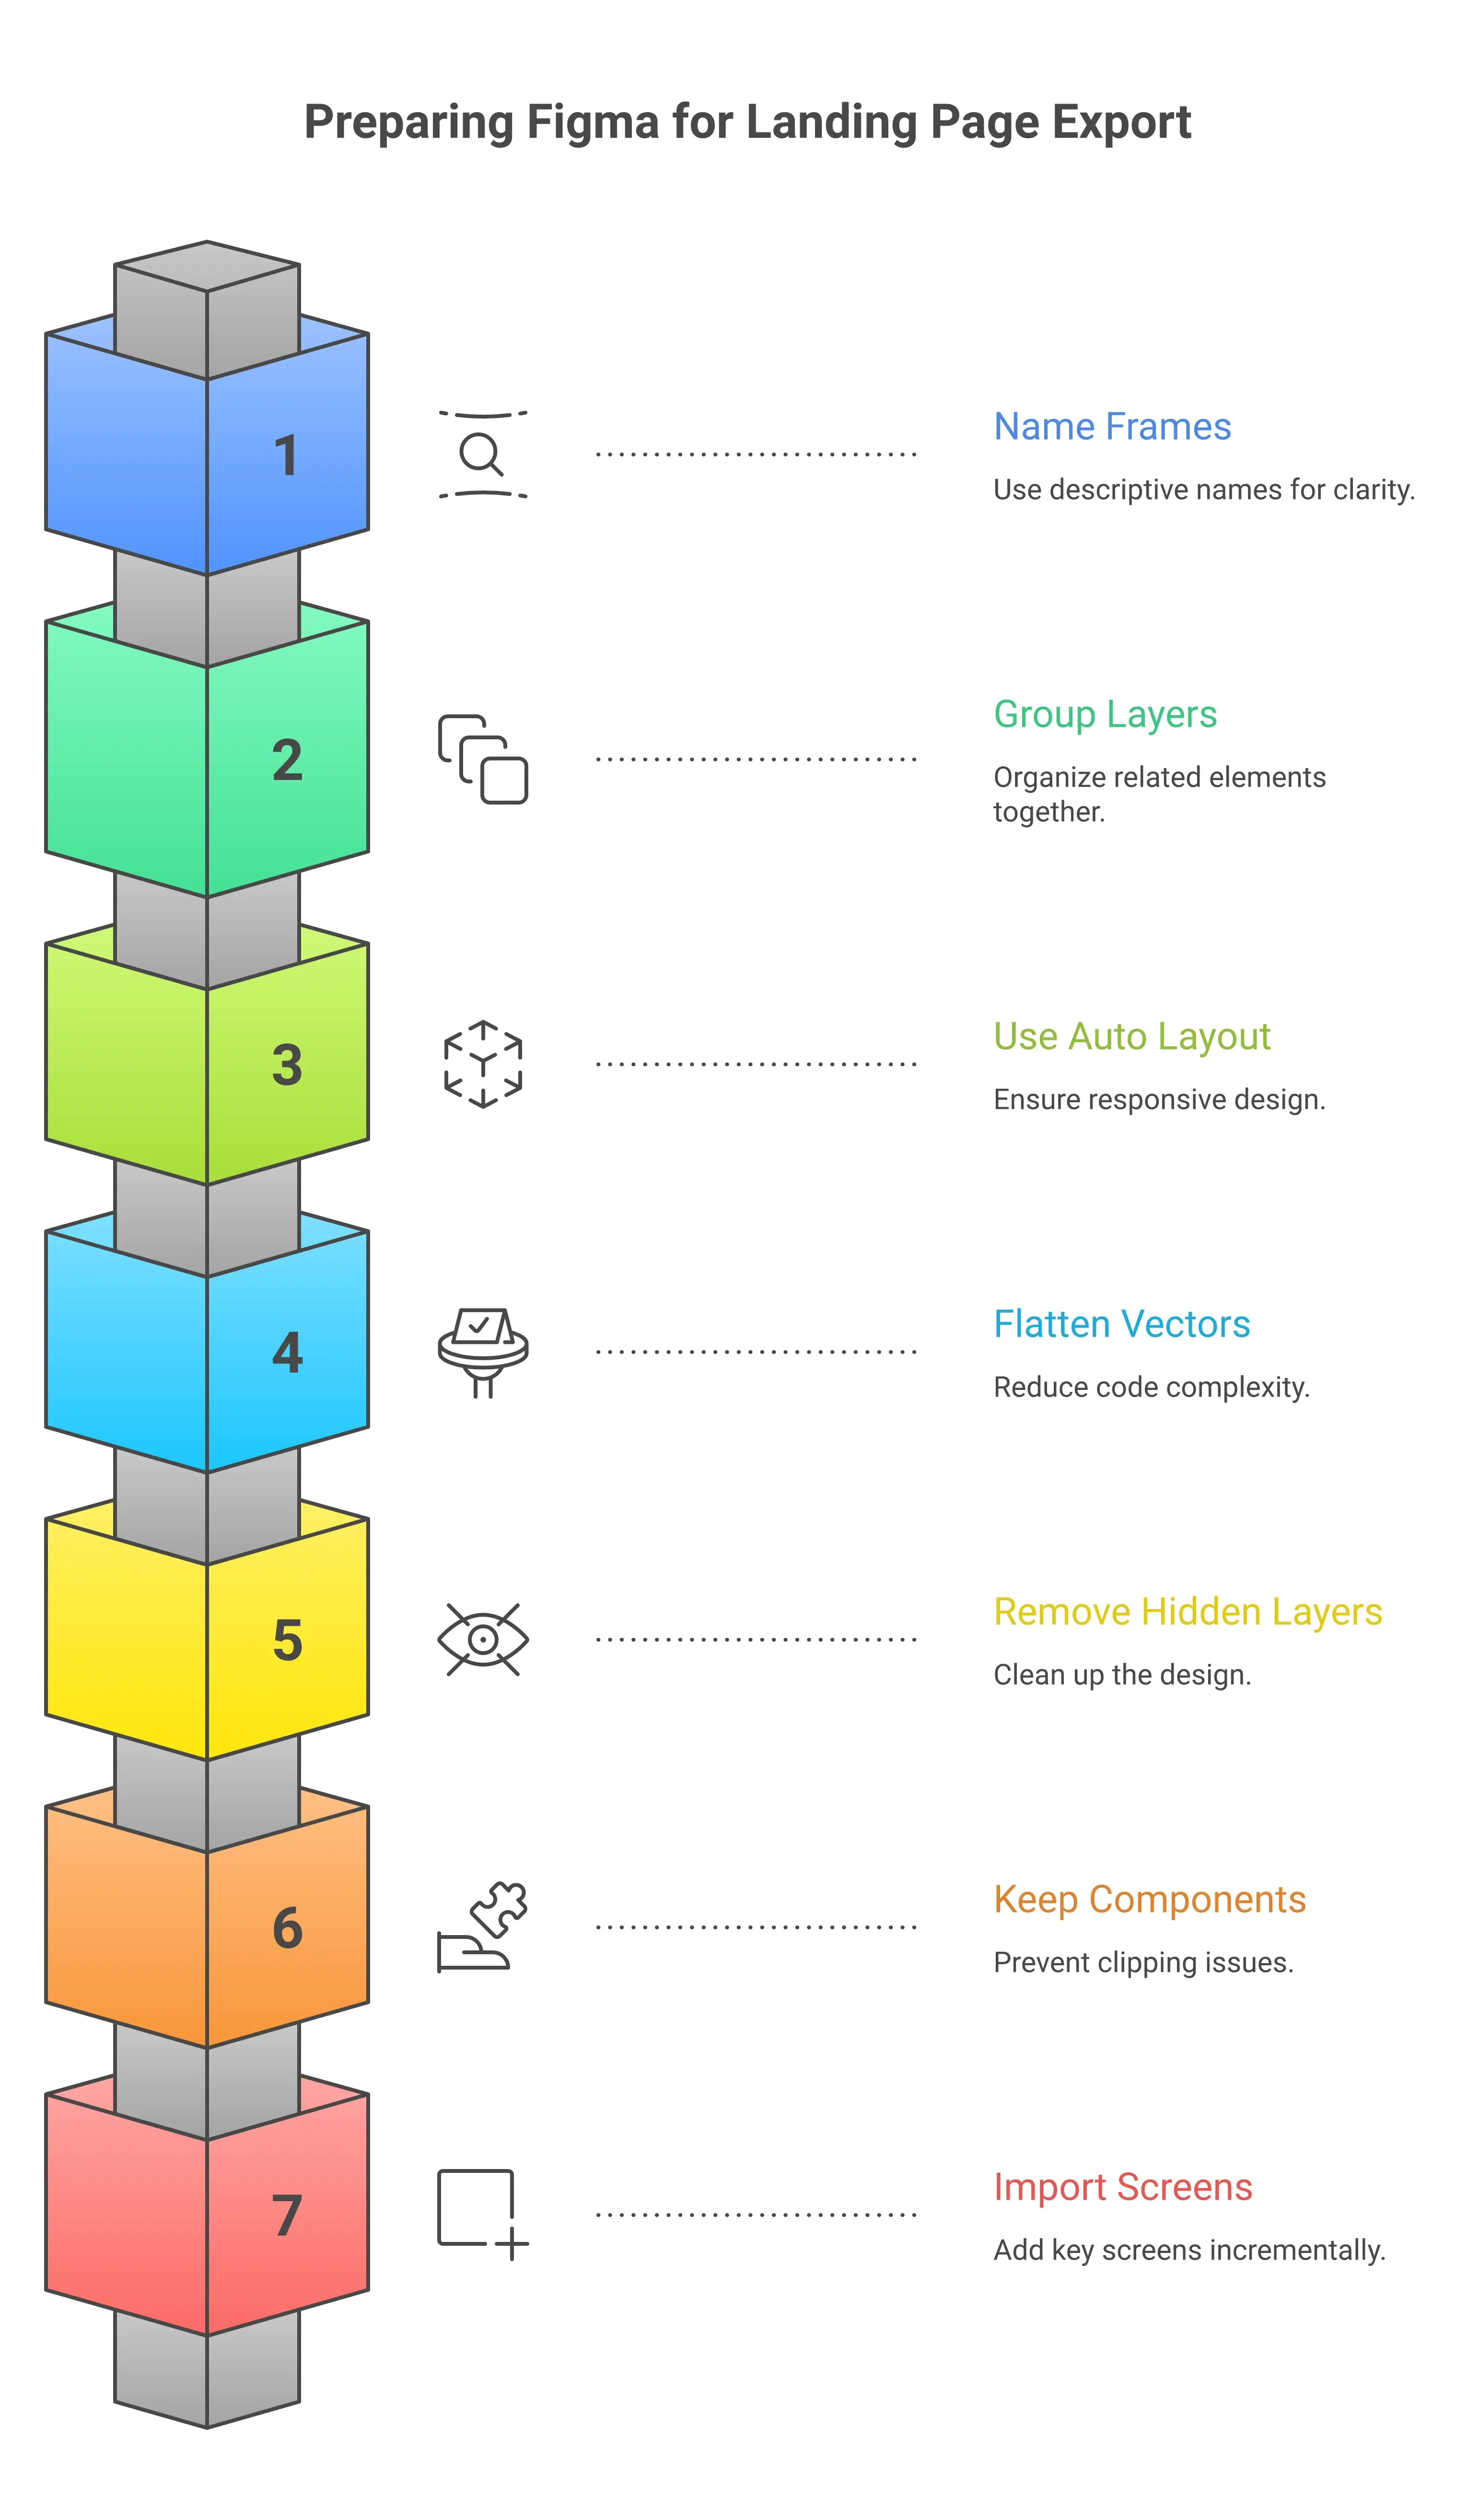
1. Name your frames clearly. Each frame becomes a page or section in the generated code. Use names like "Hero Section" or "Pricing Table." Avoid generic names like "Frame 47."
2. Group related layers properly. Components that belong together, such as a card's image, title, and CTA, should be grouped in Figma. Ungrouped layers get treated as independent elements, which breaks layout logic in the output.
3. Use Auto Layout for responsive sections. Frames built with Figma's Auto Layout export to flexbox or grid code naturally. Fixed-position layouts require more manual adjustment after generation.
4. Keep vectors clean and grouped. Complex vector paths should be grouped and flattened where possible. Ungrouped vectors with many anchor points slow down import and can produce noisy code.
5. Remove invisible or hidden layers. Hidden layers still get parsed during import. Delete anything that is not part of the final design to keep the output clean.
6. Avoid components outside the frame boundary. Elements that overflow the frame edges get clipped or misplaced in the generated layout. Keep all components inside their parent frame.
7. Import up to 40 screens at a time. Start with your five to ten most important screens, validate the output, then add remaining screens incrementally.
These preparation steps take five to ten minutes. They significantly reduce the amount of post-generation cleanup needed.
How to Convert a Figma Design File Into a Live Page
The process is straightforward once you understand each step. Here is how most AI-powered tools handle the conversion from canvas to live site.
-
Prepare your Figma file for export. Organize your layers, name your frames clearly, and group related sections. A clean canvas with proper naming makes the AI's parsing job easier and produces better output.
-
Select the pages or frames you want to convert. Most tools let you pick specific sections rather than converting everything at once. Start with your hero section and work down.
-
Import your design into the builder. Connect your Figma account, paste a public link, or upload the file directly. The tool reads every layer, text element, image, and spacing value from your canvas.
-
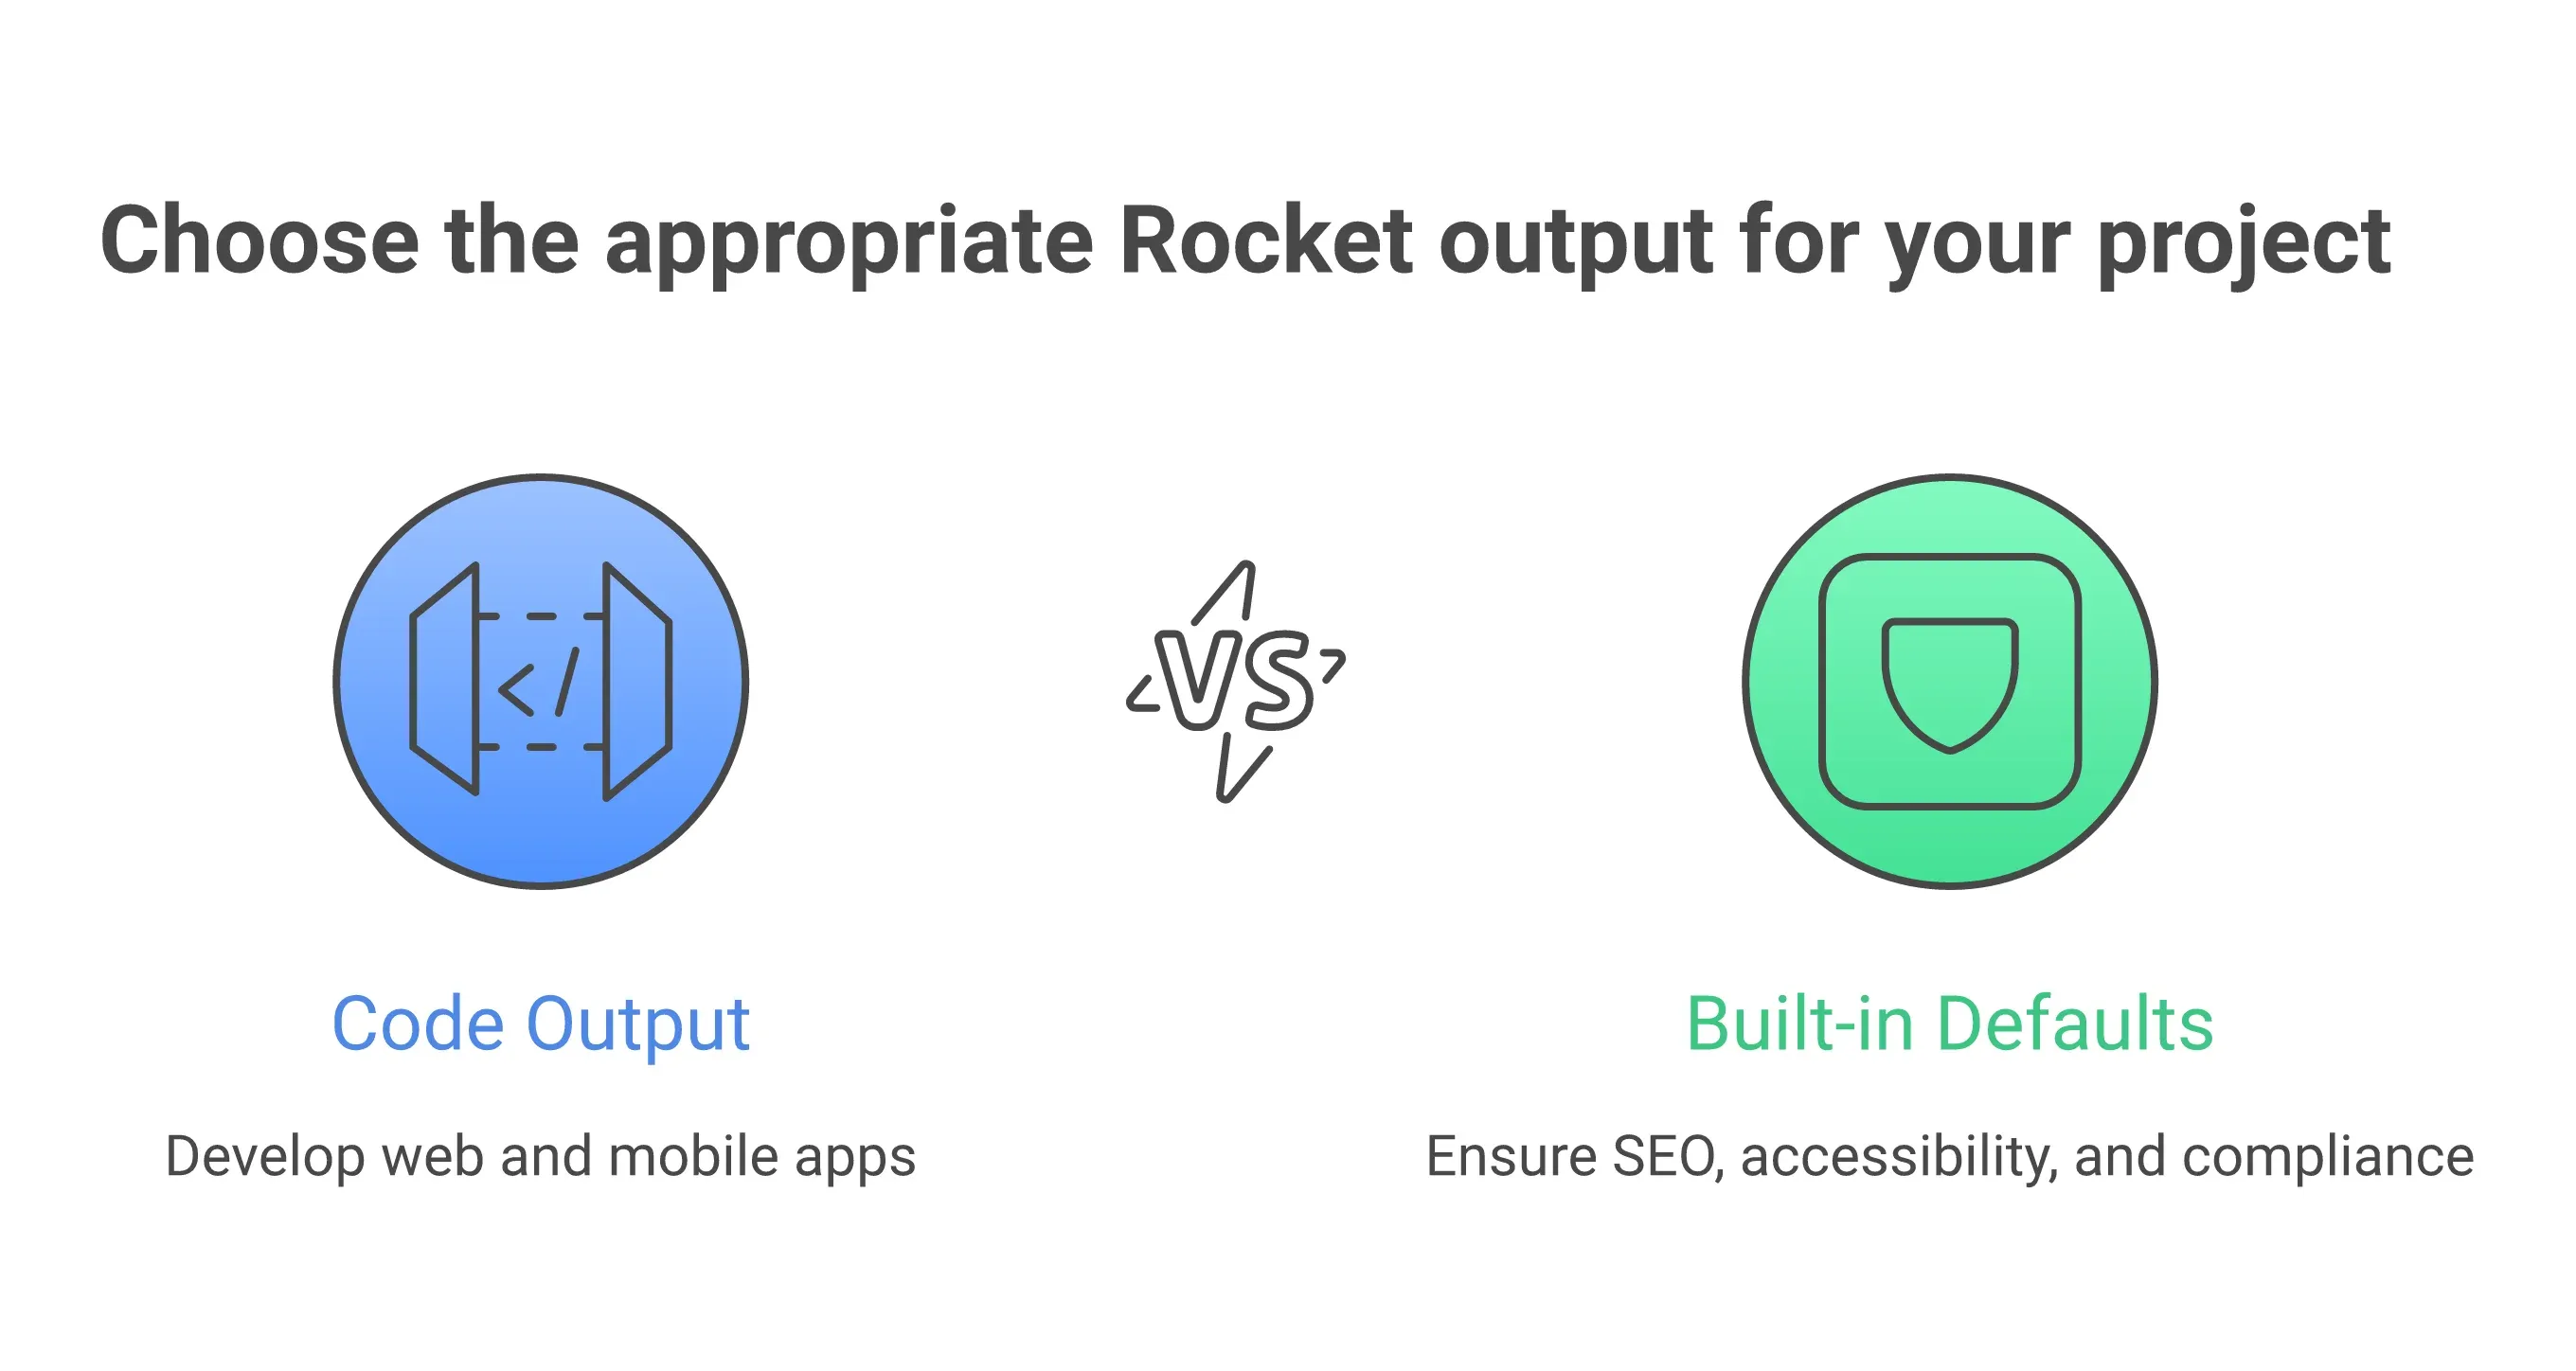
Choose your tech stack. Select the output format that fits your project: React, Next.js for web, or Flutter for mobile. The framework determines how your code is structured and how it deploys.
-
Review the generated code structure. Check that your navigation, hero, features sections, form elements, and footer match the original design. Look for any components that need manual adjustment.
-
Customize responsive behavior. AI handles most breakpoints automatically. You may still want to adjust how certain sections stack on mobile or how images resize for smaller viewports.
-
Add interactions and dynamic content. Connect your form submissions, add scroll animations if needed, and link your CTA buttons to the right destinations.
-
Publish and test across devices. Hit publish, then open your live site on mobile, tablet, and desktop to confirm everything renders correctly for real visitors.
The entire process, from file import to a published landing page, takes most teams under 30 minutes. For a detailed walkthrough on setting up pages that convert visitors, see this guide on building high-converting landing pages with AI tools.
Where Rocket Fits in the Design-to-Code Workflow
Several tools claim to convert designs into code, but output quality and production-readiness vary widely. Here is how the most commonly evaluated options compare:
| Tool | Output Type | Deployment | Code Export | Design Fidelity | Full-Stack |
|---|---|---|---|---|---|
| Rocket | Next.js / Flutter | Built-in, one-click | Yes | High | Yes |
| Anima | HTML / React snippets | No (export only) | Yes | Medium | No |
| Locofy | React / React Native | No (export only) | Yes | Medium | No |
| Framer | Framer-hosted only | Framer hosting | Limited | High | No |
| Builder.io | Visual components | Requires setup | Yes | Medium | No |
Rocket's Figma import is a native, documented feature, not a plugin or workaround. You connect your Figma account directly in the workspace, paste a frame or file URL, select your screens, choose your tech stack, and Rocket generates production-ready code screen by screen. The official Figma import documentation covers the full setup, including how to get your Figma URL, design guidelines for best results, and how to handle rate limit errors.
Here is what the Build pipeline delivers that others do not:
-
Full-stack output, not just frontend markup. Rocket produces Next.js or Flutter code with proper project structure, routing, and backend capabilities, not a prototype that needs rebuilding. For a deeper look at converting Figma designs to Next.js specifically, see Figma to Next.js: Convert Designs to Production Code.
-
SEO-ready structure, WCAG accessibility, and GDPR compliance ship as defaults. These are not optional extras you configure after launch. They are the baseline on every generated page.
-
25+ integrations connect directly into generation. Stripe, Supabase, Google Analytics, Mailchimp, Mixpanel, Typeform, and more than twenty other services authenticate once and flow into every build.
-
Version history and one-click rollback. Every generation and significant edit creates a new version. If a change breaks something, you restore a previous version in one click.
-
Collaboration features for the whole team. Product managers, designers, and developers work on the same project together, without switching between five different tools.
-
Free tier for testing your workflow. Import a design file and see the generated output before committing to a paid account. No credit card required.
Tools like Anima and Locofy generate code snippets but leave you with disconnected files that still need a developer to assemble into a working site. Framer works well for simple pages but ties you to their hosting with limited code export options. Builder.io offers visual editing but requires significant setup time before you see output.
For teams already working in Figma, the complete design-to-web-app pipeline eliminates the handoff bottleneck entirely.
Which Practices Keep Landing Pages Responsive After Export?
Getting the initial conversion right is only half the job. Keeping your pages performant and responsive over time requires a few deliberate choices.
-
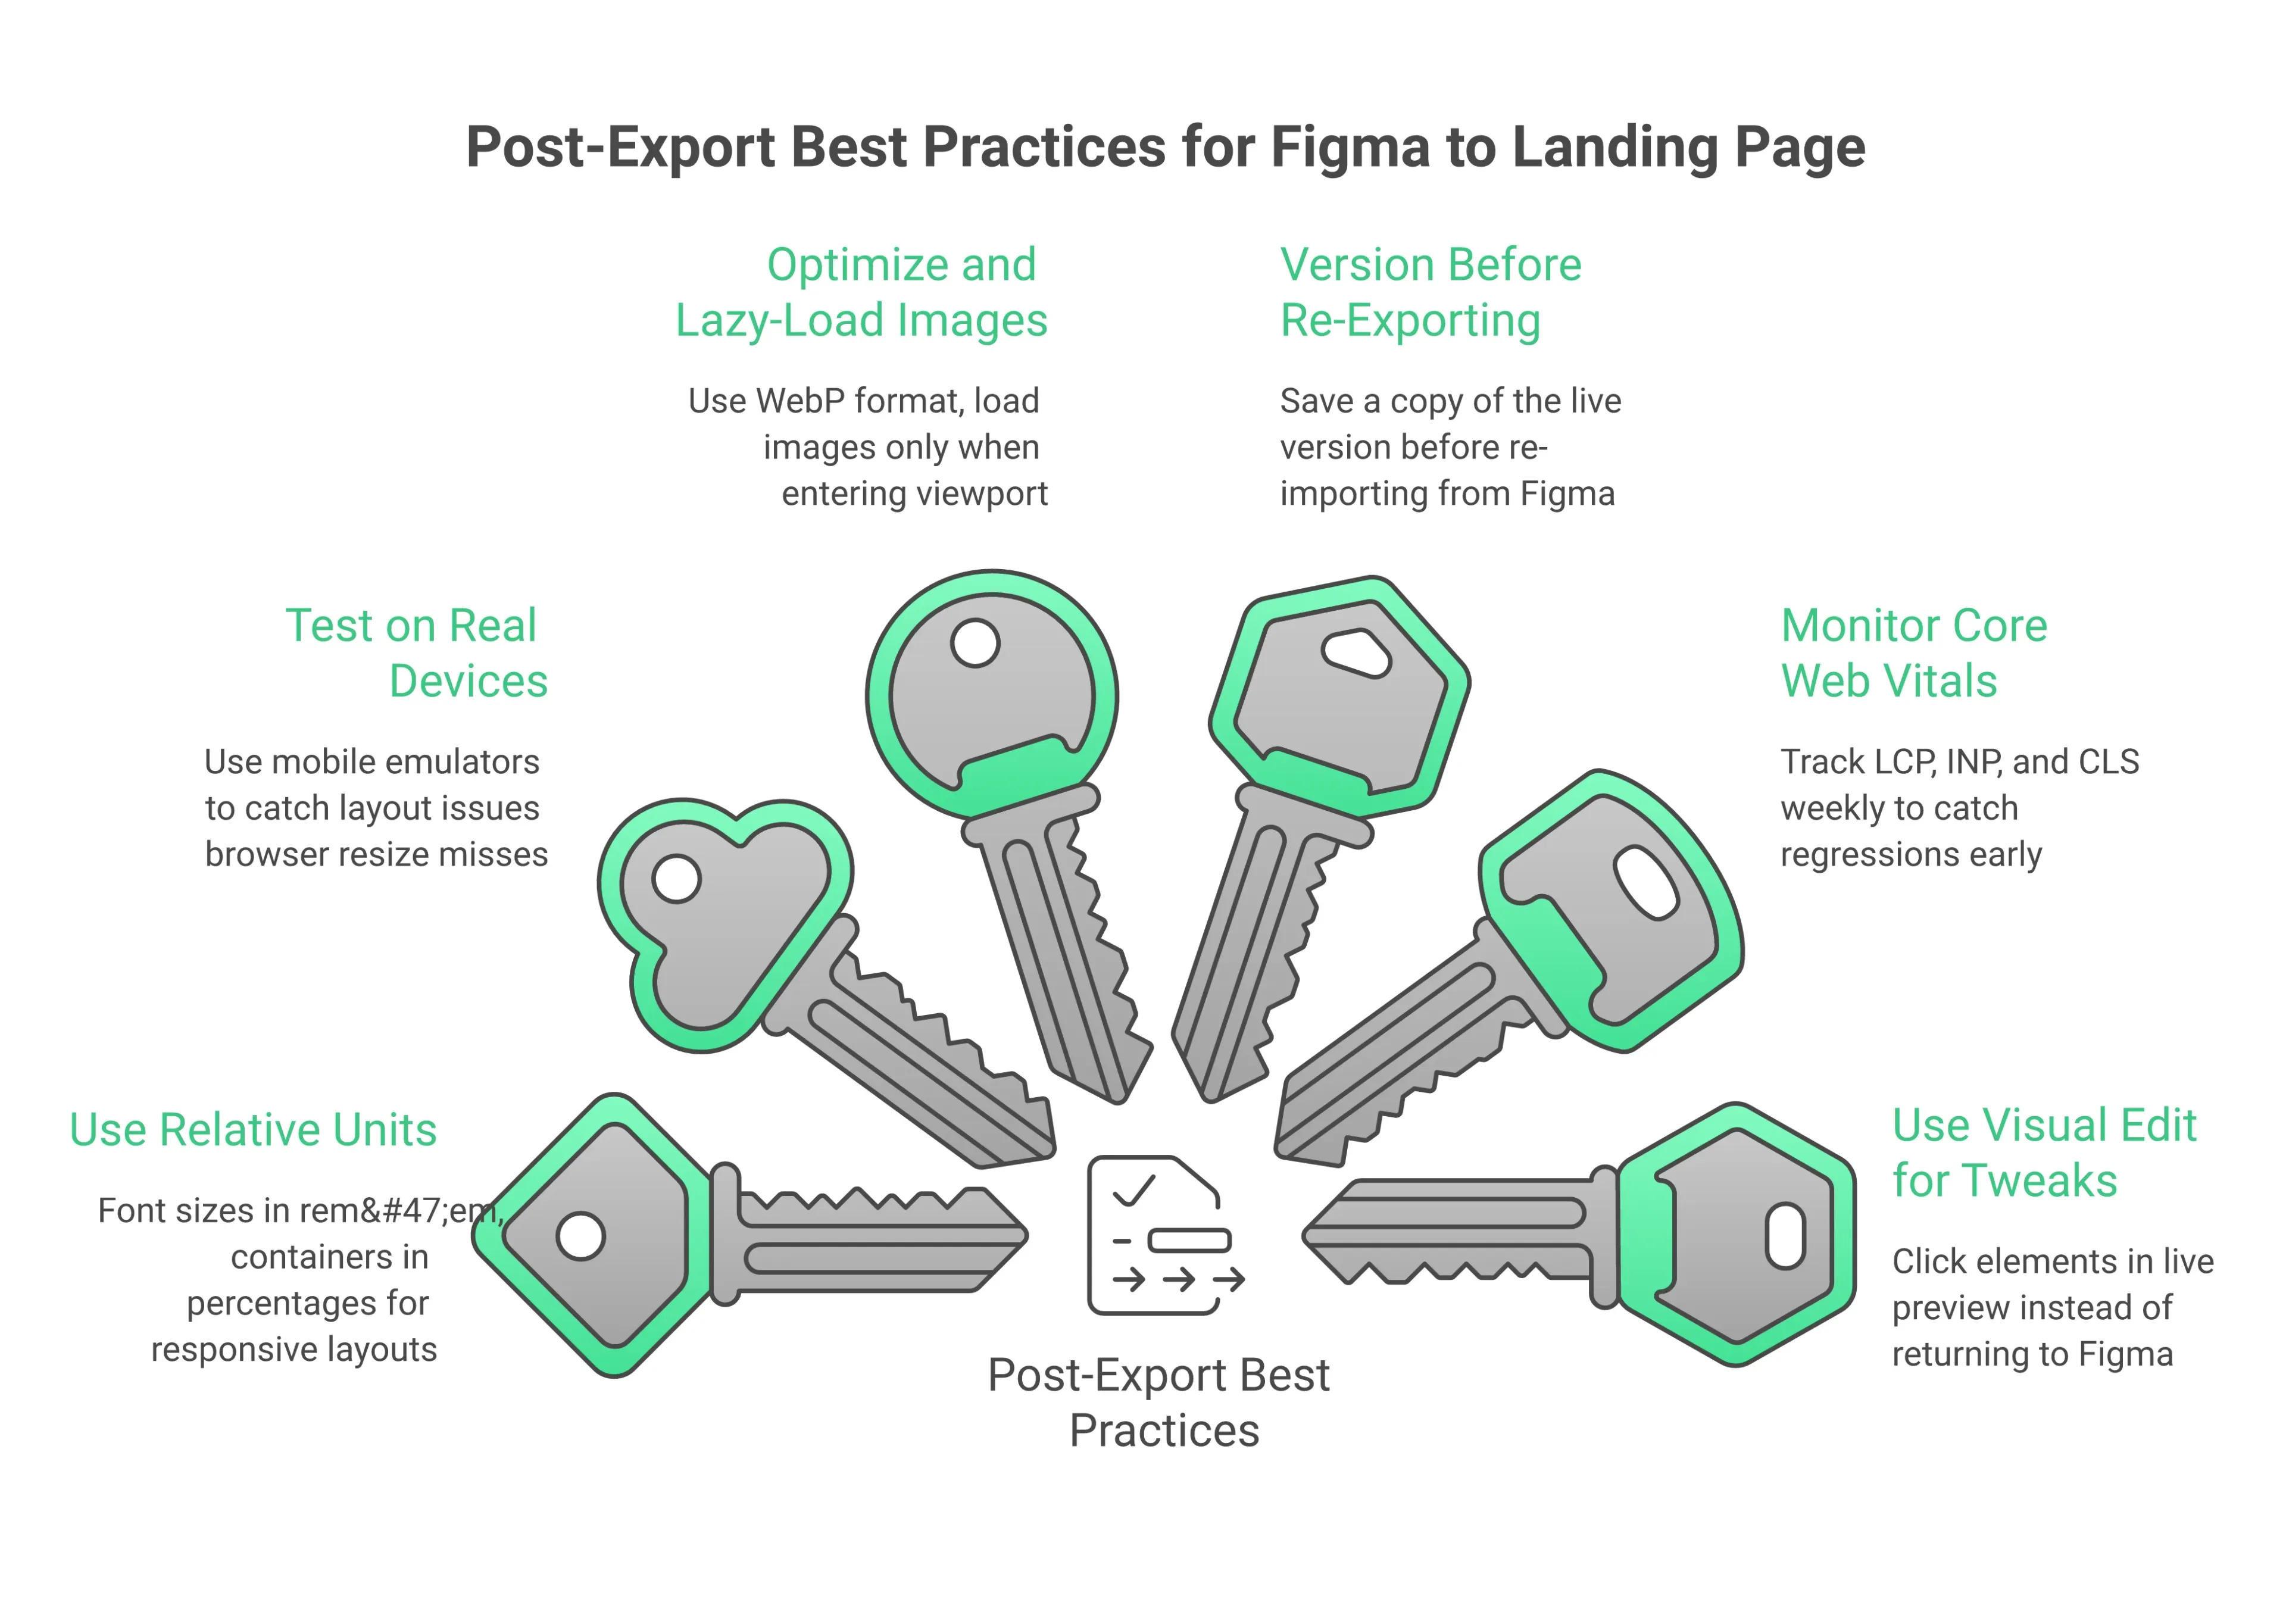
Use relative units instead of fixed pixels. Check that font sizes use rem or em and containers use percentages or viewport units. This makes your page adapt naturally to any screen size without additional media queries.
-
Test with real device previews, not just browser resizing. Visitors access your web pages on hundreds of different devices. Use actual mobile testing or emulators to catch layout issues that browser resize misses.
-
Keep images optimized and lazy-loaded. Large image files slow down your site for mobile visitors. Use modern formats like WebP and let the browser load images only when they enter the viewport.
-
Version your design changes before re-exporting. If you update your Figma file and re-import, save a copy of the previous live version. This lets you roll back quickly if the new output introduces issues.
-
Monitor Core Web Vitals after publishing. Page speed, interactivity, and visual stability directly affect your search rankings. Track these metrics weekly to catch regressions early.
-
Use Visual Edit mode for post-launch tweaks. Rather than returning to Figma for minor copy or spacing changes, click elements directly in the live preview and adjust them in place.
As one designer noted in a discussion about Figma's community growth: "Figma made design collaborative and accessible. The next step is making the code output just as collaborative." That sentiment captures why teams are moving toward tools that keep everyone in the loop even after code ships.
Key Takeaways
-
Converting Figma to a landing page with AI takes under 30 minutes, compared to 5 to 14 days with manual developer handoff.
-
The best results come from well-prepared Figma files. Named frames, grouped layers, Auto Layout, and clean vectors produce code that matches the design with minimal cleanup.
-
Not all AI conversion tools produce production-ready output. Tools like Anima and Locofy export code snippets that still require developer assembly. Tools like Rocket generate deployable Next.js or Flutter code with built-in hosting, SEO, and accessibility.
-
Design fidelity of 95% or higher is achievable when the Figma file follows import guidelines and the AI tool reads design tokens rather than treating the design as a flat image.
-
SEO, WCAG accessibility, and GDPR compliance should ship as defaults, not as post-launch configuration tasks. Verify your chosen tool includes these before committing.
The Future of Figma to Landing Page Conversion
The Figma to landing page workflow is no longer a workaround. It is becoming the standard. As AI models get better at reading design intent, the gap between what you design and what ships will continue to close. Teams that build this workflow into their process now will move faster, iterate more cheaply, and ship with fewer dependencies.
Rocket turns your Figma file into a production-ready landing page, complete with responsive code, SEO defaults, and one-click deployment. No handoff. No rebuild. Start for free and ship your first page today.
Table of contents
- -Who Should Use Figma-to-Code Conversion?
- -What Makes AI-Powered Conversion Different?
- -How to Prepare Your Figma File for the Best Results
- -How to Convert a Figma Design File Into a Live Page
- -Where Rocket Fits in the Design-to-Code Workflow
- -Which Practices Keep Landing Pages Responsive After Export?
- -Key Takeaways
- -The Future of Figma to Landing Page Conversion