
Converting Figma designs into production-ready UI components is the biggest handoff bottleneck in modern development. This blog covers design tokens, auto-layout, naming conventions, and AI-powered workflows that close the gap between canvas and code.
Why does a finished Figma file still take days to become working code? The design is done, the decisions are made, yet developers spend hours manually reconstructing what already exists.
The 2024 UX Tools Design Survey found that Figma holds a 46:1 usage ratio over Sketch among 2,220 respondents. It is the undisputed workspace where interface decisions happen. Yet the distance between a finished Figma frame and a functioning component in your codebase remains surprisingly expensive.
This blog breaks down practical strategies for structuring design files, extracting clean components, and using AI-powered workflows to close that gap.
Who This Guide is For
This guide is written for three types of people who face the same problem from different angles:
-
Designers and UX leads who finish a Figma file and watch their intent get lost in developer handoff
-
Developers who spend hours manually recreating what already exists in a design file
-
Founders and product managers who want to ship faster without hiring a dedicated designer for every iteration
If you have ever wondered why turning a Figma file into working code takes longer than the design itself, this guide is for you.
Why Design Files Still Break During Handoff
The gap between design and development is not a communication problem. It is a translation problem. It shows up every time a developer opens a Figma file with ambiguous structure.
-
Naming mismatches between layers and code: Figma layers named "Frame 427" or "Group 12" give developers zero context about component purpose or hierarchy
-
Missing auto-layout constraints: Frames without auto-layout produce absolute positioning in code. This breaks responsive behavior at every viewport.
-
Inconsistent spacing values: Designers who mix 12px, 14px, and 16px padding create confusion about which value represents the intended token
-
No shared component library: When teams build interface elements ad hoc instead of from a shared, structured library, developers cannot map designs to existing code
-
Hidden state variations: Buttons with hover, active, and disabled states often exist only in the designer's head, never documented in the file itself
Each of these issues adds minutes to every single component extraction. Across a full interface redesign, those minutes compound into days of rework that nobody budgeted for.
What Makes a Clean Component Translation?
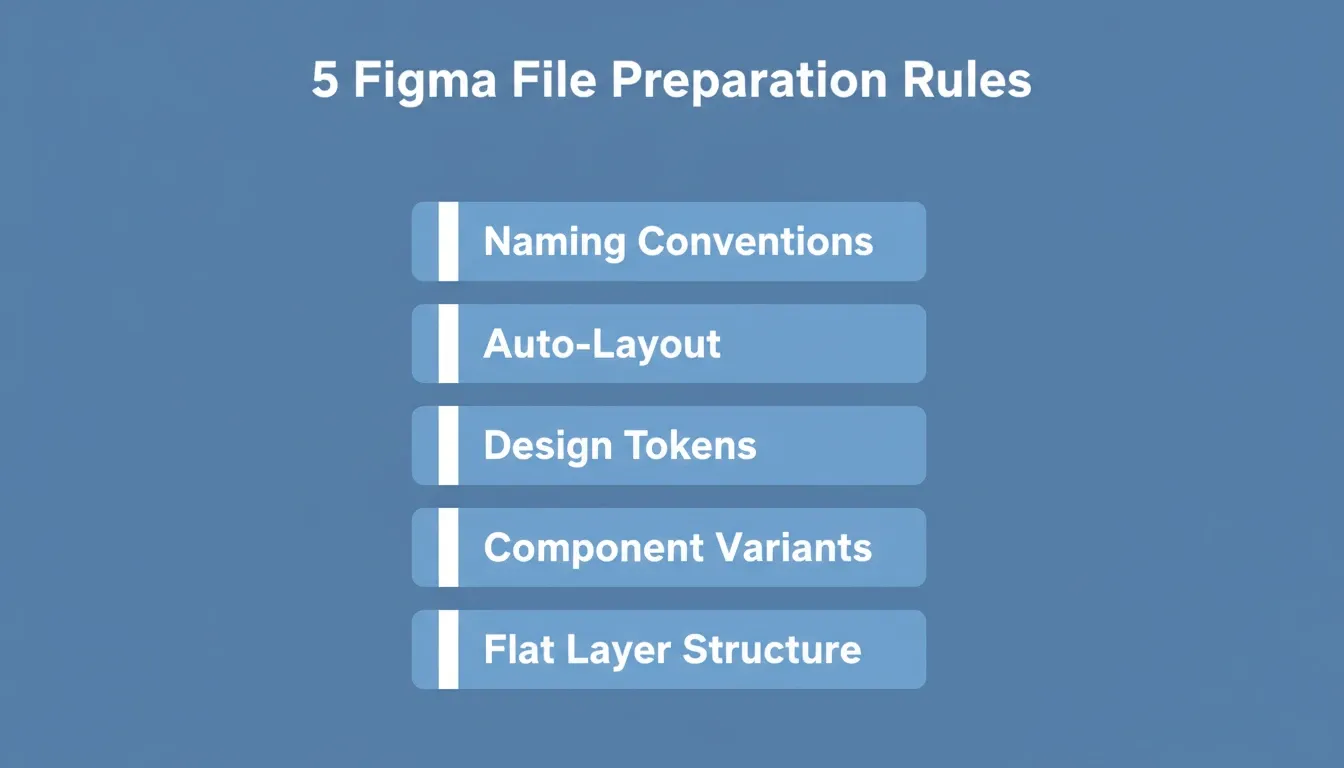
The difference between a messy handoff and a smooth one comes down to structure. Files built with clear conventions translate to code faster. As a result, the mapping becomes predictable and repeatable.
-
Consistent naming conventions: Use a pattern like
Button/Primary/LargeorCard/Product/Default. This mirrors how developers think about component hierarchies in code. -
Auto-layout on every frame: This tells code generators the flex direction, gap, padding, and alignment. It removes guesswork and back-and-forth questions.
-
Design tokens over raw values: Reference a token like
spacing-4instead of hardcoding16px. Generators can then map directly to utility classes. -
Component variants for every state: Document hover, focus, disabled, and loading states as Figma variants. Developers will know exactly what to build.
-
Flat layer structure: Avoid nesting groups more than three levels deep. Deep nesting produces unnecessary wrapper divs in generated code.
Brad Frost's Atomic Design methodology formalized this thinking: build from atoms to molecules to organisms. When Figma files follow that same hierarchy, the translation to code becomes almost mechanical. For teams that want to go further, rapid prototyping workflows show how structured design thinking connects directly to faster production output.
How Do Design Tokens Speed Up Implementation?
Design tokens are named values that represent your design decisions: colors, spacing, typography, and border radius. Instead of a developer guessing whether24pxpadding means "large" or "medium," the tokenspacing-6communicates intent directly.
Tokens eliminate interpretation. When Figma variables map to code variables, there is no gap to bridge. The introduction of native variables and Dev Mode in Figma brought token support directly into design files. This makes the mapping automatic for teams that invest in structured systems.
| Token Name | Value | CSS Output | Tailwind Class |
|---|---|---|---|
| spacing-2 | 8px | padding: 8px | p-2 |
| spacing-4 | 16px | padding: 16px | p-4 |
| spacing-6 | 24px | padding: 24px | p-6 |
| spacing-8 | 32px | padding: 32px | p-8 |
| radius-md | 8px | border-radius: 8px | rounded-lg |
| radius-lg | 12px | border-radius: 12px | rounded-xl |
Step-by-Step Process for Turning Designs Into Code
The conversion from design file to production component is not a single action. Instead, it follows a pipeline with distinct stages. Each stage preserves a different layer of design intent.
-
Stage 1: Parse the layer tree. Read the complete Figma file structure, including parent-child relationships, auto-layout properties, and component instances.
-
Stage 2: Extract design intent. Identify recurring spacing values, type scales, color usage patterns, and layout systems hidden within the raw coordinates.
-
Stage 3: Map to component patterns. Determine which groups of layers correspond to buttons, cards, navigation bars, forms, and other standard component types.
-
Stage 4: Generate framework code. Produce React, Next.js, or Flutter components using utility classes and tokens that match the detected design system.
-
Stage 5: Ship to production. Deploy the generated application with routing, responsive behavior, and framework-appropriate architecture intact.
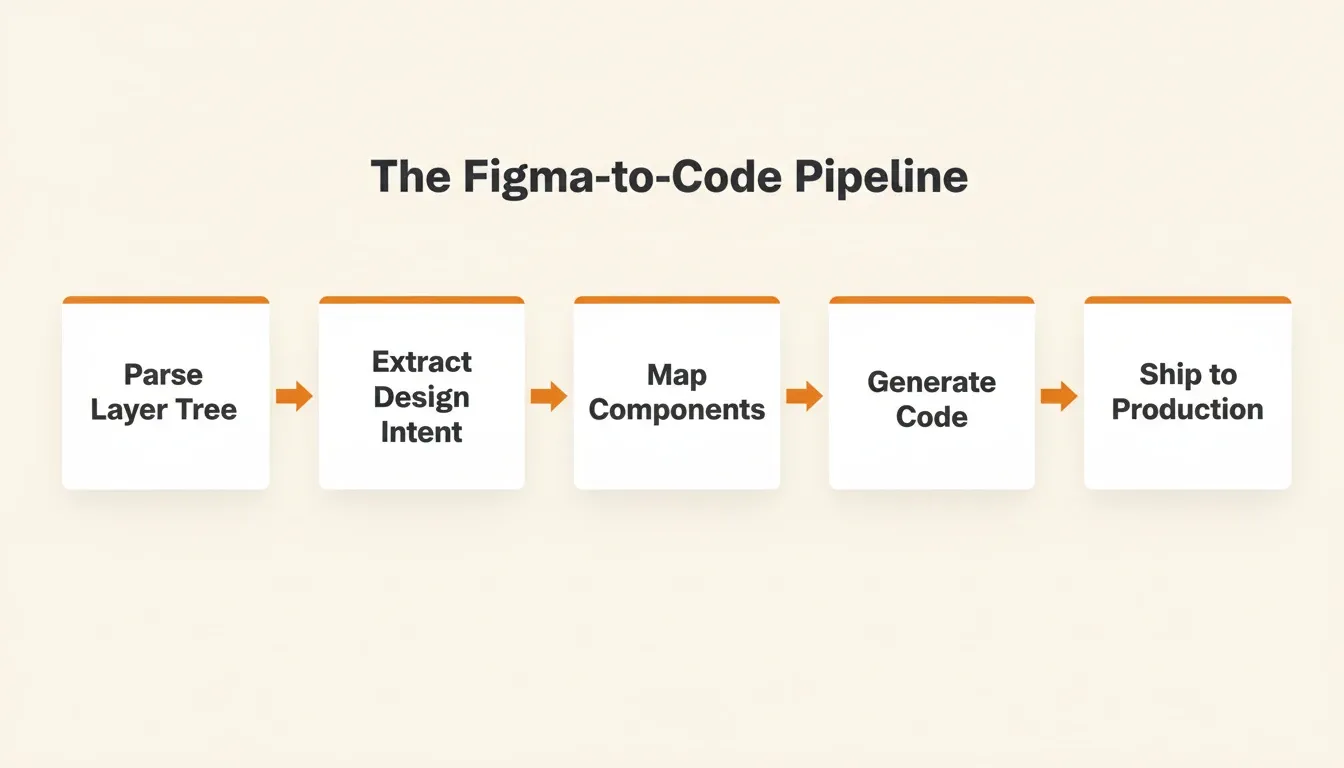
The critical difference between tools that produce "close enough" output and those that achieve exact fidelity lives in Stage 2. Reading coordinates is straightforward. Understanding that those coordinates represent a deliberate spacing scale, however, is the hard engineering problem.
Figma-to-Code Tools Compared
Not all Figma-to-code tools produce the same result. The table below compares the most common options across the dimensions that matter for production work.
| Tool | Output Type | Framework Support | Design Token Fidelity | Responsive Behavior | Deployment |
|---|---|---|---|---|---|
| Anima | Code snippets | HTML/CSS, React, Vue | Partial | Limited | Manual |
| Locofy | Code snippets | HTML/CSS, React | Partial | Limited | Manual |
| v0 (Vercel) | UI components | React | Prompt-based | Good | Manual |
| Rocket | Full production app | Next.js, Flutter | Full preservation | Auto from auto-layout | One-click |
Each tool serves a different stage of the workflow. Snippet generators work well for isolated components. Full-app generators like Rocket, on the other hand, suit teams that want to go from Figma file to deployed product in a single session. For a deeper look, the best Figma-to-code AI tools breakdown covers the current landscape in detail.
How Rocket Turns Your Figma Files Into Production Interfaces
Most design-to-code tools read visual appearance. They capture coordinates and colors, then produce static layouts that break the moment you resize a window. Rocket, by contrast, reads design intent.
Step 1: Connect the Figma Workspace Connector
Before importing, connect Figma to your Rocket workspace. Go to Settings > Connectors > Figma > Connect and complete the OAuth flow. Once connected, the Figma connector is available across all your projects. You authorize it once and it flows into every build.
Step 2: Import Your Figma File
From the Build screen, select From Figma as your starting method. Rocket reads your file's complete layer tree, detects spacing tokens, type scales, and color systems. It then generates utility-class code that preserves every value exactly.
What Rocket preserves from your Figma file:
-
Typography (font families, sizes, weights, line heights)
-
Spacing (all padding, margin, and gap values mapped to design tokens)
-
Visual hierarchy (component relationships, nesting, z-index)
-
Color system (brand colors mapped to utility classes)
-
Auto-layout constraints (converted to flexbox and grid with correct responsive behavior)
Step 3: Review and Iterate in the Build Editor
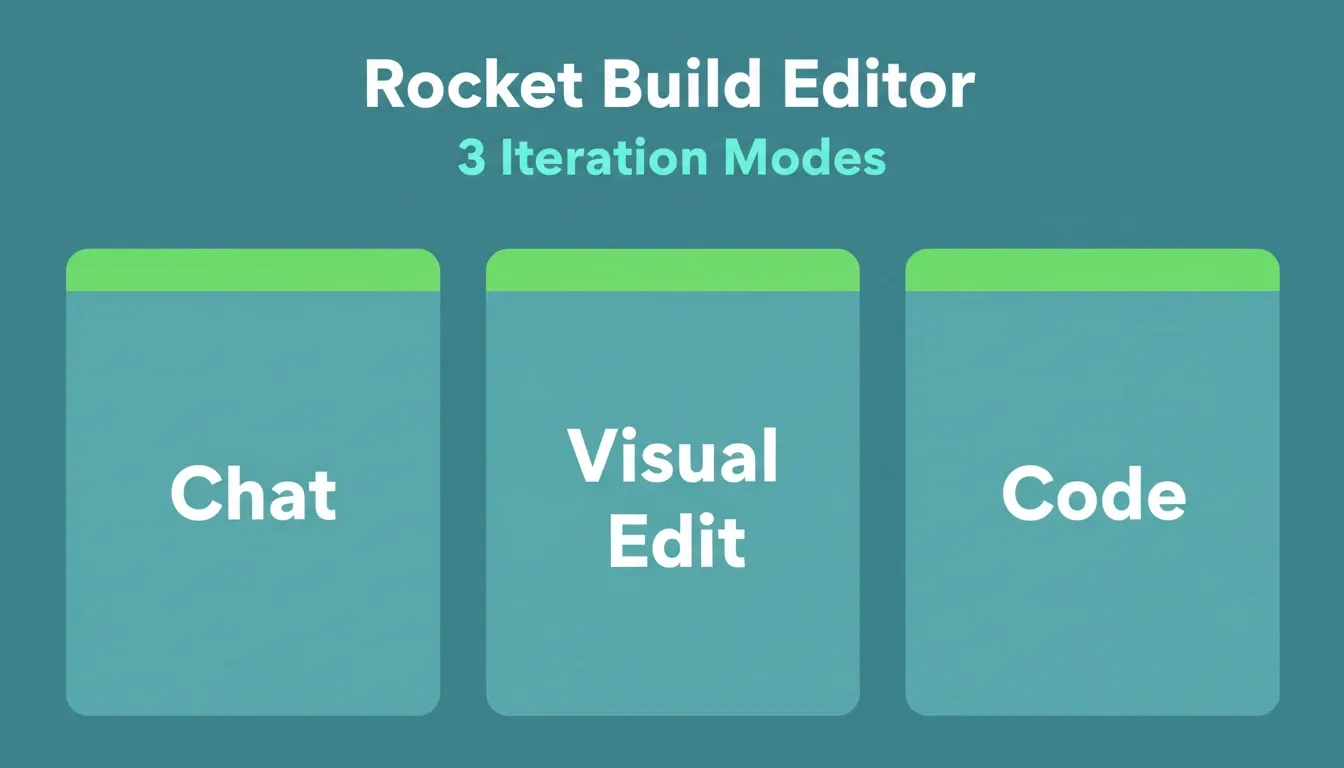
After generation, most apps are ready in 1-3 minutes. Rocket's Build editor then gives you three ways to refine:
-
Chat: Type natural language instructions. For example, "Change the header background to dark blue" or "Fix the mobile layout." Rocket applies changes in context without re-explaining what exists. There is no change limit.
-
Visual Edit: Click any element in the live preview to change text, style, spacing, image, or layout directly. This is WYSIWYG editing on the live preview.
-
Code: Browse and modify source files directly. You get full access to the generated Next.js or Flutter code. Download it for local development at any time.
In addition, the Theme control lets you change colors, fonts, and design tokens across the entire app at once. This is particularly useful when your Figma file uses a design system you want to apply globally.
Step 4: Connect Integrations and Ship
After import, your Figma-generated components live in the same project workspace as any research done in Solve or competitive signals from Intelligence. Nothing exists in isolation.
Over 25 integrations, including Stripe, Supabase, and Google Analytics, wire into your generated interface with simple commands after the initial import. Ship to staging or production directly from the workspace with one click. Full version history and one-click rollback mean nothing you build is ever lost.
"It's very useful to have plugins that interconnect with our daily tools. We use GitHub, we use Storybook — it saves me a lot of time." — Laurent Thiebault, Engineering Manager and Design Systems Lead at Decathlon (source)
The real advantage is not speed alone. It is accuracy. When a designer specifiesp-6worth of padding, that exact value appears in the generated code: not 22px, not 28px, but the precise 24px token they intended.
Before and After: What Changes With AI-Powered Extraction
| Stage | Without AI Extraction | With Rocket |
|---|---|---|
| Design handoff | Developer inspects Figma manually and asks clarifying questions | Rocket reads file structure automatically |
| Spacing interpretation | Developer guesses token intent from raw pixel values | Token names are preserved and mapped to utility classes |
| State documentation | Hover and focus states are often missed or assumed | Variants are extracted as component states |
| Responsive behavior | Developer rebuilds responsive logic from scratch | Auto-layout constraints convert to flexbox/grid |
| Time to first component | Hours per screen | Minutes per screen |
| Deployment | Separate hosting setup required | One-click from workspace |
What Are the Most Common Pitfalls That Slow Down Component Extraction?
Even well-structured files can trip up the conversion process. These are the patterns that product teams encounter most often when moving from design tools to working interfaces.
-
Oversized text boundaries: A text box with a fixed 400px width containing only 80px of text produces containers with apparent excess whitespace in code.
-
Overlapping modals and overlays: Designers who model dialogs by stacking layers visually create ambiguity about whether elements are modal children or page children.
-
Ungrouped vector icons: An icon that appears as one element in Figma might actually be twelve separate vector paths. This generates twelve SVG elements instead of one component.
-
Components outside frame boundaries: Drop shadows and decorative elements that overflow parent frames force parsers to decide between preserving or clipping the overflow.
-
Missing component instances: Designing the same button five different ways instead of using a single component with variants forces the parser to treat them as unrelated elements.
The fix for most of these is preventive. Spend ten minutes auditing your Figma file before attempting any conversion. Enable auto-layout on all frames, flatten icon vectors, name your layers with the same vocabulary your developers use in code, and replace one-off elements with component instances.
Ship Your Figma Designs as Production Code
The gap between Figma and production code is a solvable problem. Structured files, clear token conventions, and AI-powered extraction have compressed that timeline from days to hours. As design tools and code generators continue to converge, teams that build this workflow now will have a compounding advantage.
1.5 million people have tried Rocket across 180 countries. The workflow described in this guide, from Figma file to deployed, production-ready UI components, runs inside a single session.
Import your Figma file, let Rocket extract your design system, and ship production-ready code. Start building on Rocket.new and close the gap between design and production today.
Table of contents
- -Who This Guide is For
- -Why Design Files Still Break During Handoff
- -What Makes a Clean Component Translation?
- -How Do Design Tokens Speed Up Implementation?
- -Step-by-Step Process for Turning Designs Into Code
- -Figma-to-Code Tools Compared
- -How Rocket Turns Your Figma Files Into Production Interfaces
- -Step 1: Connect the Figma Workspace Connector
- -Step 2: Import Your Figma File
- -Step 3: Review and Iterate in the Build Editor
- -Step 4: Connect Integrations and Ship
- -Before and After: What Changes With AI-Powered Extraction
- -What Are the Most Common Pitfalls That Slow Down Component Extraction?
- -Ship Your Figma Designs as Production Code