
Build expense tracking app with AI by combining receipt scanning, auto-categorization, and spending insights. This blog covers every step from feature planning to deployment so you can ship a production-ready personal finance app.
Why do most expense apps fail to retain users?
Manual data entry.
According to Google Cloud Vision documentation, AI-powered document processing now achieves over 95% accuracy on receipt text extraction. This makes automated tracking a realistic standard.
Machine learning models detect spending patterns that humans overlook. They flag subscription creep, identify recurring charges, and predict monthly totals before the billing cycle ends.
Users who automate their tracking check their apps four times more often than those who log manually. The engagement gap is structural, not behavioral.
What Features Should Your AI Expense App Include?
Before writing a single line of code, you need a clear feature map. The difference between an app people use daily and one they abandon comes down to smart feature selection.
The shift from manual logging to AI-driven app development has changed what users expect from personal finance tools. They want apps that think for them.
-
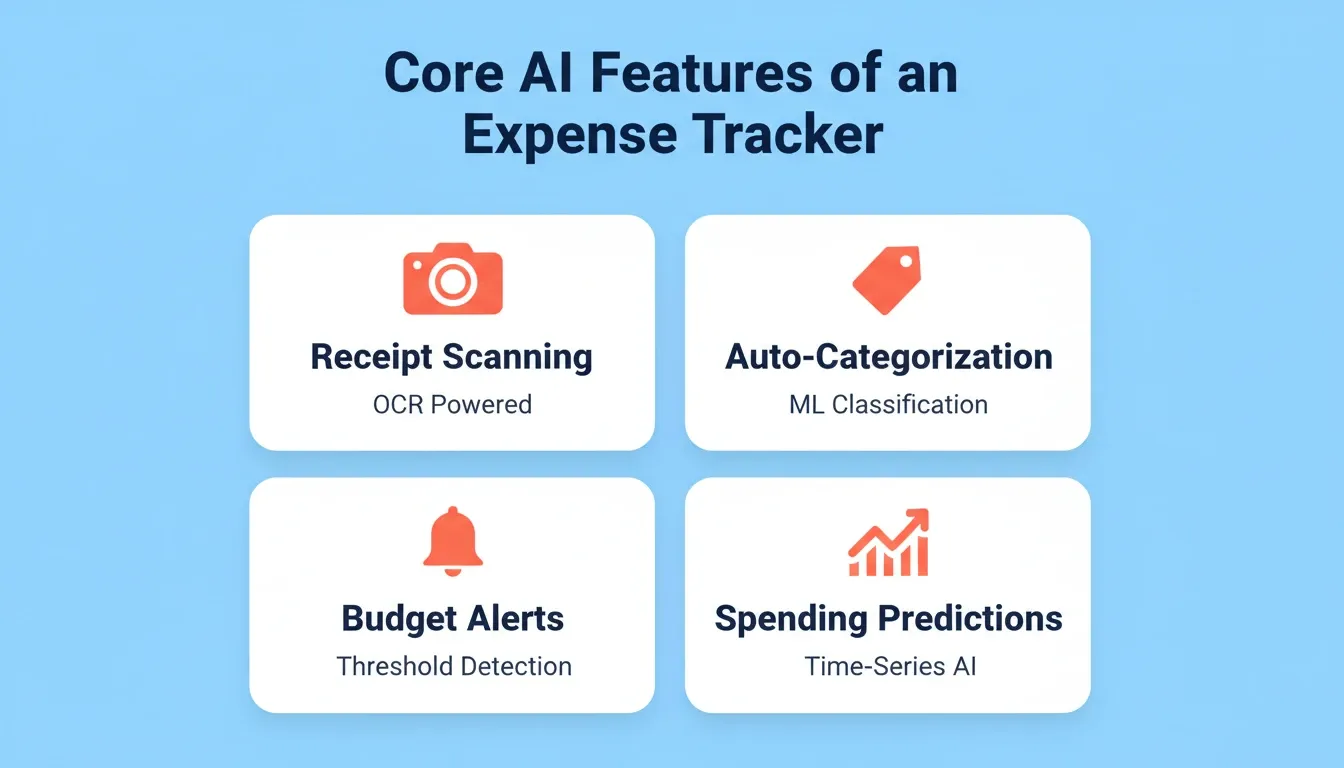
Receipt scanning with OCR: Users photograph receipts. The app then extracts merchant, amount, date, and category automatically.
-
Automatic transaction categorization: Machine learning assigns labels like groceries, transport, and entertainment without manual tagging.
-
Budget creation and tracking: Users set limits per category. They receive real-time alerts when approaching thresholds.
-
Bank account integration: Connect accounts through secure APIs (Plaid, Yodlee) for live transaction feeds.
-
Spending analytics dashboard: Charts and breakdowns show where money goes each week and month.
-
Multi-currency support: For users tracking expenses across different regions.
-
Export and reporting: PDF or CSV exports for tax filing, reimbursement, or accountant handoff.
-
Recurring expense detection: Automatically flag and group subscriptions and bills.
| Feature | AI Component | User Benefit | Build Priority |
|---|---|---|---|
| Receipt scanning | OCR + NLP | No manual data entry | Must-have |
| Auto-categorization | Classification model | Instant organization | Must-have |
| Budget alerts | Threshold detection | Real-time awareness | Must-have |
| Spending predictions | Time-series forecasting | Better planning | Phase 2 |
| Anomaly flags | Statistical outlier detection | Fraud protection | Phase 2 |
| Smart export | NLP summarization | Tax and audit ready | Phase 3 |
A solid expense app connects to payment flows. It also pulls data from Flutter-based mobile interfaces that feel native on both iOS and Android.
How Does Receipt Scanning with AI Work?
Receipt scanning uses optical character recognition (OCR) to convert images into structured data. The process starts when a user captures a photo. Next, the AI model identifies text regions, extracts relevant fields, and maps them to your database schema.
Natural language processing (NLP) then interprets the extracted text. It distinguishes between merchant names, item descriptions, totals, and tax amounts. Modern OCR services handle multiple languages and receipt formats with minimal configuration.
The result: users snap a photo and see their expense logged in seconds, not minutes.
What Is the Right Data Model for an Expense Tracker?
Your database schema is the foundation everything else builds on. A well-designed model makes features easy to add. A poor one forces rewrites later.
Core tables to define from the start:
-
users: id, email, currency_preference, created_at
-
transactions: id, user_id, amount, currency, merchant, category, date, source (manual/bank/receipt), ai_confidence_score
-
categories: id, name, icon, color, is_system (built-in vs user-created)
-
budgets: id, user_id, category_id, limit_amount, period (monthly/weekly), alert_threshold
-
receipts: id, transaction_id, image_url, raw_ocr_text, parsed_at
Theai_confidence_scorefield on transactions is critical. It surfaces low-confidence categorizations for user review. This feedback loop improves model accuracy over time.
Planning Your App Architecture and Tech Stack
A well-planned architecture separates your expense tracker from throwaway prototypes. You need layers that communicate cleanly and scale independently.
-
Frontend: Use Flutter for cross-platform mobile apps. Alternatively, use Next.js for web dashboards with real-time data visualization.
-
AI Processing Layer: This layer handles OCR, categorization, and predictions through API calls to trained models.
-
Backend: Supabase provides authentication, a PostgreSQL database, file storage, edge functions, and row-level security, all from a single platform.
-
Data Layer: This stores transactions, user profiles, budget rules, and trained model outputs.
Pairing your backend with a solid database integration strategy from day one prevents costly rewrites as your user base grows.
This architecture keeps your user interface decoupled from processing logic. When your AI models improve, you swap them without touching the frontend. Supabase's row-level security ensures each user only ever sees their own financial data. This is a non-negotiable requirement for any finance app.
Security and Compliance Considerations
Financial apps carry higher trust requirements than most. Before you ship, address these key areas:
-
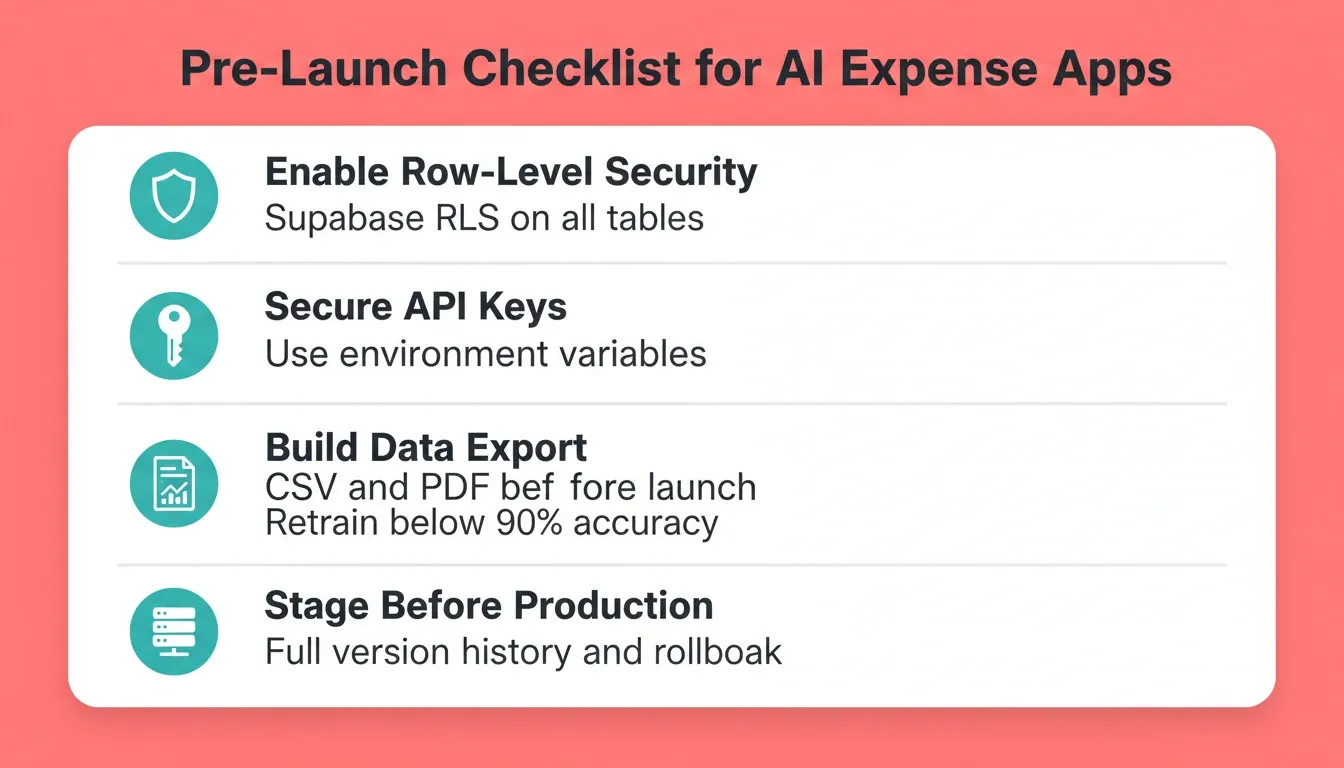
Row-level security (RLS): Enable Supabase RLS policies so database queries are scoped to the authenticated user by default. Never skip this step.
-
Data encryption: Encrypt sensitive fields at rest. Supabase handles encryption at the infrastructure level. Add application-layer encryption for the most sensitive fields.
-
GDPR and CCPA: Users have the right to export and delete their financial data. Build data export and account deletion flows from day one.
-
API key security: Store all third-party API keys as environment variables. Never hardcode secrets in client-side code.
-
Session management: Use short-lived JWT tokens with refresh rotation. Supabase Auth handles this automatically.
Step-by-Step Development Process for Your AI Expense App
Building an AI expense management tool follows a predictable sequence. Each step builds on the previous one. Skipping stages creates problems later.
-
Define your user personas. Are you building for freelancers tracking deductible expenses? Or families managing household budgets? The persona shapes every feature decision.
-
Map your data model. Transactions need fields for amount, date, merchant, category, source, and confidence score from the AI classifier.
-
Set up your backend. Configure Supabase for authentication, row-level security, file storage for receipt images, and real-time subscriptions.
-
Build the AI pipeline. Connect an OCR service (Google Cloud Vision or AWS Textract), fine-tune a categorization model, and set up the prediction engine.
-
Design the mobile app. Prioritize the expense-logging flow first. Make it achievable in under three taps.
-
Connect bank feeds. Integrate Plaid or a similar API for automated transaction imports.
-
Add budget and alert logic. Use threshold-based notifications powered by your prediction layer.
-
Test the AI components. Feed your OCR model receipts from different stores, lighting conditions, and paper qualities before launch.
-
Add compliance flows. Include GDPR data export, account deletion, and cookie consent before going live.
-
Deploy and monitor. Use staging first, then production. Monitor AI confidence scores and retrain when accuracy drops below 90%.
Each stage in the automation pipeline feeds the next. As a result, your personal finance app becomes smarter with every transaction it processes.
If you want to see how teams are building mobile apps with AI in compressed timelines, the pattern is consistent. Describe what you need, let AI generate the foundation, then refine.
Common Mistakes That Kill Expense App Projects
Most expense trackers fail not because of bad code, but because of avoidable decisions made early. Watch out for these:
-
Skipping RLS from the start. Retrofitting row-level security after launch is painful and risky. Enable it on day one.
-
Building categorization from scratch. Pre-trained classification APIs (Google Natural Language, AWS Comprehend) are production-ready today. Use them instead of training custom models unless you have a specific edge case.
-
Ignoring low-confidence scores. If your AI assigns a category with under 70% confidence, surface it for user review. This feedback loop is how your app gets smarter.
-
Over-engineering the data model. Start with the five core tables. Add complexity only when a real user need demands it.
-
Launching without export. Users will ask for CSV export within the first week. Build it before launch.
Where Rocket Fits Into Your App-Building Workflow
You have the architecture planned, the features mapped, and the development steps outlined. The real question is: how do you ship this without spending months in code?
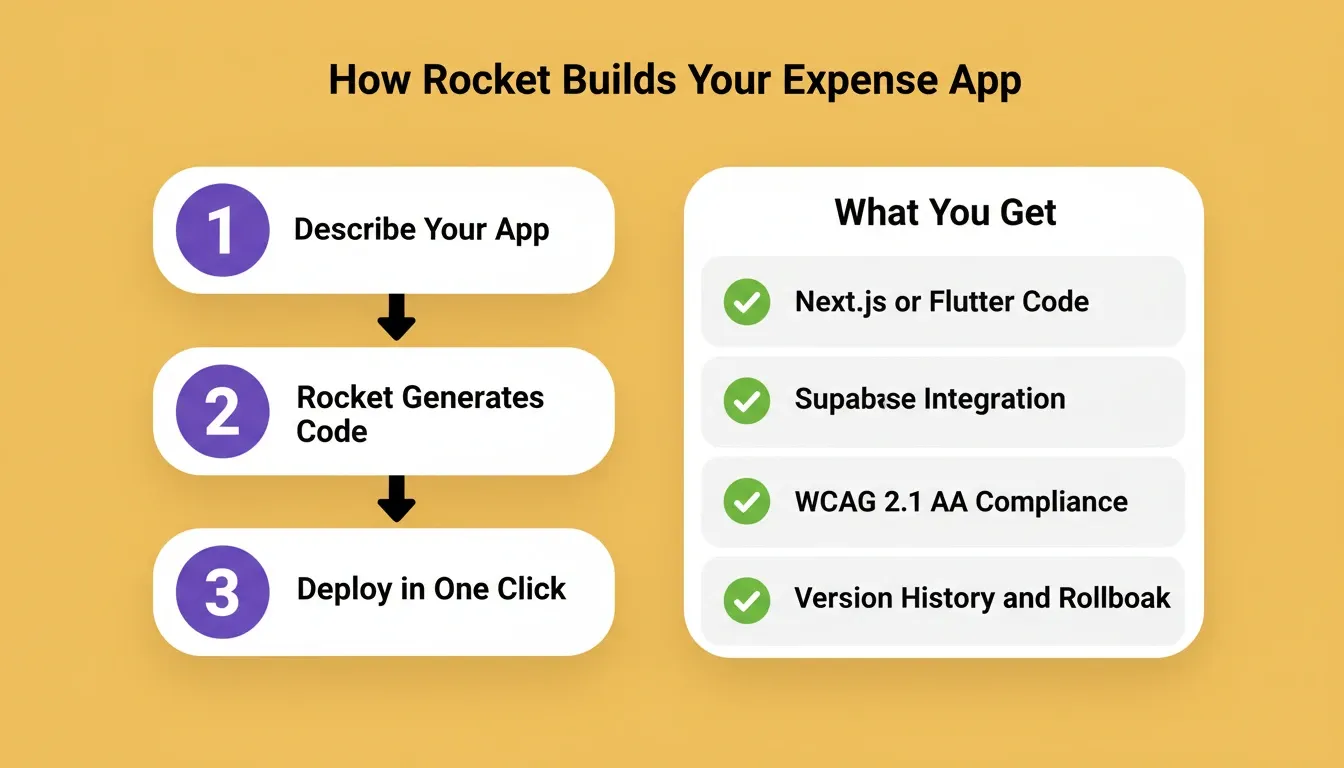
Describe your expense tracker in plain language. Rocket then generates a production-grade Next.js web app or Flutter mobile app with real design systems, dark/light theming, and fluid navigation. Most apps generate in 1 to 3 minutes.
Here is what a real prompt looks like:
"Build a Flutter mobile expense tracker with receipt scanning, automatic categorization into groceries/transport/entertainment/utilities, a monthly budget dashboard with progress bars per category, push notifications when 80% of budget is reached, and a Supabase backend with row-level security. Include a spending trends chart for the last 30 days."
What Rocket generates for your expense app:
-
Prompt-to-app generation: Describe your expense tracker. Rocket builds the interface, routes, and components as production-grade Next.js or Flutter code, not a prototype.
-
Supabase integration built in: Authentication, database schemas, row-level security, file storage for receipt images, and edge functions all connect cleanly without manual wiring.
-
Stripe payment support: If you plan a premium tier for advanced analytics or unlimited receipt scanning, payment flows are ready to connect.
-
26+ integrations available: Twilio for SMS budget alerts, SendGrid for weekly spending digests, and Mixpanel for user analytics all authenticate once and flow into every build.
-
One-click deployment: Staging and production environments come with full version history and one-click rollback.
-
Visual Edit: Click any element in the live preview to change text, styling, or layout directly. No re-prompting needed.
-
Built-in analytics: Visitors, conversions, and Core Web Vitals are tracked automatically after launch.
Every app Rocket generates ships with SEO-ready structure, WCAG 2.1 AA accessibility compliance, and GDPR coverage by default. These are not optional extras. For a financial app handling sensitive user data, this baseline matters.
How Much Does It Cost to Build an Expense Tracker?
Cost depends heavily on your approach. Here is a realistic comparison across the four most common paths:
| Approach | Time to MVP | Estimated Cost | Code Ownership |
|---|---|---|---|
| Traditional agency | 3 to 6 months | $30,000 to $80,000 | Full |
| Freelance developer | 2 to 4 months | $8,000 to $25,000 | Full |
| No-code tools (Bubble, Glide) | 2 to 6 weeks | $500 to $2,000/yr | Platform-locked |
| AI builder (Rocket) | Days to 2 weeks | Subscription-based | Full, download source code |
The AI builder path gives you full source code ownership in Next.js or Flutter. You can hand it to a developer to extend, deploy anywhere, or submit directly to the App Store and Google Play.
How to Monetize an AI Expense Tracker
Building the app is only half the equation. A clear monetization model determines whether it becomes a business. For builders looking to go further, the same principles apply to building a B2B SaaS product with AI. Validate the model before you scale the infrastructure.
Proven models for expense tracking apps include:
-
Freemium: Offer a free tier with manual entry and basic categories. The paid tier unlocks receipt scanning, bank sync, and advanced analytics. Most successful personal finance apps use this model.
-
Subscription: Charge $4 to $9 per month for individuals and $12 to $20 per month for families or small business owners. Annual plans at 20 to 30% discount improve retention.
-
Premium features: Charge for AI-powered tax categorization, accountant export formats (QuickBooks, Xero), or multi-user household accounts.
-
White-label B2B: License your expense tracker to banks, HR platforms, or corporate card providers who embed it for their customers.
| Monetization Model | Target Audience | Price Range | Conversion Benchmark |
|---|---|---|---|
| Freemium | Individuals | Free + $4 to $9/mo | 2 to 5% free-to-paid |
| Subscription | Families and SMBs | $12 to $20/mo | Direct signup |
| Premium features | Power users | $15 to $30/mo add-on | Feature-gated |
| White-label B2B | Banks, HR platforms | Custom contract | Sales-led |
If you build on Rocket, Stripe payment flows are available as a built-in integration. You can add a subscription paywall to any screen with a single prompt.
How Do You Test and Launch an AI Expense Tracker?
Testing an AI-powered app requires more than checking button clicks. You also need to validate that the machine learning components perform in real-world conditions.
-
Feed your OCR model with receipts from different stores, lighting conditions, and paper qualities.
-
Test categorization accuracy against a labeled dataset of at least 500 transactions.
-
Validate budget alert timing. Confirm notifications fire at the correct thresholds in real time.
-
Run usability tests with five to eight target users before public launch.
-
Monitor model confidence scores after launch. Retrain when accuracy drops below 90%.
-
Test the data export flow end-to-end before launch. This is the feature users trust most.
Once testing passes, deploy to staging first. Confirm everything works under load. Then push to production with rollback ready in case anything breaks.
For mobile distribution:
-
Android: Download an APK for internal testing. Then submit a signed AAB bundle to Google Play (one-time $25 developer account fee).
-
iOS: Submit through App Store Connect ($99/year Apple Developer account required; Apple review typically takes days to weeks).
-
Web: Deploy to a custom domain with automatic HTTPS in one click.
A financial reporting dashboard built alongside your tracker gives power users a reason to stay on the paid tier. It also creates a clear upsell path from day one.
Build Your AI Expense Tracker Today
Building an expense tracking app with AI is no longer a multi-month project. The tools exist. The APIs are production-ready. The architecture is proven.
You type the problem. Rocket generates the product and deploys it, all in the same session. 1.5 million people across 180 countries have tried Rocket, from solo founders validating ideas to teams shipping full-stack financial tools.
The gap between idea and shipped app has never been smaller. Sign up for Rocket and describe your expense tracker in plain language. A production-ready build with receipt scanning, auto-categorization, a Supabase backend, and spending insights is one prompt away.
Table of contents
- -What Features Should Your AI Expense App Include?
- -How Does Receipt Scanning with AI Work?
- -What Is the Right Data Model for an Expense Tracker?
- -Planning Your App Architecture and Tech Stack
- -Security and Compliance Considerations
- -Step-by-Step Development Process for Your AI Expense App
- -Common Mistakes That Kill Expense App Projects
- -Where Rocket Fits Into Your App-Building Workflow
- -How Much Does It Cost to Build an Expense Tracker?
- -How to Monetize an AI Expense Tracker
- -How Do You Test and Launch an AI Expense Tracker?
- -Build Your AI Expense Tracker Today