Building a custom social media scheduler with AI means owning your workflow, your data, and your publishing logic. You avoid recurring per-seat costs and rigid platform constraints that limit your team.
Why are marketing teams still logging into five different social media platforms just to hit "publish" at the right time?
With 5.66 billion active social media users worldwide, content scheduling is no longer a nice-to-have for brands. It is a daily operational requirement for any serious social media marketing strategy.
Off-the-shelf tools like Buffer and Hootsuite cover the basics. But they lock you into rigid workflows, charge per seat, and rarely let you customize your publishing logic. The alternative is to build your own. AI-powered app builders now let you design, generate, and deploy a scheduling tool tailored to your exact workflow.
This blog walks you through exactly how to do it.
Why Marketing Teams Need a Custom Social Media Scheduling Tool
The gap between what off-the-shelf schedulers offer and what marketing teams actually need keeps widening every quarter.
-
Per-seat pricing compounds fast. Sprout Social charges \$199 per seat per month. A five-person team pays nearly \$12,000 a year just to schedule posts and manage accounts.
-
Rigid workflows force workarounds. Most SaaS platforms give you a fixed approval process. If your agency manages 15 client accounts with different review chains, you adapt your process to the tool, not the other way around.
-
Limited platform coverage creates blind spots. Not all schedulers support Threads, Bluesky, or niche social channels. When a new platform gains traction, you wait for the vendor to add support.
-
No code ownership means no control. If a tool shuts down a feature or raises prices, you migrate or accept the change. With a custom scheduler, the code is yours.
Teams that use structured AI prompts for scheduler apps can generate the exact publishing workflow they need in a single afternoon. The question is no longer whether custom scheduling tools are practical. It is why more marketing teams have not switched already.
What Features Should Your AI-Powered Scheduler Include?
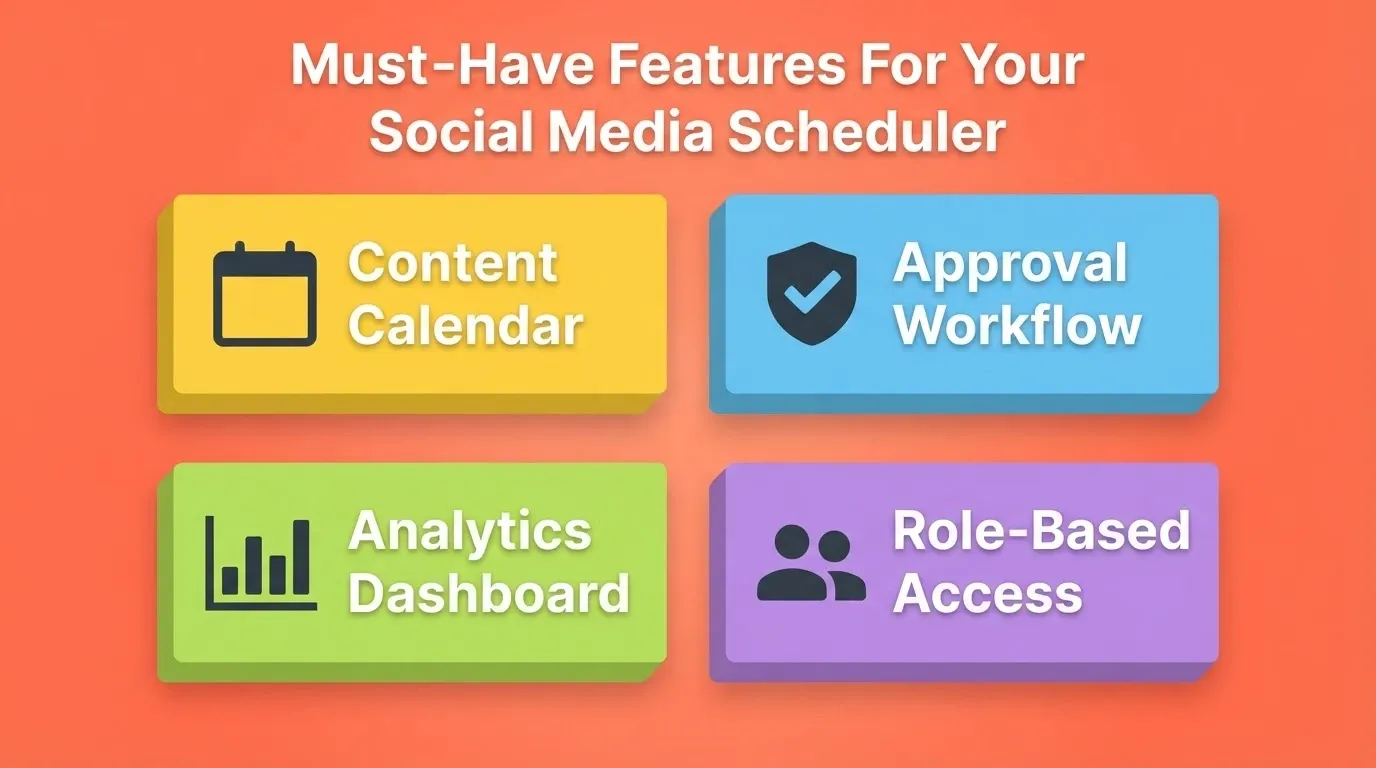
Before you start building, you need a clear feature map. The difference between a prototype and a product people actually use comes down to the layers you include from the start.
| Feature | Why It Matters | Priority |
|---|---|---|
| Post queue with drag-and-drop | Reorder content visually and plan weeks of posts in advance | Must-have |
| Content calendar (weekly and monthly) | Bird's-eye view of publishing cadence across channels | Must-have |
| Per-platform formatting | Instagram, LinkedIn, X, and Facebook each have different character limits and media specs | Must-have |
| Approval workflows | Prevents off-brand or unapproved posts from going live | High for teams |
| Analytics dashboard | Shows engagement, reach, and best posting times per channel | High |
| Role-based access (Admin, Editor, Viewer) | Controls who can create, approve, and publish across team members | High for teams |
| Evergreen repost automation | Recirculates top-performing content on a configurable schedule | Growth feature |
| Bulk CSV import | Speeds up content loading for agencies managing high-volume accounts | Nice-to-have |
80% of marketers currently use AI for content creation, which means AI-generated scheduling logic is a natural extension of existing workflows. Per-platform character counters also save the tedious back-and-forth of trimming captions. Instagram allows 2,200 characters while X limits you to 280.
Getting these features right from the start means you are building a scheduling tool without writing code that can compete with products charging hundreds per month.
Which Social Media APIs Does Your Scheduler Need?
Every major platform publishes an official API for scheduling. Your custom scheduler connects to these directly. You supply your own developer app credentials, and each platform handles authentication through OAuth 2.0.
| Platform | API | Scheduled Posting | Rate Limit (approx.) |
|---|---|---|---|
| Instagram Graph API | Yes | 200 calls/hour per user | |
| LinkedIn Marketing API | Yes | 100 calls/day per app | |
| X (Twitter) | X API v2 | Yes | 300 posts/3 hours (Basic) |
| Facebook Graph API | Yes | 200 calls/hour per user | |
| Pinterest API v5 | Yes | 10 calls/second | |
| TikTok | TikTok Content Posting API | Yes | Varies by tier |
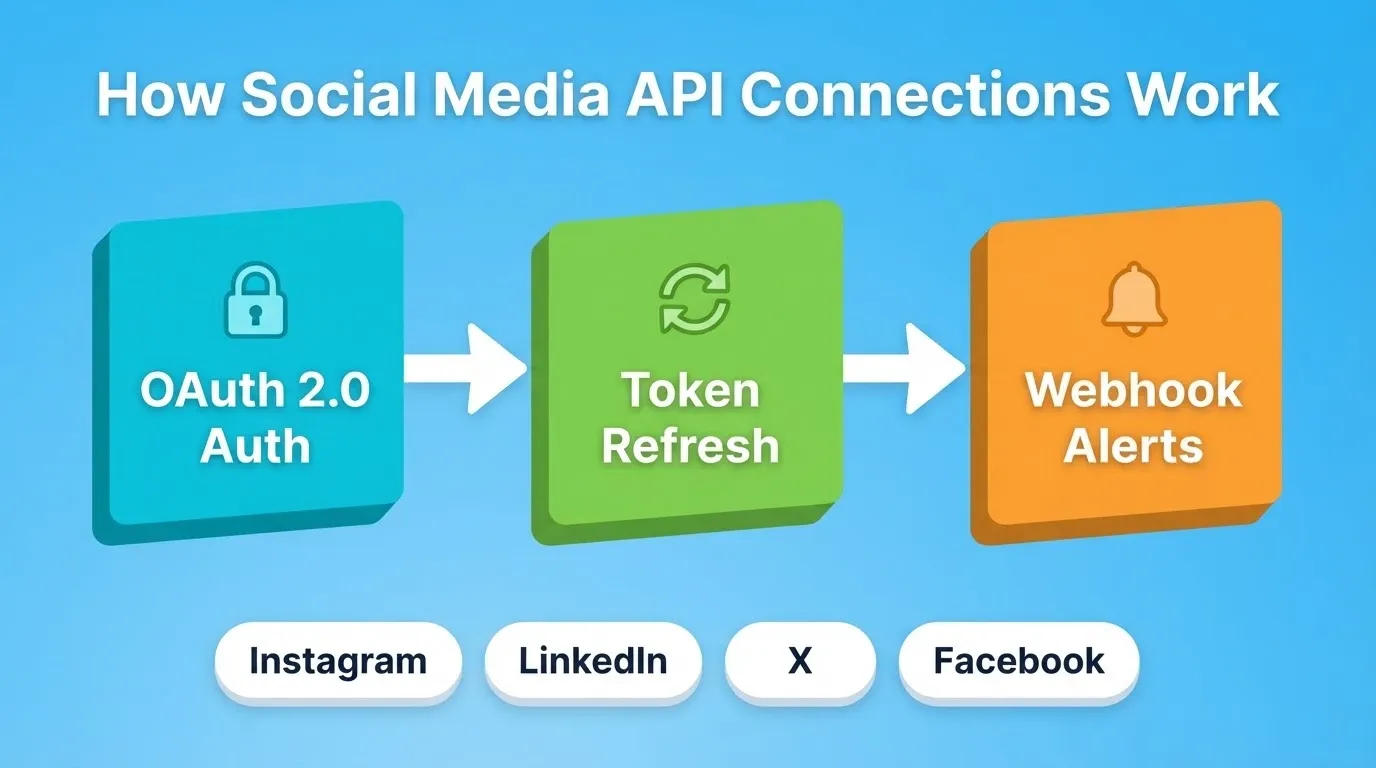
Here are the key technical requirements for each connection:
-
OAuth 2.0 flow: Users authorize your app once. Your scheduler then stores and refreshes tokens automatically.
-
Webhook listeners: These receive real-time callbacks when posts publish, fail, or receive engagement.
-
Token refresh logic: Access tokens expire, so your scheduler must handle silent refresh without interrupting the user.
-
Error handling and retry queues: Failed posts need automatic retry with exponential backoff, not silent failure.
When you build with an AI app builder, the OAuth layer, token refresh, and error handling are all generated as part of the initial app. You describe the platforms you need, and the builder writes the integration code for you.
How AI Changes the Way You Publish Content
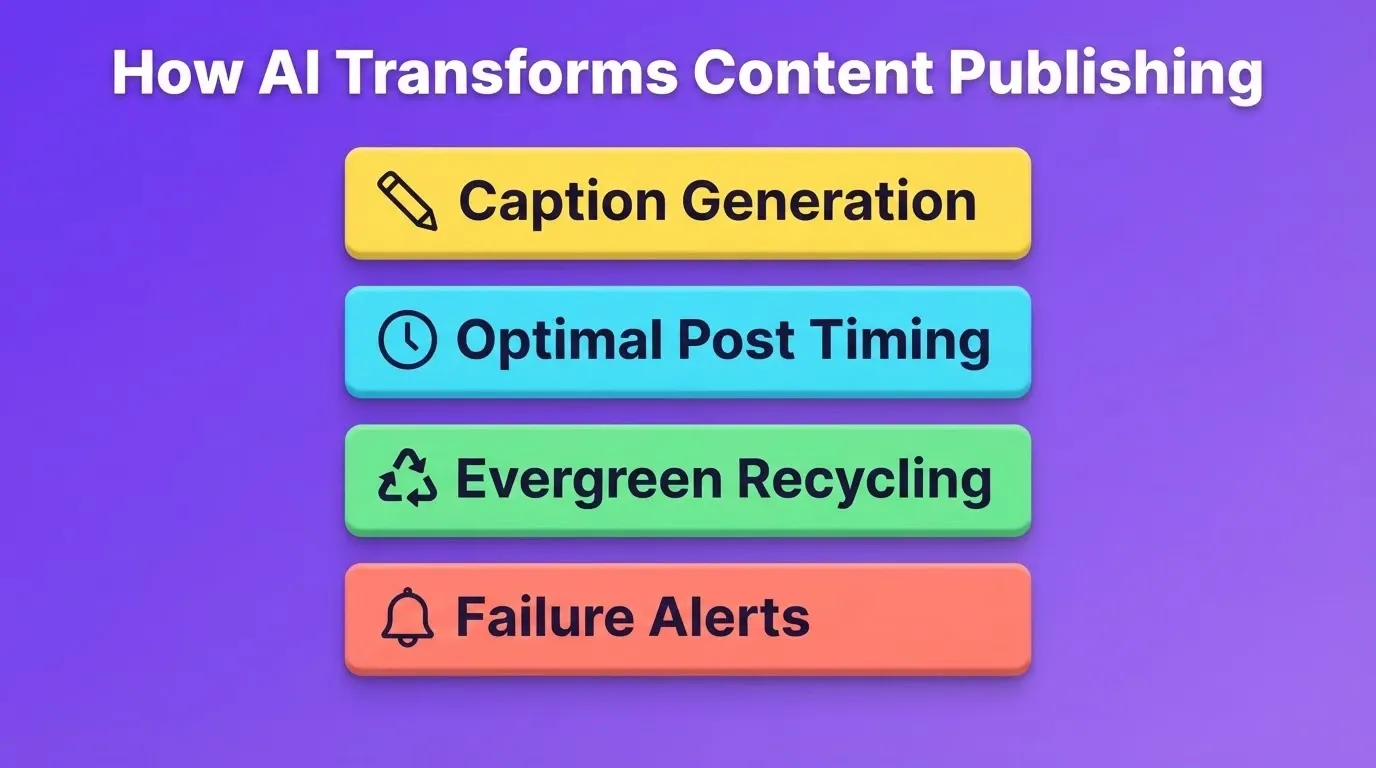
The real shift is not just scheduling posts faster. AI changes the entire content lifecycle, from ideation through distribution and back into strategy.
-
Caption and copy generation. AI drafts platform-specific captions based on your brand voice. This saves writers hours of repetitive formatting work every week.
-
Optimal posting time prediction. Instead of guessing when your audience is online, AI analyzes historical engagement data. It then recommends specific time slots per platform.
-
Content recycling logic. HubSpot's 2026 marketing report found that 94% of marketers plan to use AI in their content workflows this year. AI identifies top-performing posts and reshares them with slight caption variations on a set schedule.
-
Error handling and alerts. Failed posts trigger automatic notifications with error details. As a result, nothing slips through the cracks during off-hours.
The pattern across all of these capabilities is the same: AI handles the repetitive operational layer so your team focuses on creative strategy. That separation of labor is what makes a custom scheduling tool worth building.
Mapping Your Content Workflow From Draft to Published Post
Features alone do not make a social media scheduler work. The content workflow connecting those features determines whether your tool runs smoothly or creates bottlenecks.
End-to-end content publishing workflow: from draft creation through approval, scheduling, auto-publish, and evergreen recycling.
Draft creation feeds into platform-specific formatting, where character counts and media dimensions adjust automatically for each channel. The approval gate catches errors before posts go live, and rejected content loops back with reviewer feedback attached.
Post-publish analytics then decide whether content enters the evergreen rotation or gets archived with its engagement data intact. This workflow mirrors what enterprise-grade tools offer, built around your exact process rather than a vendor's defaults.
How to Build a Social Media Scheduler: Step-by-Step
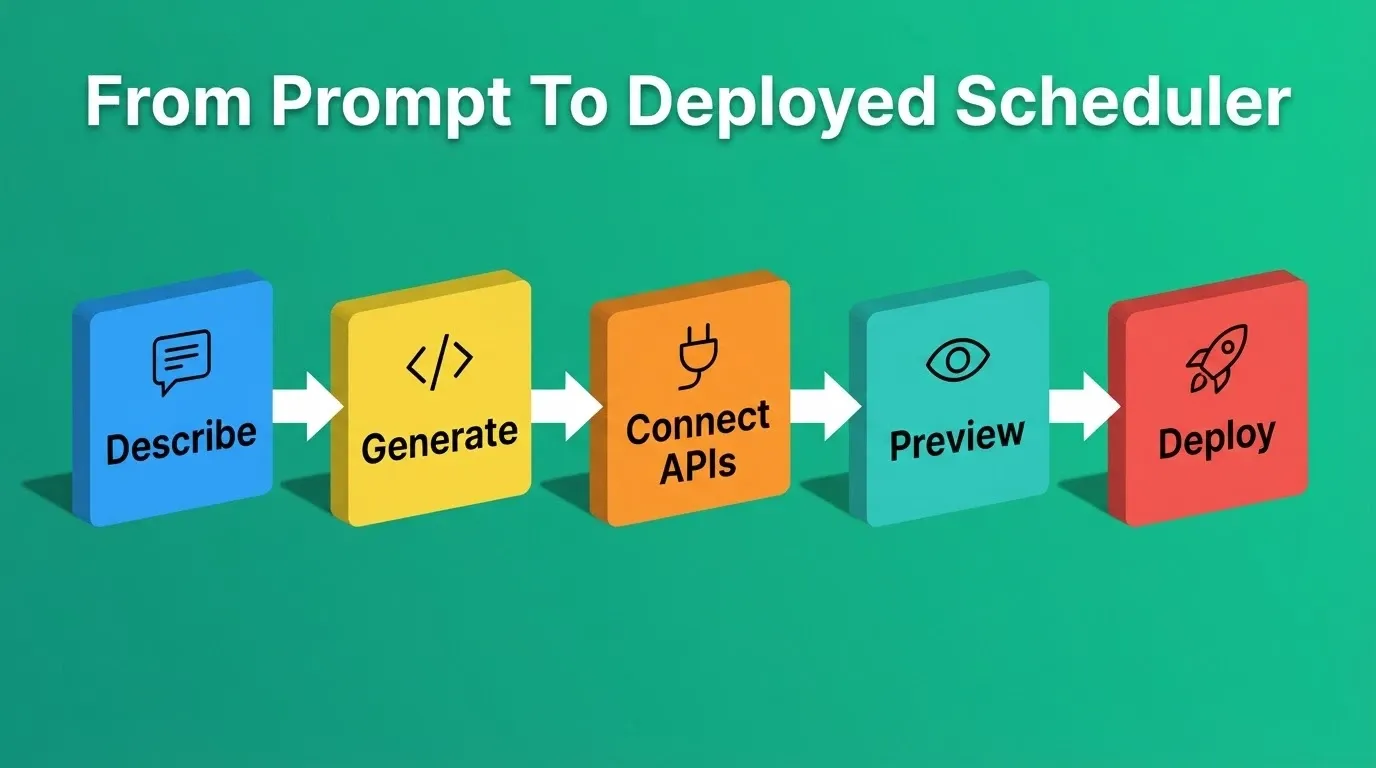
Here is the exact process from idea to deployed scheduler using Rocket's Build capability.
Step 1: Describe Your Scheduler in Plain English
Open a Build task and describe what you want. Be specific about the social media platforms, approval workflow, content queue structure, analytics, and team roles.
A prompt like this works well:
"Build a social media scheduling app with a drag-and-drop content calendar, multi-platform publishing to Instagram, LinkedIn, and X, a two-step approval workflow, role-based access for admin and editor roles, and an analytics dashboard showing engagement by platform and post type."
Rocket generates a working Next.js web application in 1 to 3 minutes. The live preview lets you interact with every screen before making any changes.
Step 2: Connect Your Social Media APIs
In the Build editor, tell Rocket which platforms to connect. Rocket then generates the OAuth flow, token storage, token refresh logic, and error handling for each platform. You supply your developer app credentials as environment variables. Rocket stores them securely at the server level and never exposes them in client code.
Step 3: Connect Your Backend Services
Rocket's 25+ native integrations connect directly during generation:
-
Supabase for PostgreSQL database, user auth, and file storage
-
SendGrid or Mailchimp for email notifications on approval requests and publish confirmations
-
Twilio for SMS alerts on failed posts or urgent approval requests
-
Mixpanel or Google Analytics for engagement tracking and user behavior analytics
Tell Rocket which services to connect in chat, and it wires them in without you touching a config file.
Step 4: Iterate Through Chat
After the first generation, refine through conversation. Add a bulk CSV import, a mobile-responsive calendar view, an evergreen queue, or a notification system for failed posts. Each change applies in context. Rocket knows the full structure of your app and does not require re-explanation.
Step 5: Deploy to Staging, Then Production
Click Launch to deploy to a staging URL. Share it with your team for feedback. When you are ready, deploy to production with a custom domain. Rocket configures DNS automatically for supported providers, and HTTPS is automatic. Every build ships with staging and production environments, full version history, and one-click rollback.
Where Rocket Fits Into Your Scheduling App Build
You have the feature list and the content workflow mapped. So where do you actually build a social media scheduling tool and get a deployed app, not just a prototype?
Rocket generates a production-grade Next.js application from a plain-language description. It includes a working frontend, database schema, authentication, and deployment pipeline. There is no need to stitch together separate services or manage multiple tools.
-
25+ native connectors plug in directly during generation. Supabase handles your database and auth. Stripe plugs in when you add paid plans. Twilio and Resend cover SMS and email notifications for approval workflows and failed post alerts.
-
Iterative refinement through chat means you do not start from scratch when requirements change. Add a bulk import feature, adjust the analytics dashboard layout, or connect a new social media API by describing the change in conversation.
-
Full code ownership separates a custom build from SaaS schedulers. Download the source code, host it anywhere, and modify it without platform lock-in.
-
Built-in analytics track visitors, conversions, and Core Web Vitals after launch. No additional analytics setup is required.
-
Team collaboration with Admin, Creator, and Viewer roles means your whole team works in the same workspace. This matches the role structure your scheduler needs for content approval.
1.5 million people have tried Rocket across 180 countries. For teams already repurposing content across channels, Rocket pairs well with content repurposing automation to extend your scheduler's reach.
Custom-Built Schedulers vs. Off-the-Shelf SaaS Products
The decision between building your own scheduling tool and buying an off-the-shelf product depends on where you sit today and where you plan to be in 12 months.
*"I built a social media scheduling tool and created an open-source version. This is Postiz, an open-source social media scheduling tool." *— r/SaaS community member, now earning $700/month from a custom-built scheduler.
| Criteria | Off-the-Shelf Tools | Custom-Built |
|---|---|---|
| Time to first post | Minutes | 1 to 2 days |
| Monthly cost (5-person team) | $595 to $995/month | One-time build + hosting |
| Annual cost (5-person team) | $7,140 to $11,940 | Fraction of that |
| Workflow customization | Fixed | Fully custom |
| Code ownership | None | Full |
| New platform support | Wait for vendor | Add via chat |
| Approval chain flexibility | Limited | Unlimited |
| White-labeling for clients | Expensive add-on | Built in |
Off-the-shelf tools win when speed matters and customization does not. If your needs match an existing feature set exactly, there is no reason to build. Custom scheduling tools win when workflows are unique. Agencies with multi-level client approval chains, e-commerce brands coordinating product launches, or teams needing deep analytics all benefit from a tailored solution.
The cost crossover point typically arrives around month 6 to 8. A $199/seat SaaS tool for three users costs $7,164/year. A custom-built scheduler, on the other hand, scales without per-seat fees as your team grows.
For a deeper look at connecting AI-generated tools into broader marketing systems, the marketing automation platform guide covers the connection layer in detail.
Common Mistakes When Building a Social Media Scheduler
Most custom schedulers fail in production for the same reasons. Avoid these pitfalls before you build.
1. Not handling token expiry. OAuth access tokens expire. Instagram and LinkedIn tokens last 60 days. If your scheduler does not silently refresh tokens before expiry, posts fail at 2am when no one is watching.
2. Ignoring API rate limits. Every platform throttles API calls per hour. If you queue 200 posts to publish at the same time, most will fail. Build a rate-limit-aware queue that spaces out calls and retries on 429 errors.
3. Building approval without notifications. An approval workflow that does not send email or SMS alerts will be ignored. Approvers need to be pulled in, not expected to check a dashboard.
4. No error logging. When a post fails to publish, you need to know why. It could be an expired token, a rate limit, an invalid media format, or a platform outage. Build error logging and alerting from day one.
5. Skipping the staging environment. Testing API connections in production means failed posts on live accounts. Always use a staging environment to validate every integration before going live.
6. Building for one platform first. The architecture decisions for Instagram differ from X. Design your data model to be platform-agnostic from the very start.
Build the Scheduling Tool Your Workflow Actually Needs
A custom social media scheduler built with AI gives marketing teams the control they have been paying premium prices to rent. There are no per-seat fees, rigid workflows, or platform lock-in that come with off-the-shelf tools.
As social media platforms multiply and audience behaviors shift, teams that own their scheduling infrastructure will move faster than those waiting for a vendor update. Building your own social media scheduling tool is no longer a months-long engineering project. Describe what you need on Rocket.new, and your custom scheduler is live before the week is out.
Table of contents
- -Why Marketing Teams Need a Custom Social Media Scheduling Tool
- -What Features Should Your AI-Powered Scheduler Include?
- -Which Social Media APIs Does Your Scheduler Need?
- -How AI Changes the Way You Publish Content
- -Mapping Your Content Workflow From Draft to Published Post
- -How to Build a Social Media Scheduler: Step-by-Step
- -Step 1: Describe Your Scheduler in Plain English
- -Step 2: Connect Your Social Media APIs
- -Step 3: Connect Your Backend Services
- -Step 4: Iterate Through Chat
- -Step 5: Deploy to Staging, Then Production
- -Where Rocket Fits Into Your Scheduling App Build
- -Custom-Built Schedulers vs. Off-the-Shelf SaaS Products
- -Common Mistakes When Building a Social Media Scheduler
- -Build the Scheduling Tool Your Workflow Actually Needs