
Rocket.new Backend Architecture generates your complete backend from a single natural language prompt, including a PostgreSQL database, API endpoints, authentication, and one-click deployment, so you ship production-ready full stack apps in minutes, not months.
What does your backend look like when you build with Rocket?
Rocket is a vibe solutioning platform built on three pillars: Solve (research and validation), Build (AI app generation), and Intelligence (competitive monitoring). When you use Build, Rocket generates a complete, production-ready backend alongside your frontend. The result is not a prototype or a scaffold. It is a deployable product.
According to GitHub's 2024 Octoverse report, developers created over 70,000 new generative AI projects last year, reflecting a 98% year-over-year surge in AI-driven development. The message is clear: builders want tools that handle backend complexity entirely.
What Frameworks Does Rocket Use?
Rocket generates web apps in Next.js (TypeScript) and mobile apps in Flutter. The framework is assigned automatically based on your app type. You cannot change the framework after a task is created. Rocket makes the right call upfront. Most apps generate in 1 to 3 minutes from your first prompt.
Understanding why Rocket generates Next.js and Flutter helps set the right expectations before you build. These are production-grade frameworks, not boilerplate templates.
How Does Rocket Generate Your Backend Architecture?
You describe your app in plain language. Rocket then plans the full architecture, writes production-ready code, and shows a live preview the moment generation finishes. Here is what happens at each layer.
1graph TD
2 A["You Describe Your App in Plain Language"] --> B["Rocket Plans Full Architecture"]
3 B --> C["Next.js Web App OR Flutter Mobile App"]
4 B --> D["Supabase Backend Generated"]
5 B --> E["API Endpoints + Auth Configured"]
6 D --> F["PostgreSQL Database + Schemas"]
7 D --> G["Row-Level Security Policies"]
8 D --> H["Real-Time Subscriptions"]
9 E --> I["CRUD Routes Auto-Generated"]
10 E --> J["Server-Side Validation Built In"]
11 C --> K["Live Preview Ready"]
12 F --> K
13 I --> K
14 K --> L["Iterate via Chat, Visual Edit, or Code"]
15 L --> M["One-Click Deploy to Staging or Production"]
16
17 classDef input fill:#4F46E5,color:#ffffff,stroke:#3730A3
18 classDef generate fill:#F97316,color:#ffffff,stroke:#0D6B63
19 classDef backend fill:#F97316,color:#ffffff,stroke:#EA580C
20 classDef output fill:#22C55E,color:#ffffff,stroke:#16A34A
21
22 class A input
23 class B,C generate
24 class D,E,F,G,H,I,J backend
25 class K,L,M output
Rocket's backend generation pipeline: from natural language prompt to live production app
Layer 1 — Database (PostgreSQL via Supabase)
Every app you build on Rocket gets a real PostgreSQL database through native Supabase integration. According to the Stack Overflow 2024 Developer Survey, PostgreSQL is the most popular database among developers for the second consecutive year, used by 49% of respondents.
Rocket generates the complete database layer automatically. For a deeper look at how this works, read the Supabase and Rocket integration guide.
-
Auto-generated database schemas: tables, columns, relationships, and data types are created from your description. No manual configuration is needed.
-
Row-level security (RLS) policies: database access policies are configured automatically. Users only see and modify the data they are permitted to access.
-
Real-time subscriptions: live data updates push to your UI instantly when rows are inserted, updated, or deleted. No custom websocket code is required.
-
File storage: users can upload images, documents, and files with secure access controls and organized storage buckets.
-
Edge functions: server-side logic runs without exposing secret keys to the client. This covers sending emails and calling third-party APIs.
-
Multi-tenant support: SaaS products where each organization sees only its own data, with invite flows and role management, are fully supported.
Supabase free tier: The Supabase free plan includes two active projects, 500 MB database storage, and 1 GB file storage. Rocket connects via OAuth. No API keys are required.
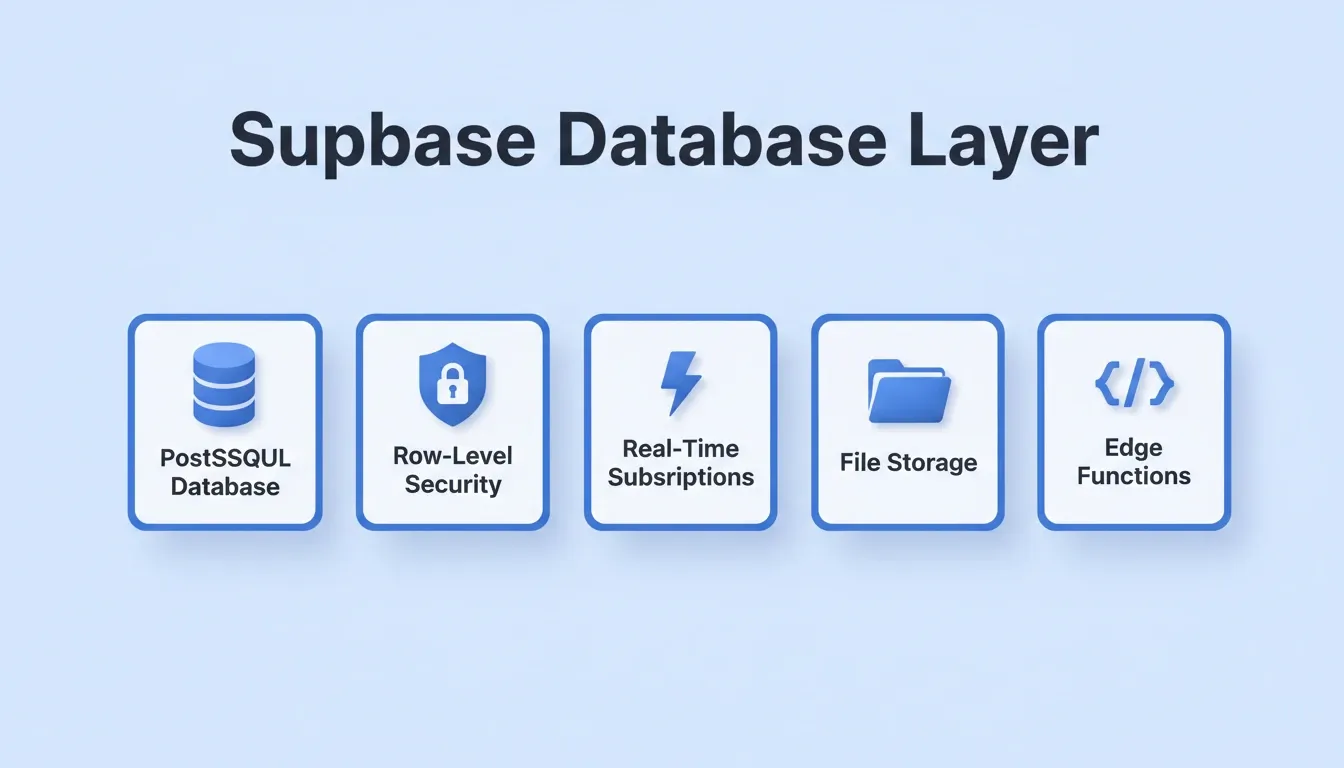
Supabase Database Layer: the five capabilities Rocket generates automatically for every app
To understand what Rocket produces under the hood, see how to generate a database schema with AI.
Layer 2 — API Endpoints (Auto-Generated)
Your app's backend logic lives in auto-generated API endpoints. These connect your frontend to the database and any external services.
-
CRUD operations: each feature gets its own routes for create, read, update, and delete. The frontend-backend connection is wired automatically.
-
Server-side validation: input validation, error handling, and response formatting come pre-configured. No manual code is needed.
-
Third-party integrations: Rocket connects to Stripe, Resend, SendGrid, OpenAI, Anthropic, Gemini, and 25+ other services. Authenticate once and they flow into every build.
Your UI components call the right endpoints from the moment the app is generated. No manual wiring is required.
Layer 3 — Authentication (Fully Configured)
Security is configured automatically. Your app gets a complete authentication system without writing any security code yourself.
-
Multiple login methods: email/password, social login via Google and GitHub, and magic links are all configured with minimal setup.
-
Role-based access control: Rocket supports three levels: Admin, Creator, and Viewer. Each role gets different permissions with precision control over every feature.
-
Session management: tokens, session expiry, refresh flows, and secure cookies are managed automatically across web and mobile.
-
Enterprise audit logs: enterprise teams get full visibility into who accessed or changed what. Logs track every workspace action.
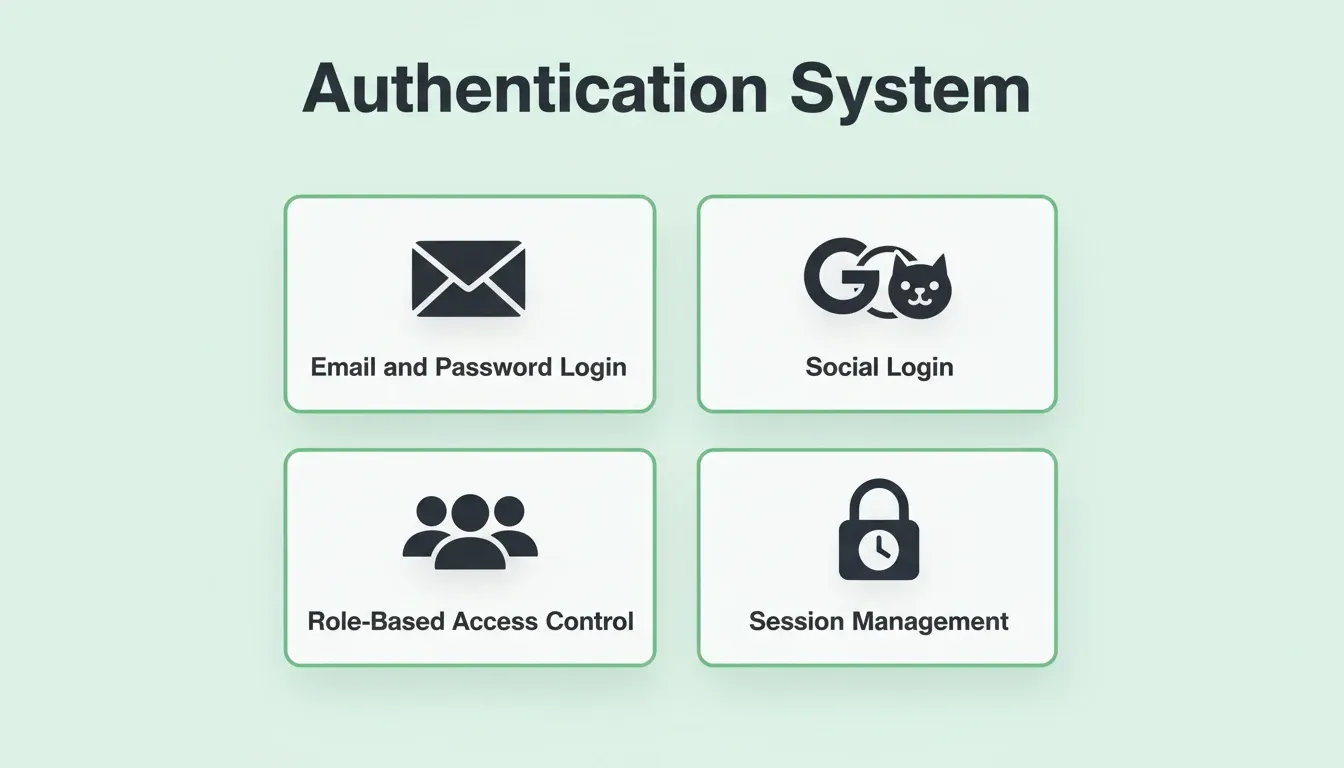
Authentication System: every login method, role level, and session control generated automatically
Layer 4 — Production Defaults (Shipped on Every Build)
Every Rocket build ships with these by default. They are not optional extras:
-
SEO-ready structure: meta tags, semantic HTML, and sitemap configuration are built in.
-
WCAG accessibility compliance: accessibility standards are met from the first generation.
-
GDPR coverage: privacy and compliance handling is included.
-
Performance optimization: Core Web Vitals are tracked. Fast load times are the default.
-
Built-in analytics: visitors, conversions, accessibility scores, and Core Web Vitals are tracked after launch without additional tools.
What Does the Complete Backend Stack Look Like?
Here is the full picture of what Rocket generates for a typical web app:
| Backend Layer | What Rocket Generates | Technology |
|---|---|---|
| Production-ready web app | Next.js (TypeScript) | |
| iOS and Android app | Flutter | |
| PostgreSQL with auto-schemas | Supabase | |
| Full auth system and social login | Supabase Auth | |
| Per-user data access policies | Supabase RLS | |
| Live UI updates on data changes | Supabase Realtime | |
| Secure uploads with access control | Supabase Storage | |
| Server-side logic without key exposure | Supabase Edge Functions | |
| CRUD routes and validation | Auto-generated | |
| Checkout, subscriptions, billing | Stripe or Razorpay | |
| Transactional and marketing email | Resend or SendGrid | |
| Staging and production environments | Netlify | |
| Full history, code diff, rollback | Built-in | |
| Visitors, conversions, Core Web Vitals | Built-in |
How Does Deployment Work?
When your app is ready, Rocket handles the entire deployment pipeline. Here is exactly how it works.
Staging environment: Click Launch, then the Staging tab, then Publish. Rocket uses a default Netlify account (or you can connect your own). You get a staging URL to share with teammates for feedback.
Production environment: Launch, then the Production tab, then select your version and enter your custom domain. Rocket logs into your domain provider with one-time permission and configures DNS automatically. HTTPS is automatic for all custom domains.
To see how Rocket's approach compares to other platforms, explore the best AI builders with one-click deployment.
Version control: Every time Rocket responds to a build message, it saves the result as a new version. From any version, you can take four actions:
-
Code diff: see exactly what changed between versions
-
Rollback: revert your entire project to any previous version instantly
-
Create label: name and bookmark a version (for example, "MVP" or "Beta launch")
-
Launch: deploy any version directly to staging or production
Nothing you build is ever permanently lost. Rolling back takes one click.
1graph LR
2 A["Build Message Sent"] --> B["Version Saved Automatically"]
3 B --> C{What do you want?}
4 C -->|"Review changes"| D["Code Diff View"]
5 C -->|"Undo changes"| E["Rollback to Version"]
6 C -->|"Mark milestone"| F["Create Label"]
7 C -->|"Go live"| G["Launch to Staging or Production"]
8 G --> H["Netlify Deployment"]
9 H --> I["Custom Domain + HTTPS"]
10
11 classDef action fill:#4F46E5,color:#ffffff,stroke:#3730A3
12 classDef decision fill:#F97316,color:#ffffff,stroke:#EA580C
13 classDef output fill:#22C55E,color:#ffffff,stroke:#16A34A
14
15 class A,B action
16 class C decision
17 class D,E,F,G,H,I output
Every build message creates a versioned snapshot. Deploy, rollback, or label any version with one click.
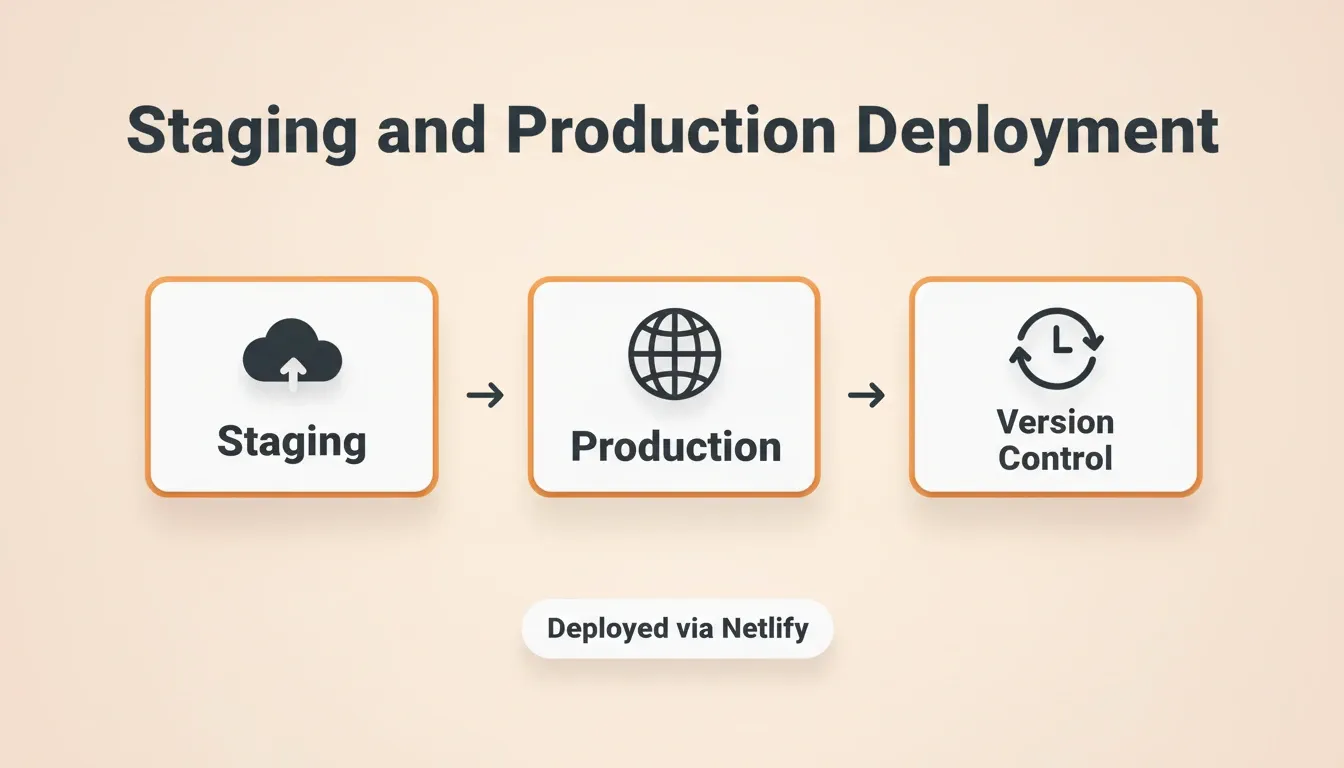
Staging and Production Deployment: the three-stage pipeline from build to live app
Can You Ship a Full Product Without Backend Developers?
Hiring backend developers, frontend engineers, and DevOps staff used to be the only path to a real product. Today, solo founders and small teams ship production-ready applications because Rocket handles the full development team's backend work.
-
Rapid prototyping to production: go from idea to working app in one session. No hiring is required.
-
Iterate by talking to it: change your backend by typing new instructions. Add features, modify database structure, or adjust access control through conversation.
-
Three ways to edit: Chat (natural language), Visual Edit (click and drag in the live preview), or Code (direct access to the generated Next.js or Flutter source files).
A full development team costs months of salary. Building with Rocket costs a fraction of that and saves time that startups cannot afford to waste.
How Does Your Backend Scale as You Grow?
As your app gains users, the backend needs to handle more complexity. Fortunately, Rocket's architecture grows with you through features designed for team collaboration and workspace management.
-
Push notifications: keep users engaged with automated push notifications across mobile and web. No notification infrastructure is needed.
-
Audit trail: track who changed what and when. Enterprise teams get full visibility into every workspace action.
-
Monetization: add paid plans with built-in payments, subscription management, and pricing pages. Billing is supported from the start.
-
Team collaboration: multiple team members work on the same project simultaneously with inline comments, version history, and task assignment. Three-level role access (Admin, Creator, Viewer) is built in.
-
AI model flexibility: connect OpenAI, Anthropic (Claude), or Google Gemini to your app. Switch AI providers without changing your setup.
Understanding how to scale a SaaS built with AI tools covers the patterns that apply once your Rocket-generated backend starts handling real growth.
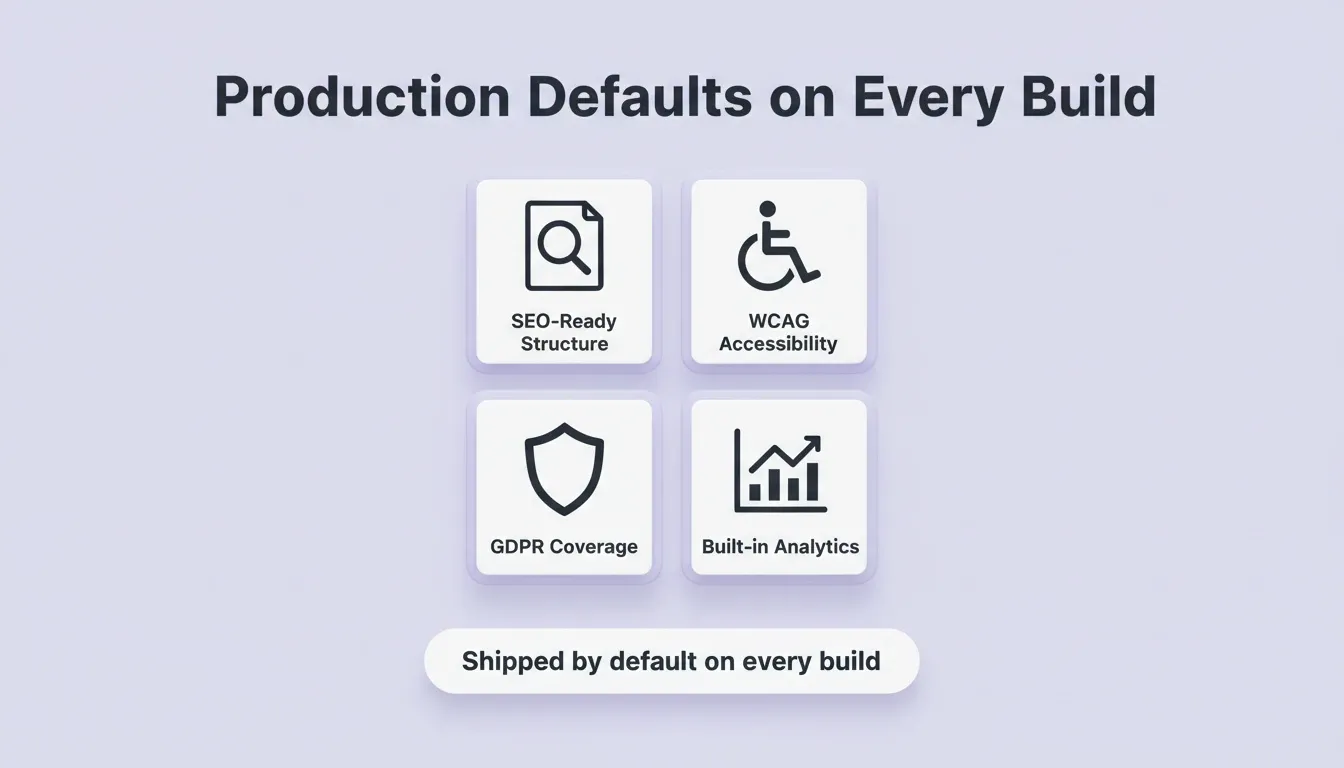
Production Defaults on Every Build: SEO, WCAG, GDPR, and analytics shipped automatically
What You Get vs. Building Manually
Building a backend manually means choosing a framework, setting up a database, writing authentication from scratch, configuring deployment pipelines, and managing security policies. Each step takes days to weeks for an experienced developer.
With Rocket, the same result is generated in 1 to 3 minutes. The generated code is not a starting point you need to finish. It is a working, deployable product from the first generation.
| Capability | Traditional Dev | Building with Rocket |
|---|---|---|
| Full backend generation | Manual (weeks) | Complete, automatic |
| Framework | Your choice (manual setup) | Next.js (web), Flutter (mobile) |
| Database and schemas | Manual setup | PostgreSQL via Supabase, auto-generated |
| Row-level security | Manual coding | Auto-configured |
| Authentication | Manual coding | Full system, auto-configured |
| Role-based access | Manual coding | Admin, Creator, Viewer: built in |
| GitHub sync | Manual | Two-way sync for Next.js TypeScript (paid plan) |
| One-click deploy | No | Yes: Netlify, staging and production |
| Version history and rollback | Manual | Every version saved, one-click rollback |
| SEO, WCAG, and GDPR | Manual | Shipped by default on every build |
| Time to first version | Weeks to months | 1 to 3 minutes |
Start Building Your Backend
The Backend Is Handled. Ship the Product.
Rocket.new Backend Architecture removes the hardest part of shipping a product. Databases, APIs, authentication, and deployment are all generated from a single prompt. As AI-powered development continues to mature, the gap between idea and live product will keep shrinking. The teams that ship fastest are the ones that stopped rebuilding infrastructure from scratch.
You describe the app. Rocket handles the backend architecture. Start building on Rocket and go from idea to live product in minutes, complete with database, authentication, API endpoints, and one-click deployment.
Table of contents
- -What Frameworks Does Rocket Use?
- -How Does Rocket Generate Your Backend Architecture?
- -Layer 1 — Database (PostgreSQL via Supabase)
- -Layer 2 — API Endpoints (Auto-Generated)
- -Layer 3 — Authentication (Fully Configured)
- -Layer 4 — Production Defaults (Shipped on Every Build)
- -What Does the Complete Backend Stack Look Like?
- -How Does Deployment Work?
- -Can You Ship a Full Product Without Backend Developers?
- -How Does Your Backend Scale as You Grow?
- -What You Get vs. Building Manually
- -Start Building Your Backend
- -The Backend Is Handled. Ship the Product.